

Finding the perfect t-shirt can feel like a Goldilocks problem. This one's too boxy. That one's too short. This one fits great... until it falls apart after a few washes.
But when you sew your own? You control everything — the fit, the fabric, and all those little details that make it a t-shirt you actually love wearing.
Today, I'm walking you through every single step of sewing a fitted knit tee from start to finish, using the Seamwork Morgan pattern. By the end, you'll know exactly how to cut, construct, and finish a tee that fits the way you want — plus my favorite neckband technique for getting a perfectly flat neckline every single time.
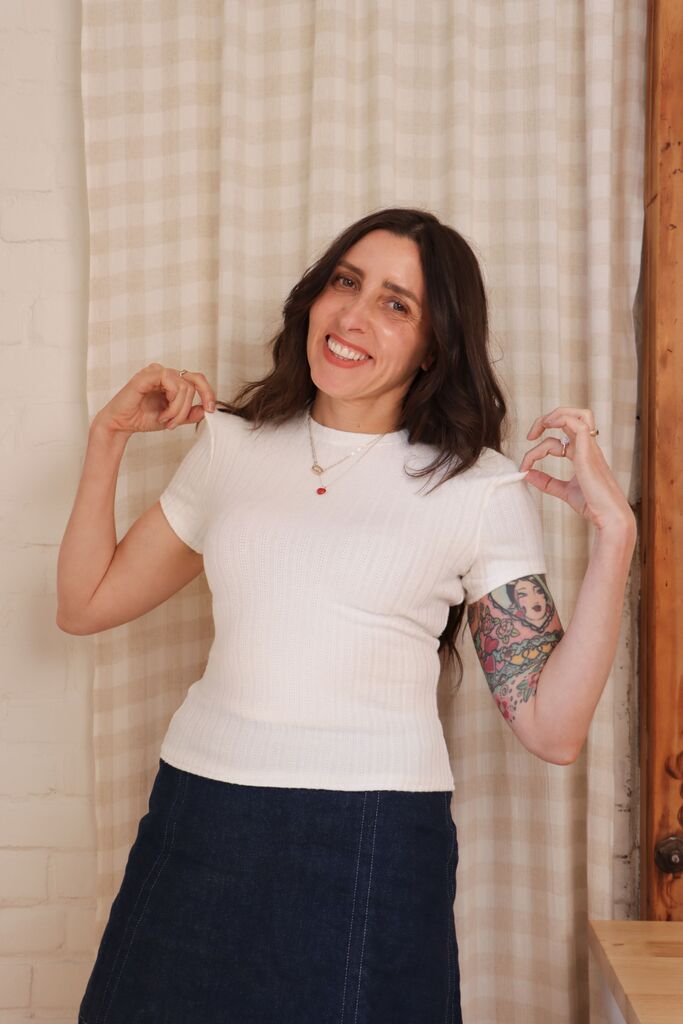
Why a Fitted Tee Deserves a Spot in Your Handmade Wardrobe
A well-fitting t-shirt is one of those wardrobe workhorses that you reach for constantly without even thinking about it. It layers under blazers, tucks into high-rise jeans, pairs with midi skirts. And yet, it's almost impossible to find the right one ready-to-wear — the fit is never quite right, or it loses its shape after a handful of washes.
That's the case for sewing your own.
Morgan is a close-fitting crew neck tee that hits just below the high hip — long enough to tuck or wear out, and designed to pair with basically everything. The construction is streamlined enough for beginners, but the result looks intentional and polished. If knit fabrics have always made you a little nervous, this is a great place to start.
What You'll Need
Here's something worth celebrating about this project: the supply list is genuinely short.
The essentials:
- All-purpose polyester thread
- Ballpoint or jersey needle
Helpful extras (optional but recommended):
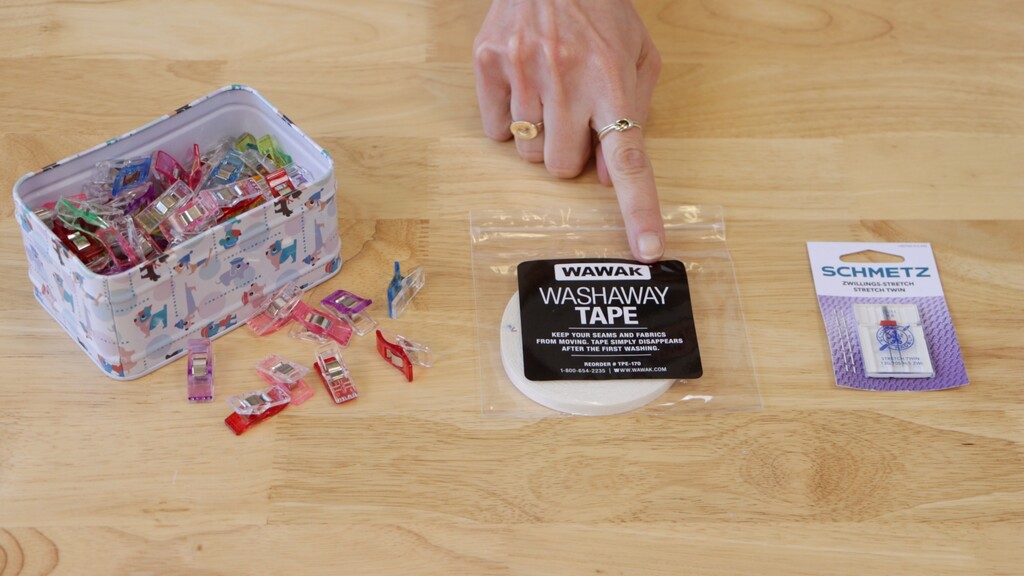
- Fabric clips
- Wonder Tape (water-soluble double-sided tape)
- Twin needle for hems
- ¼-inch clear elastic or a small amount of knit interfacing
You don't need a serger to sew a t-shirt. A basic machine with a zigzag or stretch stitch works beautifully. Just test your stitches on scraps first, and consider using a walking foot if you have one — it makes a real difference with knits.
Choosing Your Fabric
For a fitted tee, you want a medium-weight knit with at least 50% four-way stretch. Four-way stretch means the fabric stretches both horizontally and vertically — that's what gives a fitted tee its shape without feeling like you're being squeezed.
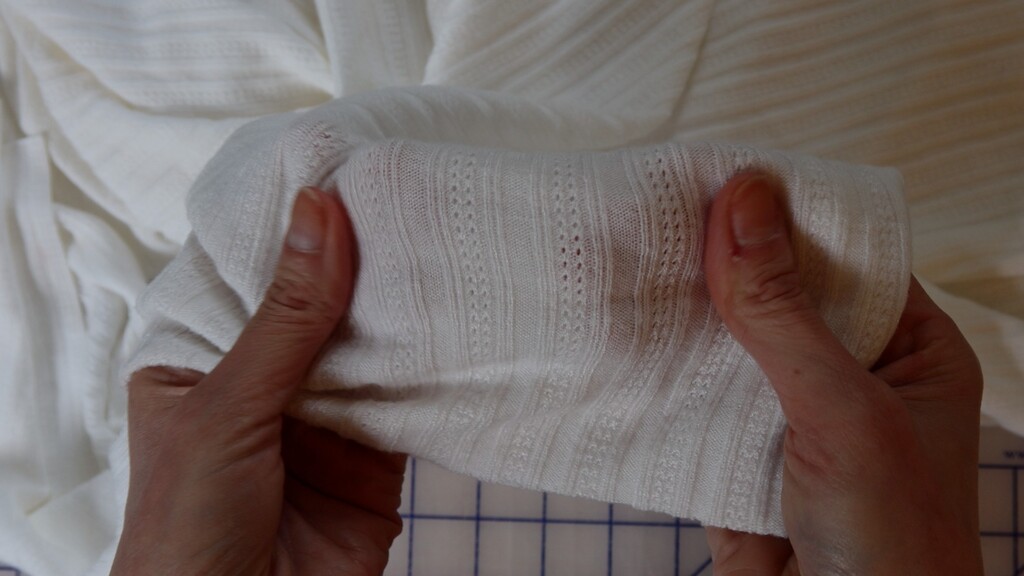
Good options include cotton jersey, bamboo jersey, rib knits, French terry, and pointelle. I'm using a white pointelle knit for this version. Pointelle has this really delicate, almost lacy texture from the little eyelets woven into it — it feels a little special without being fussy. It's exactly the kind of fabric that gets better the more you wash it.
Before you commit to any knit, do the stretch test. Pull horizontally, release, and watch what happens. You need good recovery — meaning the fabric bounces back to its original shape. If it stays stretched out, keep looking. Recovery is what stops a tee from going baggy by noon.
Step 1: Cut Your Fabric
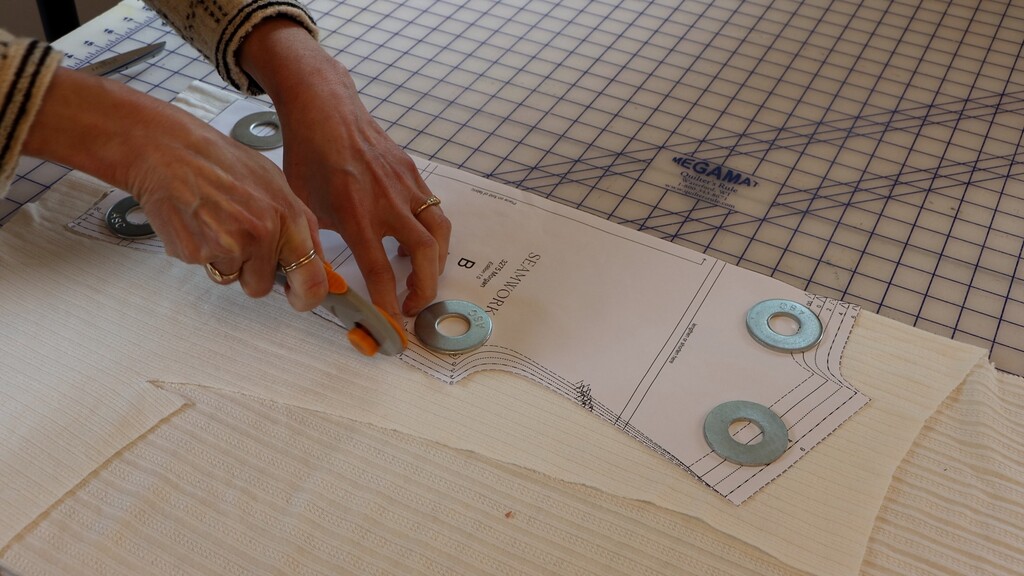
A rotary cutter is your best friend for knits. Scissors can drag and shift the fabric as you cut, which throws off your dimensions without you even realizing it. The rotary cutter just glides through.
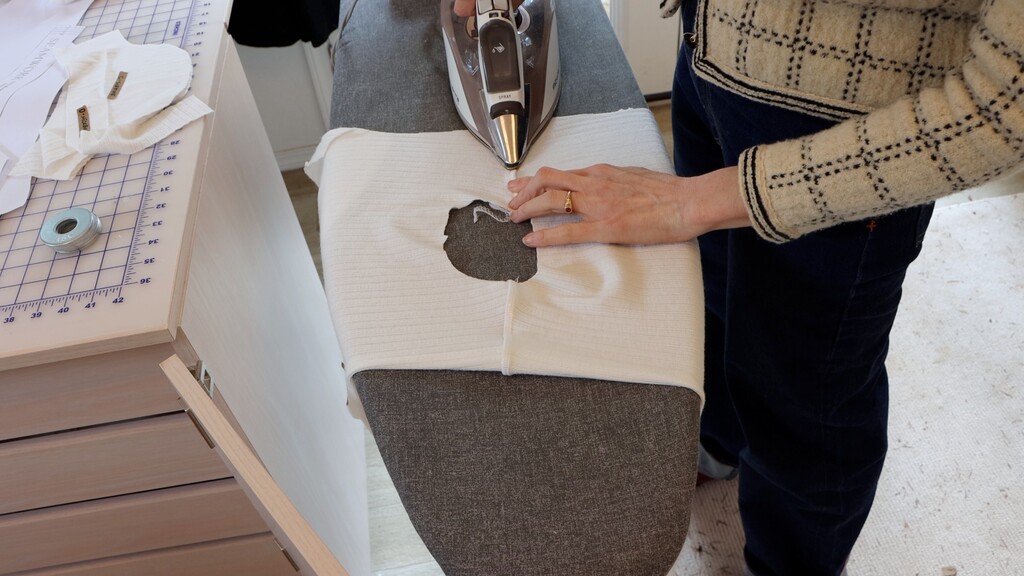
One small tip that saves a lot of frustration: if your pattern paper has been rolled up and is curling, press it with a warm, dry iron before you start. It makes laying everything flat so much easier.
Follow your cutting layout and cut on the fold where indicated. And don't skip the notches — I know they feel fiddly, but they're your roadmap for lining everything up accurately later. For knits, I like to cut notches outward so they're easy to see and don't disrupt the narrow seam allowances.
Step 2: Sew and Stabilize the Shoulder Seams
Start by sewing the shoulder seams with right sides together. But before you do — here's a step that makes a real difference in how your finished tee holds up over time.
Stabilize your shoulder seams.
Shoulders are the first place knit tops tend to stretch out. Adding a strip of knit interfacing, stabilizer, or clear elastic to the shoulder seam before sewing adds just enough reinforcement to keep the seam from stretching with every wear.
It takes maybe two extra minutes and is absolutely worth it.
Once your stabilizer is in place, sew each shoulder seam, then press those seam allowances toward the back. That pressing direction matters more than it might seem — it keeps the seam from rolling forward and showing on the outside of your finished tee.
Step 3: Attach the Neckband
This is my favorite step, and it's where a lot of people either get a beautifully flat neckline or end up with a wavy one. The good news: there's a simple trick that takes all the guesswork out of it.
The key is to stretch the band slightly as you pin, not as you sew.
Here's the full process:
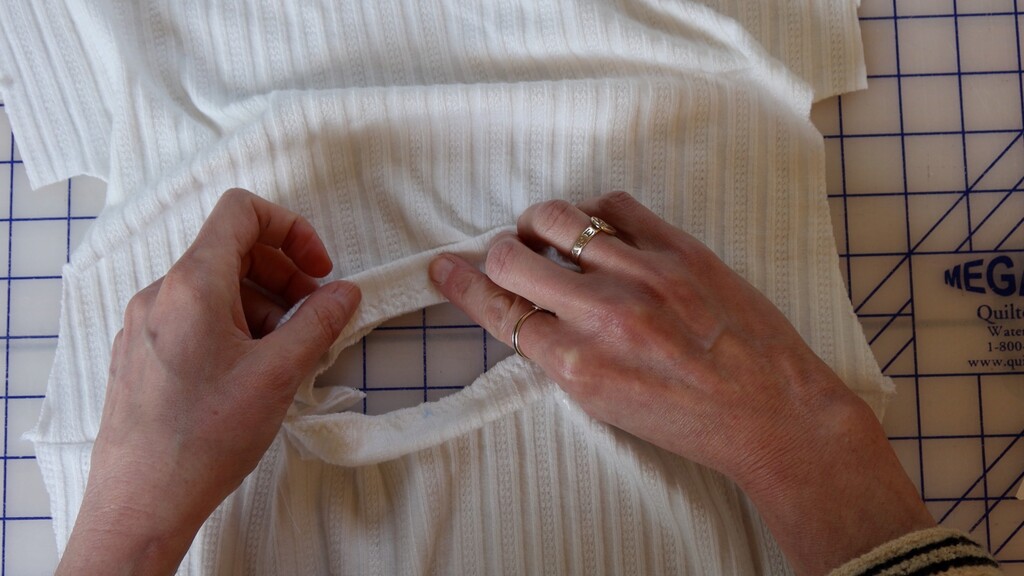
- Bring the short ends of the neckband together with right sides facing, pin, and sew. Press seam allowances to one side.
- Fold the neckband wrong sides together lengthwise, and baste the raw edges together using a long zigzag stitch.
- Match the neckband seam to the notches on the back of the neckline.
- Pin or clip all the way around, stretching the band slightly to fit as you go.
My absolute favorite method here is Wonder Tape — a water-soluble, wash-away double-sided tape. Apply it all the way around the neckline, then slightly stretch the band as you tack it down. The tape holds everything securely and evenly, prevents accidental pulling while you sew, and dissolves completely in the wash. If your neckbands have ever come out wavy, pulling while sewing is almost always the culprit. Wonder Tape eliminates that.
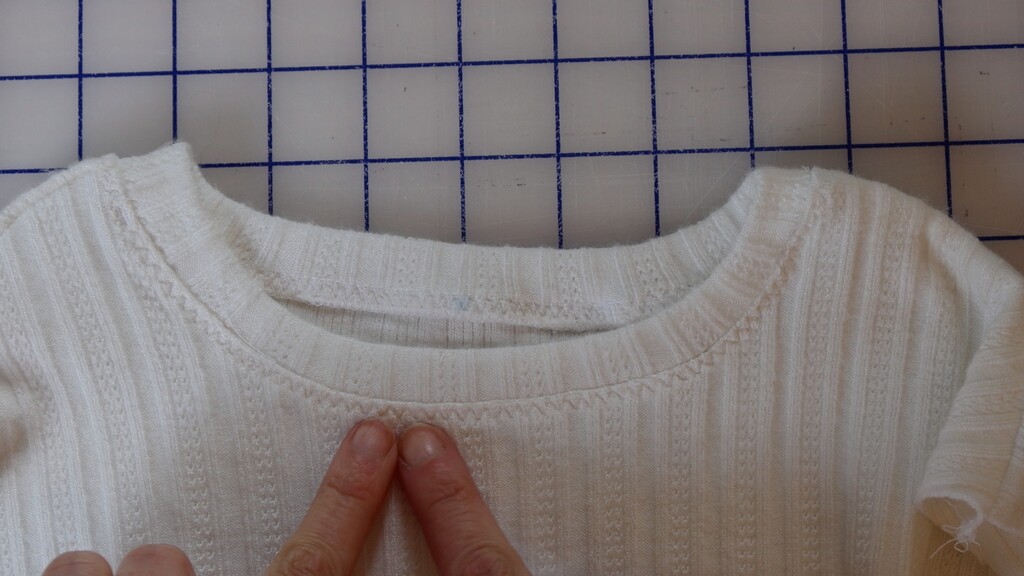
Sew the neckband on, then press it away from the tee with seam allowances toward the tee. Finish with a topstitch just below the neckband using a twin needle or zigzag, catching those seam allowances in the stitching. That topstitching is what holds everything in place and gives you that clean, polished finish on the outside.
A Note on Neckline Variations
Not a crew neck person? You have options.
The bonus version of Morgan has a V-neck, which is more of an intermediate technique when it comes to knits but absolutely worth mastering if that's your preferred neckline. If a scoop neck and cap sleeves are more your style, the Orlando tee is just as easy to sew as Morgan. And if you love a classic fit with a relaxed silhouette and crew neckline, the Jane tee is a true basic that's easy to customize to your preferences.
Step 4: Set In the Sleeves and Sew the Side Seams
Before you set in your sleeves, do this: finish the raw edge of each sleeve first, while the fabric is still flat. Don't hem it yet — just finish the edges so they're ready when you get there. Working on a flat piece of fabric is infinitely easier than wrangling a closed tube.
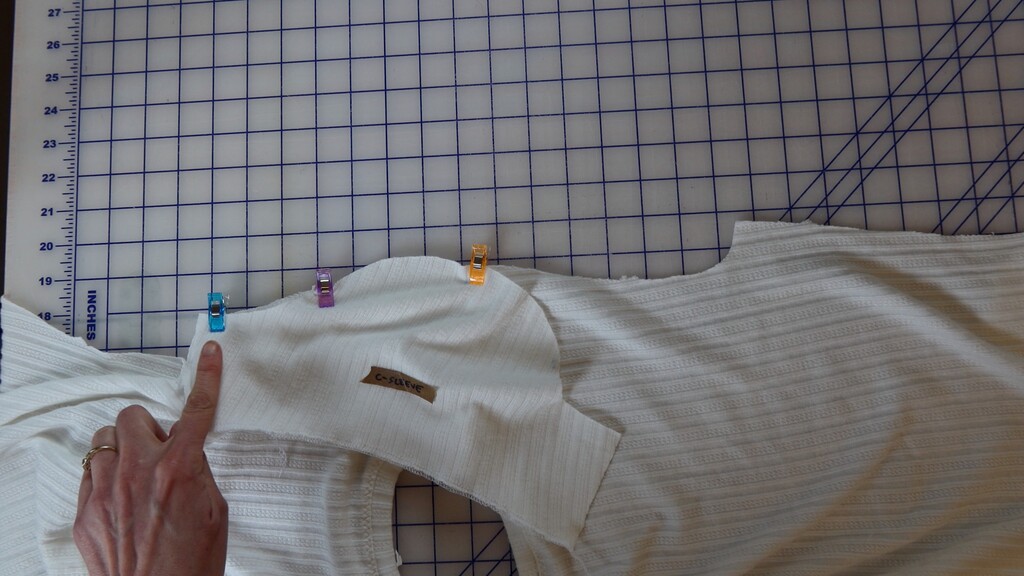
For setting the sleeves themselves, here's a technique that gives you perfect placement every time. With right sides together and notches matched, align the circle on your sleeve cap with the shoulder seam. Instead of sewing the entire sleeve in one go, start at that circle in the middle and stitch toward one edge. Then go back to the circle and stitch toward the other edge.
This prevents the sleeve from shifting forward or backward in the armhole, so the top of the sleeve cap is always perfectly aligned with the shoulder seam. Once you try it this way, you won't go back.
Press seam allowances toward the sleeve. Then align your sleeve seam edges with your side seam edges and stitch in one continuous seam from sleeve hem through the body.
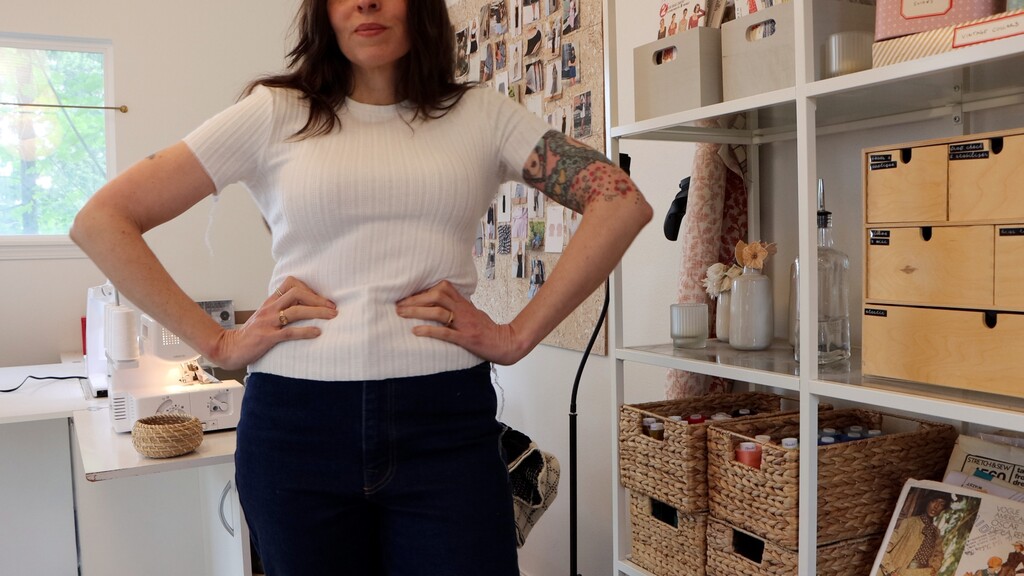
Now try it on. Knits are forgiving, but it's always easier to catch any fit issues before you've hemmed.
Step 5: Hem the Sleeves and Body
This last step is what takes your tee from almost-finished to something you'd actually want to wear out the door.
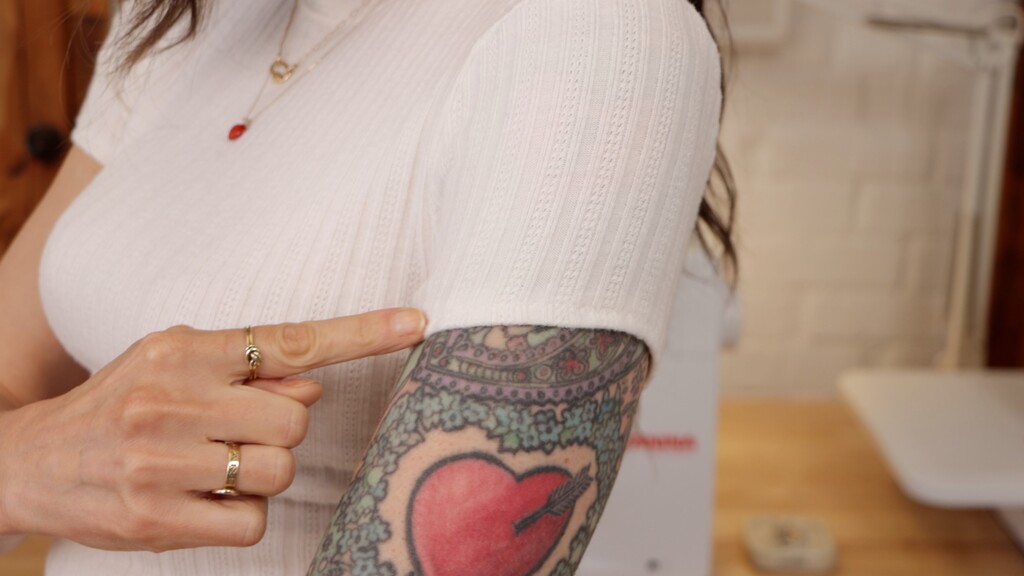
For the sleeves: Fold the hem to the wrong side at ⅜ inch and press. Hold in place with pins or Wonder Tape (I almost always use Wonder Tape on knit hems — it holds everything in place, prevents the fabric from stretching as you stitch, and dissolves completely in the wash). Turn right side out and stitch at ¼ inch using a twin needle or zigzag, then press.
A twin needle creates a beautiful, stretchy hem that looks incredibly polished. No twin needle? A zigzag works perfectly fine — just make sure your tension is balanced so you don't get any puckering. I personally love a 3-step zigzag for even more stretch. Whatever stitch you choose, test it on scraps first.
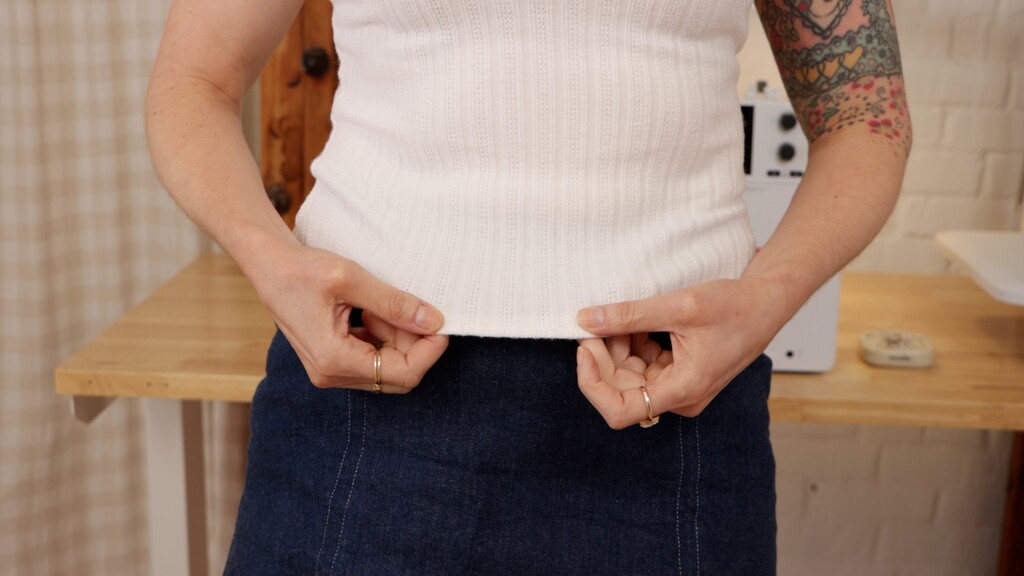
For the body hem: Finish the raw edge first with your serger or zigzag, then fold to the wrong side at ⅜ inch. Hold in place with pins or Wonder Tape, stitch at ¼ inch, and give it one final press.
That's it. You're done.
The Finished Tee
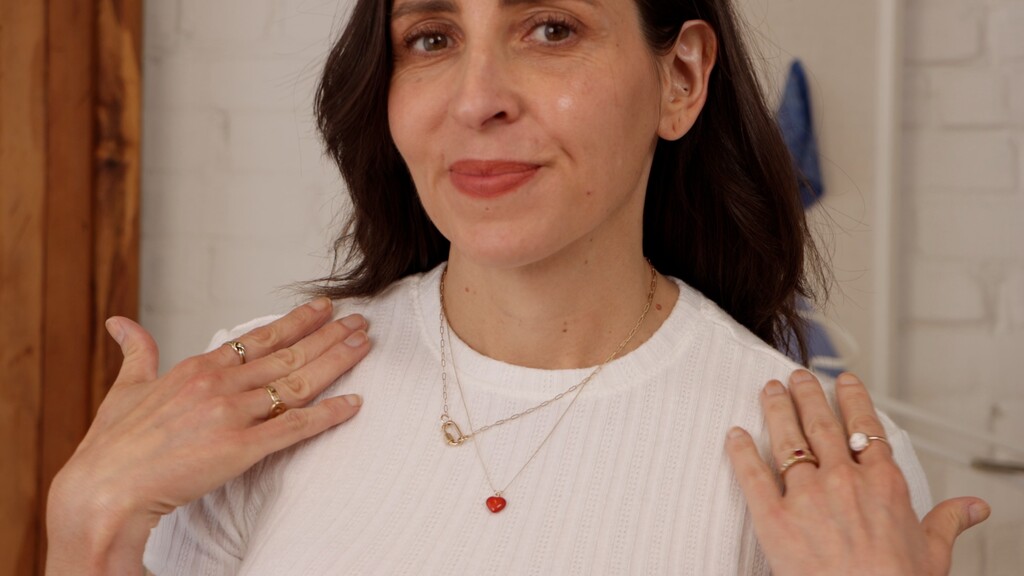
A fitted t-shirt is one of those makes that looks simple but feels like a real accomplishment once it's done — because you didn't just follow a trend, you built exactly what you wanted. The right fabric, the right fit, the details that make it yours.
Once you've made one, you'll want to make ten.
What fabric are you planning to use for your first (or next) Morgan tee? Share in the community — I'd love to see what you're working with.
 Related Articles
 Best Articles

