
 Sign In
If you've ever felt intimidated by bias-cut garments, you're definitely not alone. There's something about that stretchy, shifty fabric behavior that can make even experienced sewists feel a little nervous. But here's what I've learned after nearly 30 years of sewing: working with bias doesn't have to be scary, and the results are absolutely worth it.
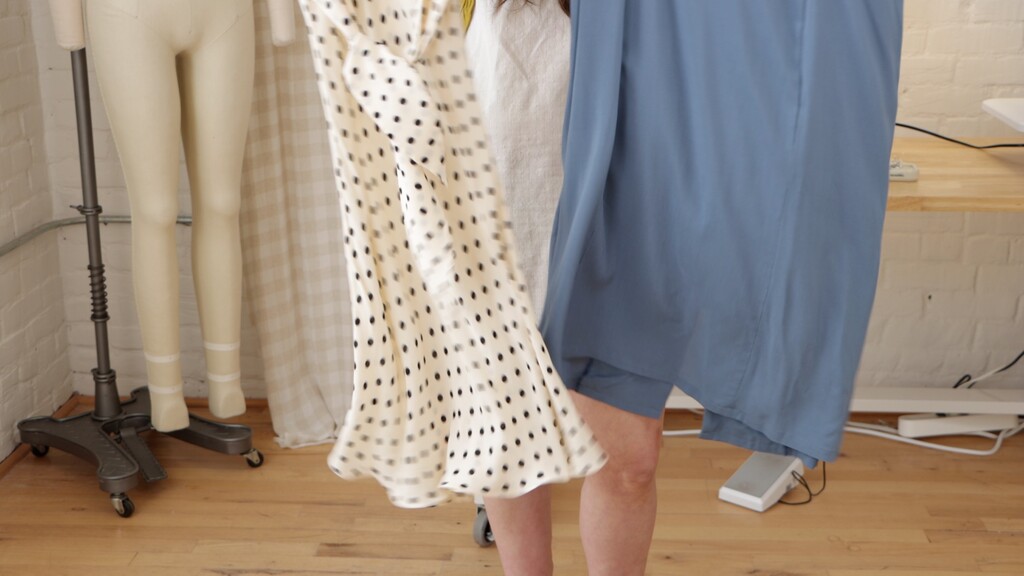
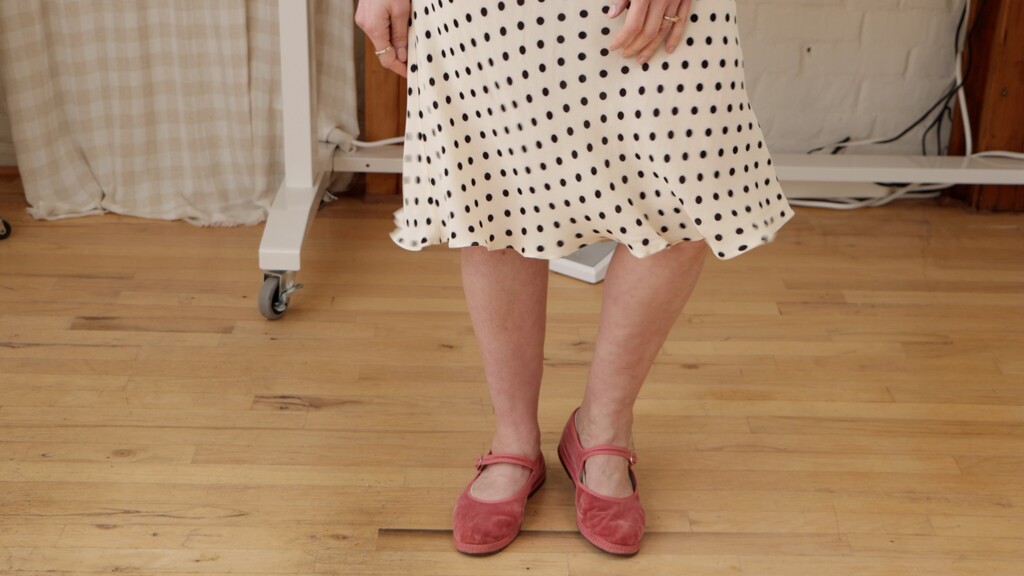
The liquid drape and elegant movement that only bias cutting can achieve—that's what makes those expensive designer pieces look so effortless. Today I'm sharing the five essential techniques that will transform how you approach bias sewing, using our gorgeous Seamwork Freesia dress as the perfect example.
Understanding Bias: Why It Creates Magic (And Challenge)
Let me start by explaining what actually makes bias-cut garments so special, because understanding this will completely change how you approach these projects. The bias grain runs diagonally across your fabric at a 45-degree angle, and when you cut on this grain, the fabric completely transforms. It develops this flowing quality that wants to mold to your body as you move—which is exactly what creates that gorgeous drape we're after.
But here's where things can feel tricky. This same quality that makes bias garments so beautiful is also what makes them challenging to sew. When fabric is cut on the straight grain, it's stable and predictable. We're used to relying on darts and princess seams to make straight-grain fabric fit our curves.
Bias-cut fabric stretches and moves in ways that can feel unpredictable if you're not prepared for it. That same quality that creates beautiful, body-skimming garments also makes the fabric feel slippery when you're trying to cut and sew it.
This is exactly why our Freesia dress is such a smart introduction to bias techniques. The bodice stays on the straight grain and is fully lined for stability through your bust and shoulders, but the skirt is pure bias cutting magic. You're learning bias techniques without wrestling stretchy, slippery fabric through every construction step.
When choosing patterns for bias cutting, look for simple shapes with minimal seaming. Avoid anything with multiple darts or fussy closures in the bias sections. The bias wants to flow naturally, so we work with that quality instead of fighting it.
Tip 1: Master Strategic Cutting Layouts
Here's where most people run into trouble before they even start sewing—the cutting layout. Bias cutting requires some different prep work than you're probably used to.
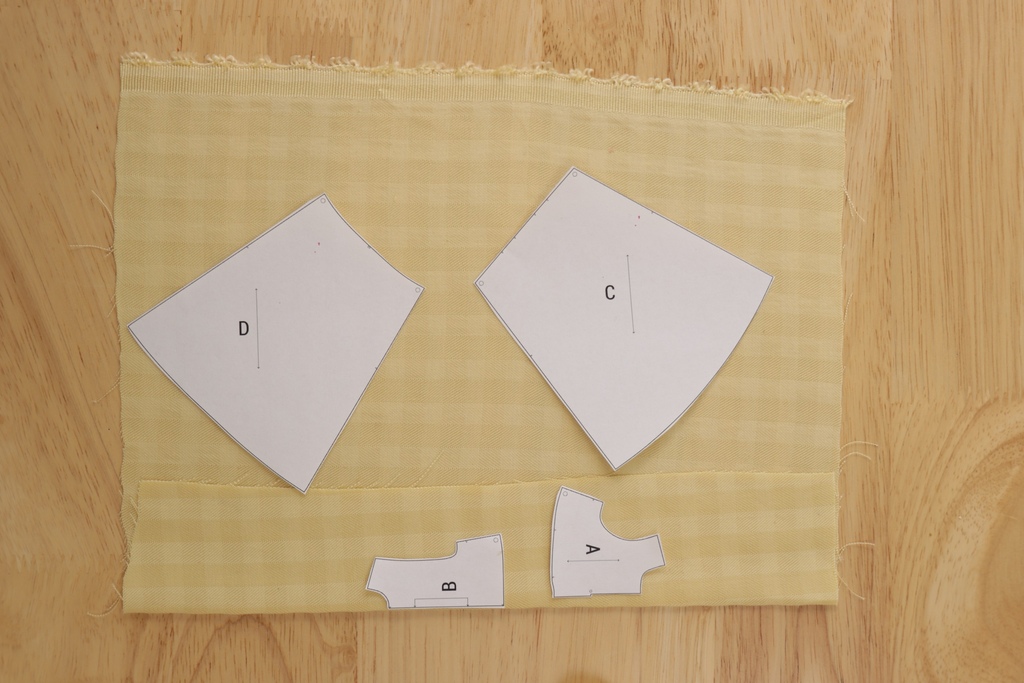
First, prepare your pattern pieces as single layers instead of cutting on the fold. For those Freesia skirt pieces, this means laying everything out flat rather than folding your fabric and cutting through both layers.
If you're working with slippery fabrics like silk or rayon—and these make the most gorgeous bias garments—try placing tissue paper underneath your fabric when cutting. This little trick adds just enough stability to keep everything from sliding around.
Your rotary cutter becomes your best friend here instead of fabric shears, but make sure you've got a fresh blade. Dull blades will pull and distort your fabric.
Here's a critical point that can make or break your finished garment: understanding that fabric has two bias directions, and you need to use both strategically. If you cut all your pieces running parallel to each other, your dress will twist and create wonky-looking side seams. Instead, place your pattern pieces on perpendicular bias lines—if your front skirt piece runs in one bias direction, your back piece runs in the opposite direction.
This creates balance and ensures everything hangs beautifully instead of pulling to one side. With Freesia, you'll see this principle built right into the layout.
Tip 2: Stabilize Where It Counts
Bias fabric's natural stretch and movement is exactly what we want for drape and comfort, but there are certain spots where we need to keep that stretch in check. Without proper stabilization, you'll end up with a garment that grows and distorts before you're even finished sewing it.
Staystitching is absolutely non-negotiable on bias projects.
Think of staystitching as setting boundaries for your fabric—you're telling it "be beautiful and drapey, but stay put." Staystitch every single edge that gets handled during construction. Stitch just inside your seam allowance, working from one end to the other in the same direction.
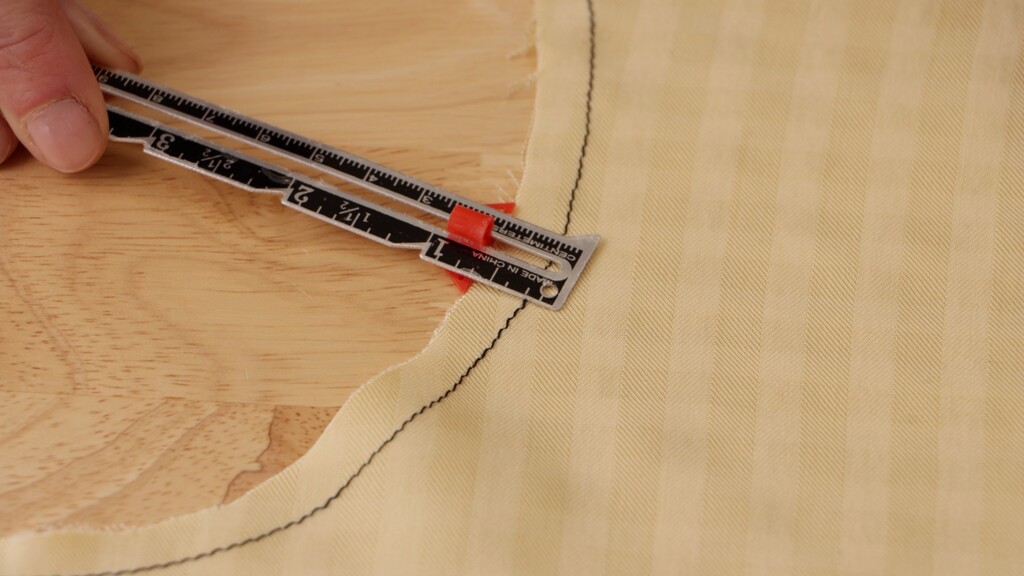
The waistline seam on bias-cut skirts is especially crucial. This is particularly important for dresses like Freesia, where the bodice is cut on the straight grain. If the waistline edge stretches out during construction, it won't match up properly with your bodice, creating fitting issues that are nearly impossible to fix later.
If you're working with slippery fabrics like silk or rayon, consider staystitching the neckline and armholes too. Even though the Freesia bodice is on straight grain, these fabrics have their own way of stretching and shifting during construction.
Tip 3: Adjust Your Construction Approach
Working with bias fabric means adjusting your normal sewing techniques. The biggest mistake I see is trying to force bias pieces to behave like straight-grain fabric.
Bias-cut garments have a natural tendency to stretch over time and as you wear them. If your stitching doesn't stretch along with the fabric, those seams are going to break—and nobody wants that happening to their beautiful handmade garment.
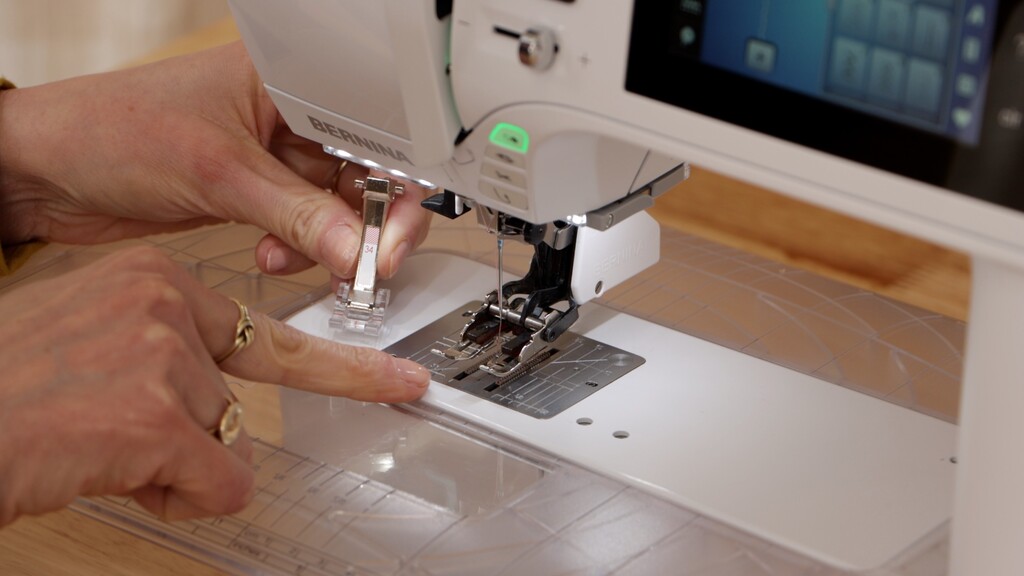
Use a stitch that has some give to it. I love using a really narrow zigzag stitch for bias seams because it stretches right along with the fabric. It's such a simple switch from a straight stitch, but it makes all the difference.
Use a gentle touch when sewing: Don't pull bias fabric through your machine—it will warp out of shape. Instead, support your garment as it passes through the machine, making sure there's nothing hanging off your table. Use a walking foot if you have one to feed both layers through at the same rate.
Let's talk about pressing, because this is where many people go wrong. There are two different ways to use your iron: ironing involves that back-and-forth motion we use on finished clothes, but this will stretch your bias fabric. What you want is pressing—an up-and-down motion. Press your seams, don't iron them.
Store your project flat between sewing sessions instead of hanging it up. This prevents stretching and keeps your pieces true to size.
Tip 4: Perfect Your Finishing Techniques
Finishing techniques separate beautiful bias garments from disappointing ones, and it starts with understanding that bias fabric needs time to settle.
After you've sewn your major seams on any bias garment, hang those pieces for at least 24 hours before doing your final hemming. I know it's tempting to finish everything in one session, but the bias will relax and find its natural drape, giving you a much more even hemline.
When you're ready to hem, choose techniques that work with the fabric's natural movement. A narrow rolled hem works beautifully on bias edges because it maintains flexibility while looking polished. Blind hems are another lovely option—they're virtually invisible and move with the fabric as you wear it.
Use the lift-and-press technique for your final pressing, then let the garment hang while it cools. You'll see it naturally fall into flowing lines that just can't be achieved with straight-grain construction.
Expand Your Bias Sewing Skills
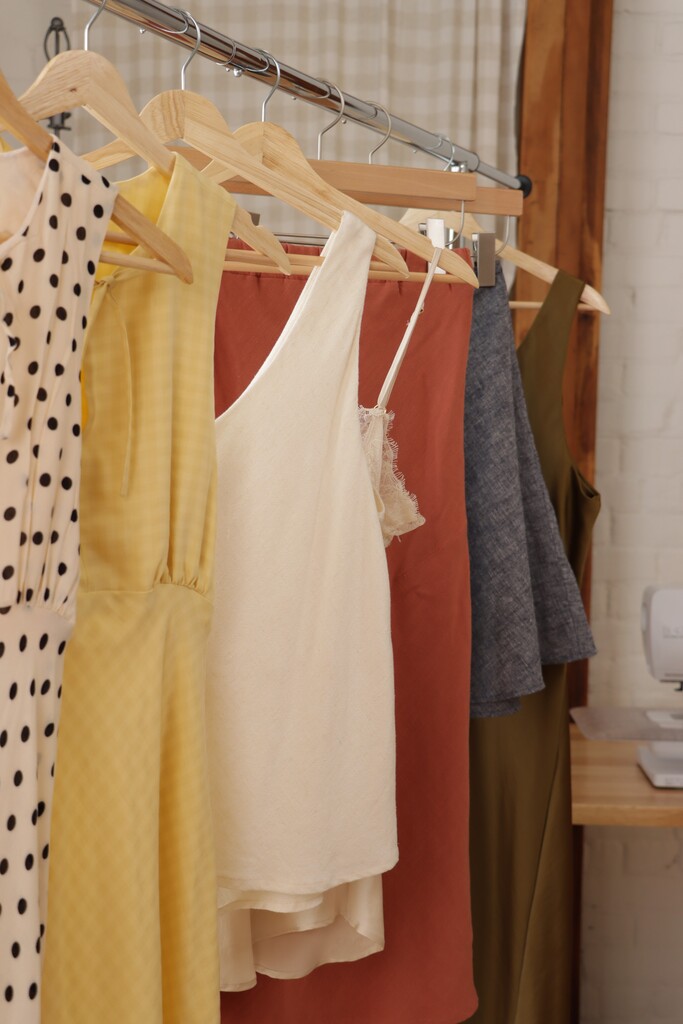
While the Freesia dress is a wonderful introduction to bias cutting, here are other Seamwork patterns that will help you continue mastering these techniques:
The Clarke top is an excellent next step. This bra-friendly tank transforms into something special when cut on the bias. The all-in-one facing keeps construction simple, and it's quick to sew—perfect for experimenting.
The Savannah camisole is the quintessential bias-cut garment. This spaghetti-strap design showcases everything we love about bias cutting in its purest form. The construction is straightforward, but the results are elegant enough that you'll want several.
The Dezi skirt offers a unique way to explore bias cutting with its fluted silhouette and diagonal seam detail. The elastic waistband makes fitting straightforward while the bias cut creates beautiful movement.
The Grace slip dress is perfect when you're ready to tackle a full bias-cut dress. This pattern demonstrates how luxurious bias cutting can feel when executed well. The lined bodice provides structure while the bias-cut body creates that signature drape.
Troubleshooting Common Bias Issues
Even with careful preparation, bias sewing can present challenges. Here are solutions to the most common problems:
Twisted seams: This happens when pattern pieces aren't balanced properly. Make sure you're using opposing bias directions for front and back pieces.
Stretched-out edges: Always staystitch before handling, and support your fabric during cutting and sewing.
Uneven hems: Let your garment hang for 24 hours before final hemming. The bias needs time to settle into its natural drape.
Seam failure: Use a narrow zigzag stitch instead of straight stitching to allow seams to stretch with the fabric.
Ready to start your bias sewing journey? The Freesia dress is the perfect place to begin. You'll learn essential bias techniques while creating a garment that feels luxurious to wear and moves beautifully with your body.
For more guidance on working with flowing fabrics, watch this video on sewing with rayon—many of the techniques translate perfectly to bias cutting projects.

