
 Sign In
Have you ever admired those delicate fabric loops on vintage dresses or high-end garments and wondered how to create them yourself? Rouleau button loops are one of those small details that can instantly elevate your handmade clothing from nice to extraordinary. Though they might look intimidating, with the right guidance, this technique is absolutely achievable for sewists of all levels.
What Are Rouleau Button Loops?
Rouleau button loops are narrow fabric tubes that form delicate closures for buttons. Made from bias-cut fabric and typically around 2mm in diameter when finished, these fine closures take the place of traditional buttonholes. The result is a refined, couture-inspired detail that adds both function and visual interest to your garments.
While many sewists shy away from attempting this technique, thinking it's too advanced, I promise that with a bit of patience, you'll master it quickly. I remember being intimidated the first time I tried making these loops for a bridesmaid dress, but the result was so worth the effort that I now incorporate them into everyday pieces too!

Where to Use Rouleau Button Loops
These elegant closures are incredibly versatile. While traditionally associated with formalwear, they can transform many garment styles:
-
Back closures: Center back closures on dresses and blouses -
Keyhole openings: At the top of neckline openings -
Front closures: Down the center front of blouses and dresses -
Sleeve cuffs: As a delicate alternative to buttonholes -
Unique design details: Along side seams or as decorative elements
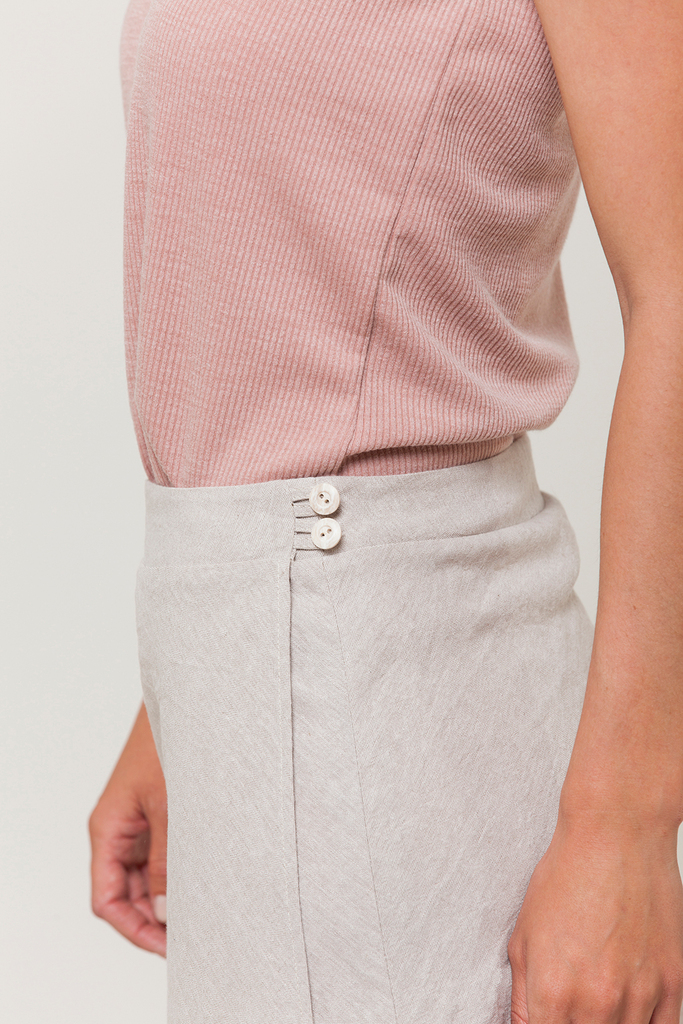
Historically, rouleau loops were featured prominently in haute couture and bridal wear, but they work beautifully in everyday garments too. I recently added them to the Tacara Dress for a touch of understated elegance that elevated the simple shift silhouette.
Ideal Patterns for Rouleau Button Loops
Many Seamwork patterns can be adapted to include rouleau button loops. Consider:
-
Lilac: This pattern includes rouleau loops in the design, making it easy. -
Hill Dress: Add loops to the center front rather than traditional buttonholes. -
Reggie: Replace the tie with buttons and loops for a delicate touch -
Romie: Beautiful at the neckline instead of a tie -
Laura: As shown in our example, these loops add sophistication to this wrap skirt
Rouleau loops work best with lightweight to medium-weight fabrics with good drape, such as silk, rayon, fine cotton, and lightweight linen. For heavier fabrics, you might want to use a lighter fabric for just the loops themselves.
Tools and Materials You'll Need
Having the right tools makes this technique much more manageable:
- 1/2 yard of main fabric (for bias strips)
- 1 yard of 2mm rattail cord
- Matching sewing thread
- Water-soluble marking tool
- Small, sharp scissors
- Seam ripper
- Zipper foot for your machine
- Small safety pin (alternative method)
- Iron and pressing surface
- Buttons that match your loops
Pro tip: If your fabric is particularly slippery or delicate, consider using spray starch before cutting your bias strips to make them easier to handle.
Creating Rouleau Button Loops: Step-by-Step
Preparing Your Fabric Tubes
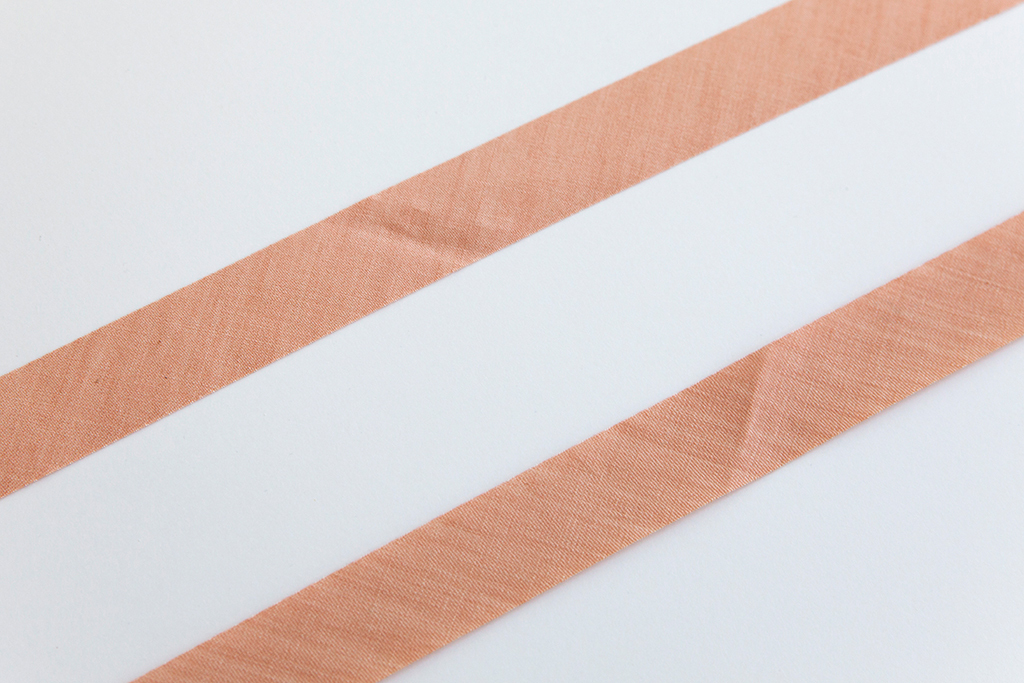
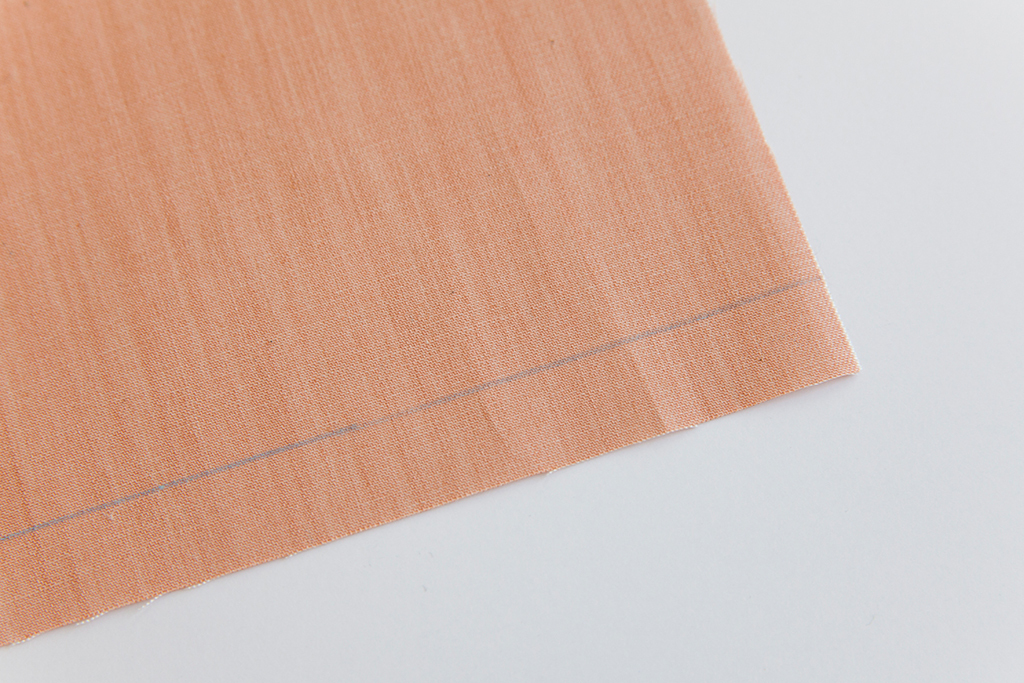
1. Cut bias strips: Cut 1" wide strips of fabric on the bias. The bias orientation gives your loops stretch and helps them turn smoothly around buttons.
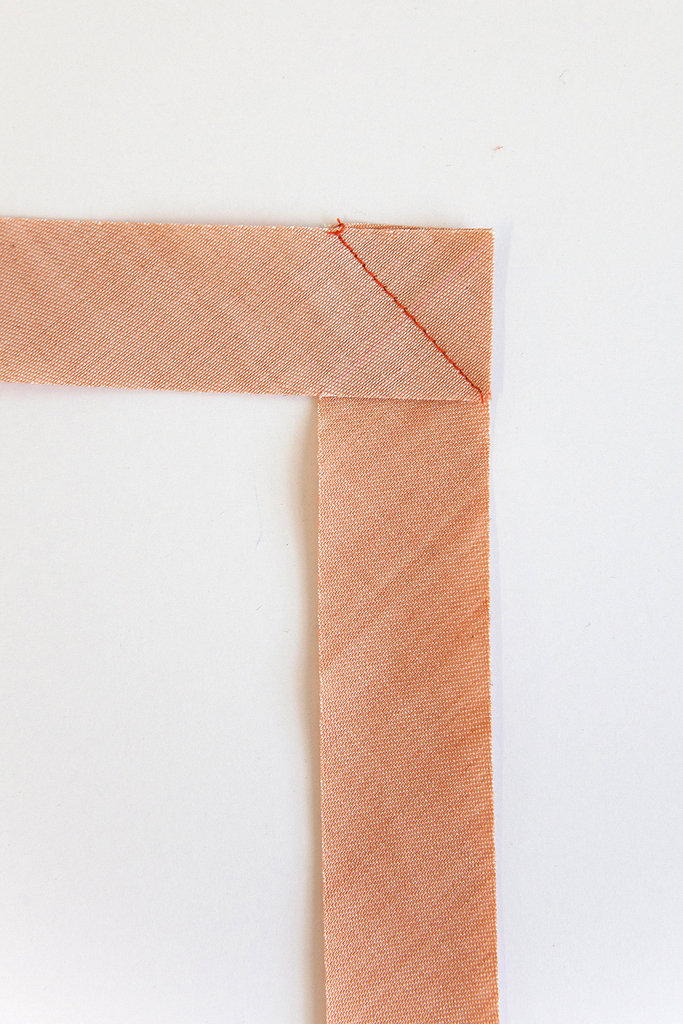
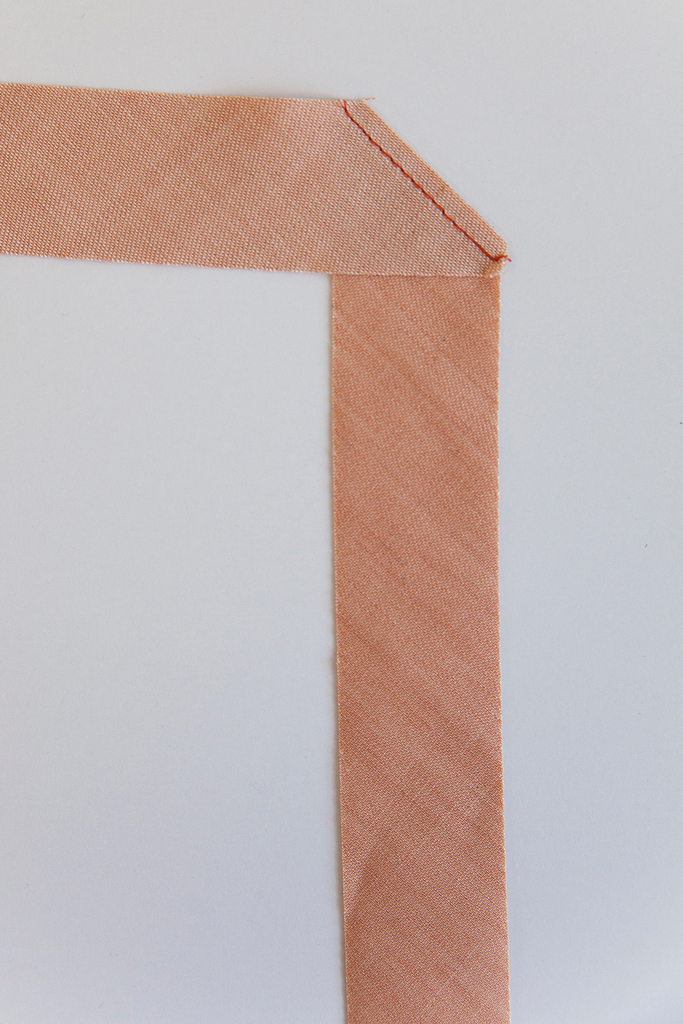
2. Join strips if needed: For multiple loops, you may need to join bias strips. Place two strips at right angles with right sides together, and sew diagonally across. Trim seam allowance to 1/8" and press open.
3. Prepare for stitching: Lay your rattail cording down the middle of the bias strip, lengthwise, on the right side of the fabric. Make sure your rattail cord is longer than your bias strip—this is crucial for the turning method to work!
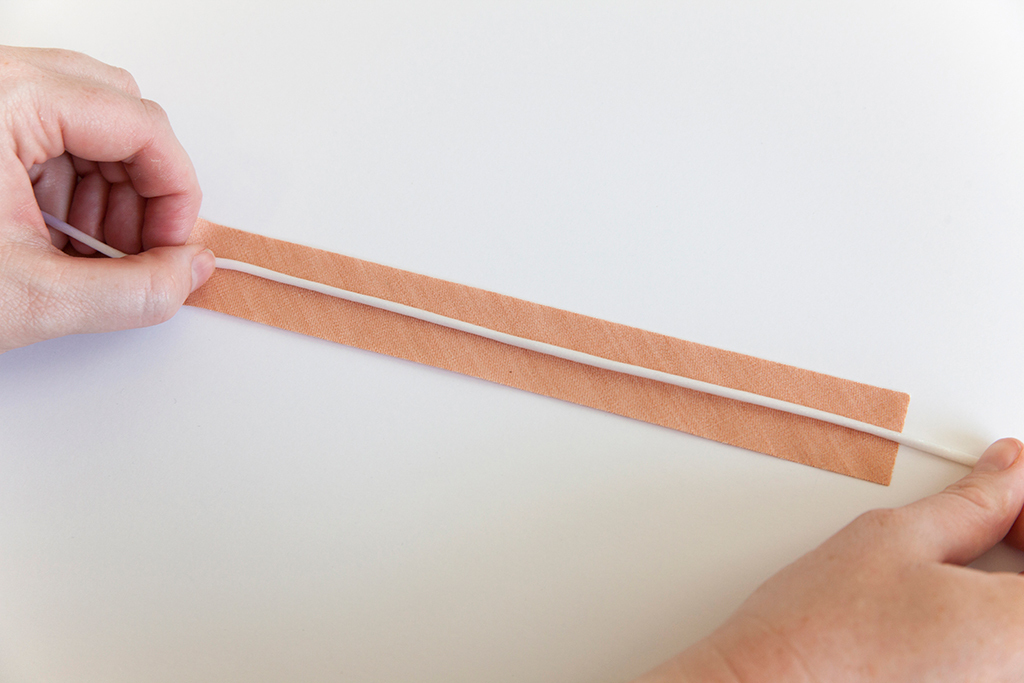
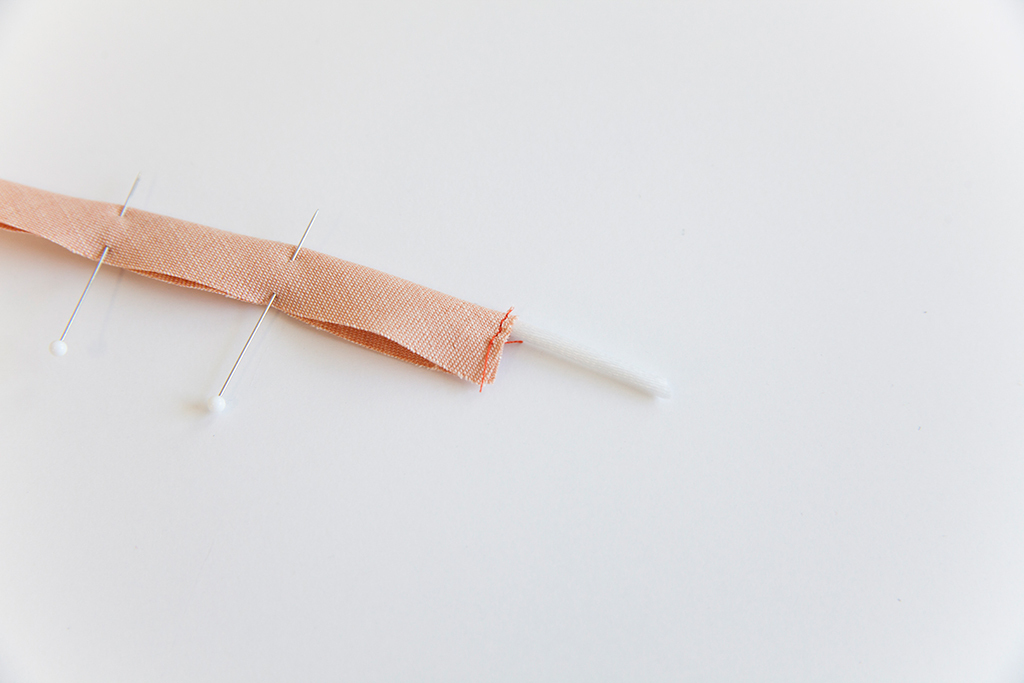
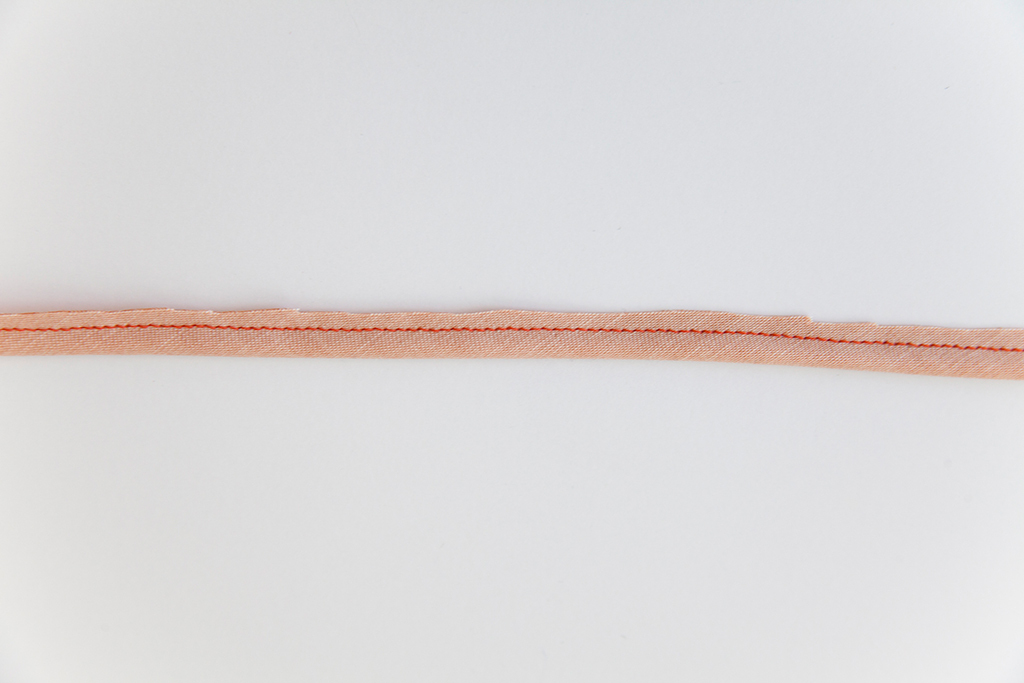
4. Create the tube: Fold the bias strip lengthwise with right sides together, encasing the rattail cord. First, secure one end of the bias strip to one end of the rattail cord with a straight stitch.
5. Stitch close to the cord: Using a zipper foot, stitch as close to the rattail cord as possible without catching it in your stitches. Maintain even seam allowance throughout.
6. Trim excess fabric: Carefully trim the seam allowance to approximately 1/8" to reduce bulk. Be careful not to cut through your stitching!
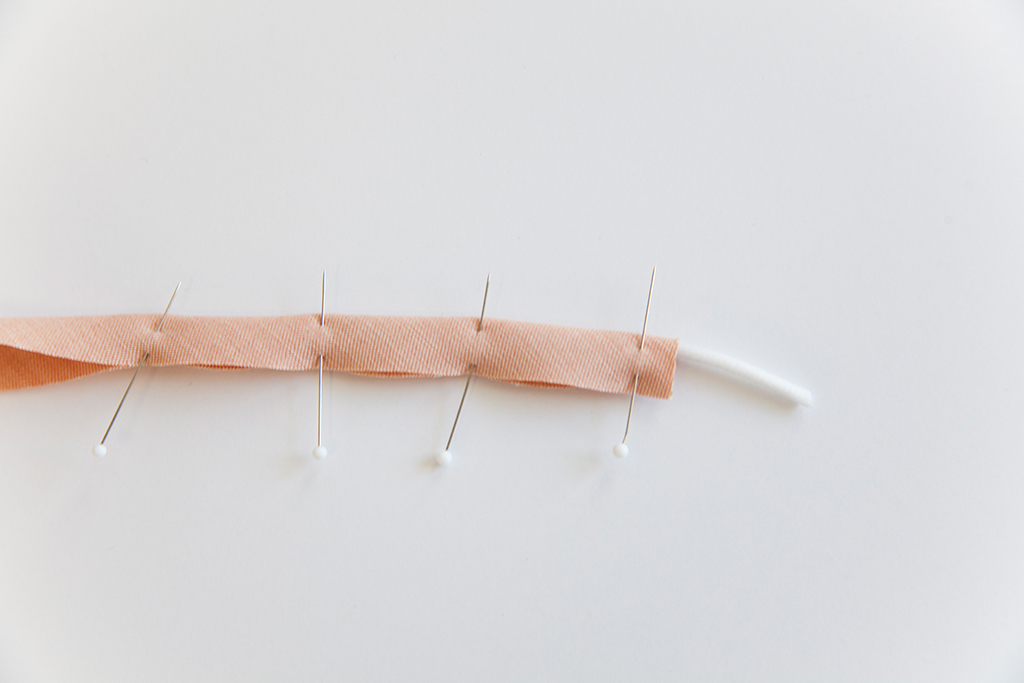
7. Turn the tube: Here's where the magic happens! Gently pull the rattail cord to turn the fabric tube right side out. Go slowly to avoid tearing.
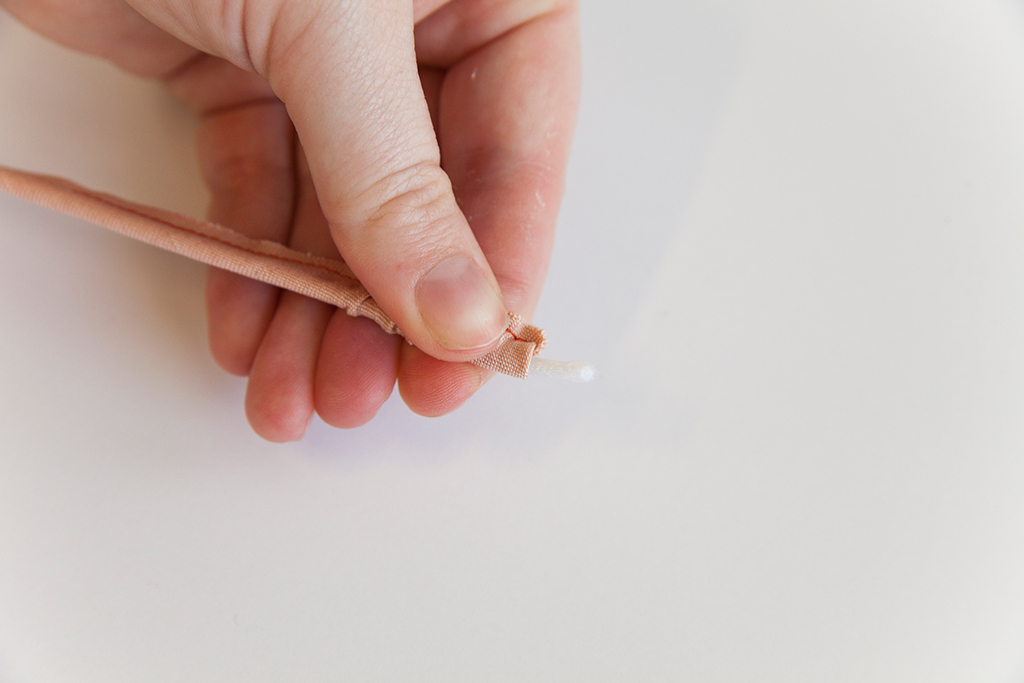

Alternative turning method: If you don't have rattail cord, you can use a small safety pin attached to one end of your tube. Work the safety pin through the tube to turn it right side out. This takes more time but works in a pinch!
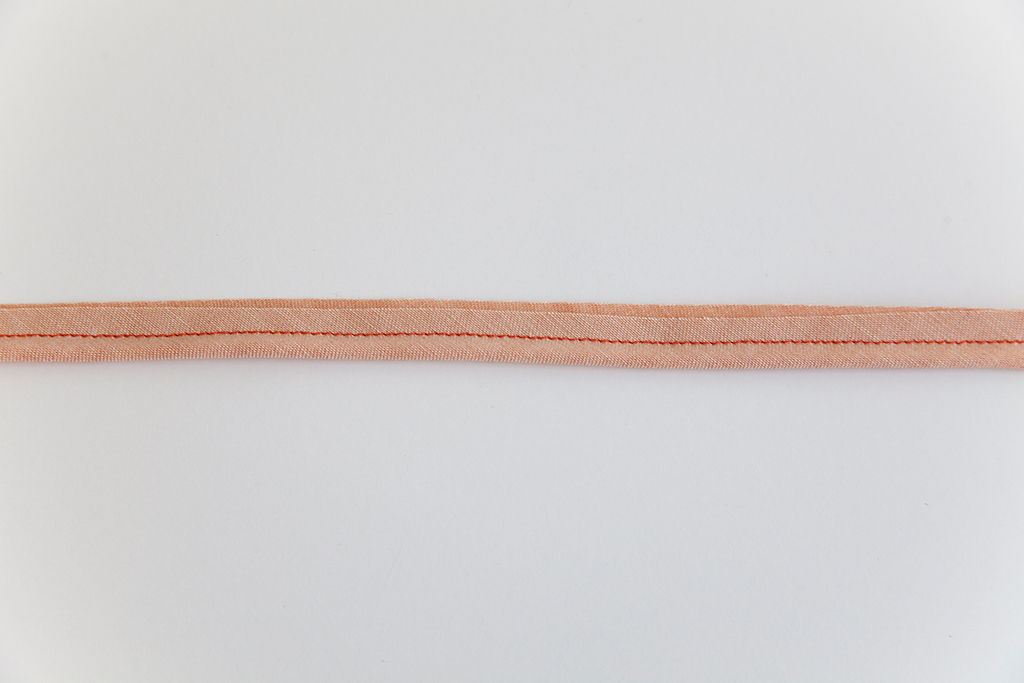
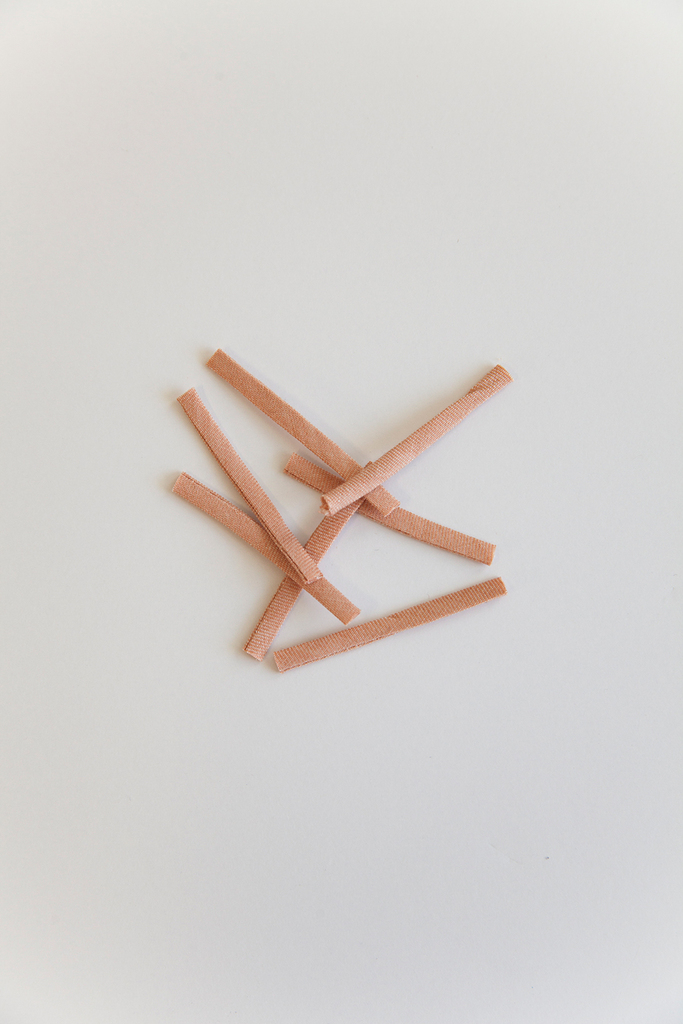
1. Press your tube: Once turned, press your tube flat with the seam centered on one side. This helps create a smooth, professional finish.
2. Cut into sections: Cut the finished tube into pieces approximately 2" long (or the length needed for your specific project).
Attaching Your Rouleau Loops
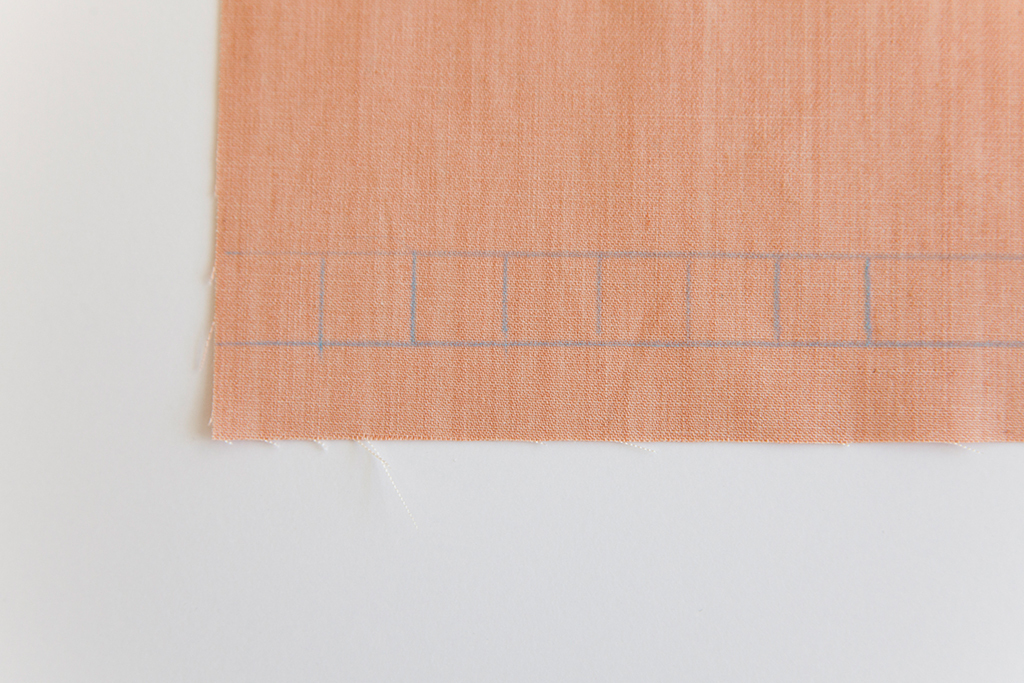
1. Mark placement: Use a water-soluble marking tool to create a reference grid on your garment where the loops will be attached. Mark both the stitch line and loop placement.
2. Create consistent sizing: For professional results, ensure all loops are the same size and evenly spaced. Your loops should be wide enough to accommodate your buttons comfortably. A good rule of thumb is to make the width of your loop equal to your button width plus 2-3mm for ease.
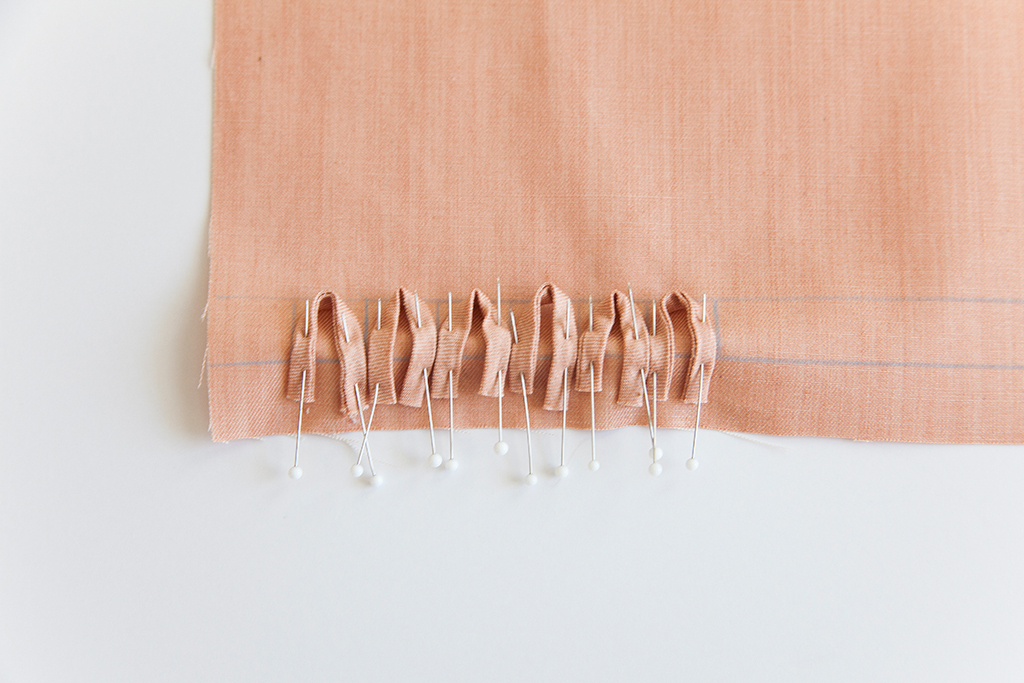
3. Form loops: Fold each tube section into a loop shape, placing raw edges along your marked stitch line.
4. Pin in place: Secure loops with pins, making sure they're all facing the same direction and are evenly sized.
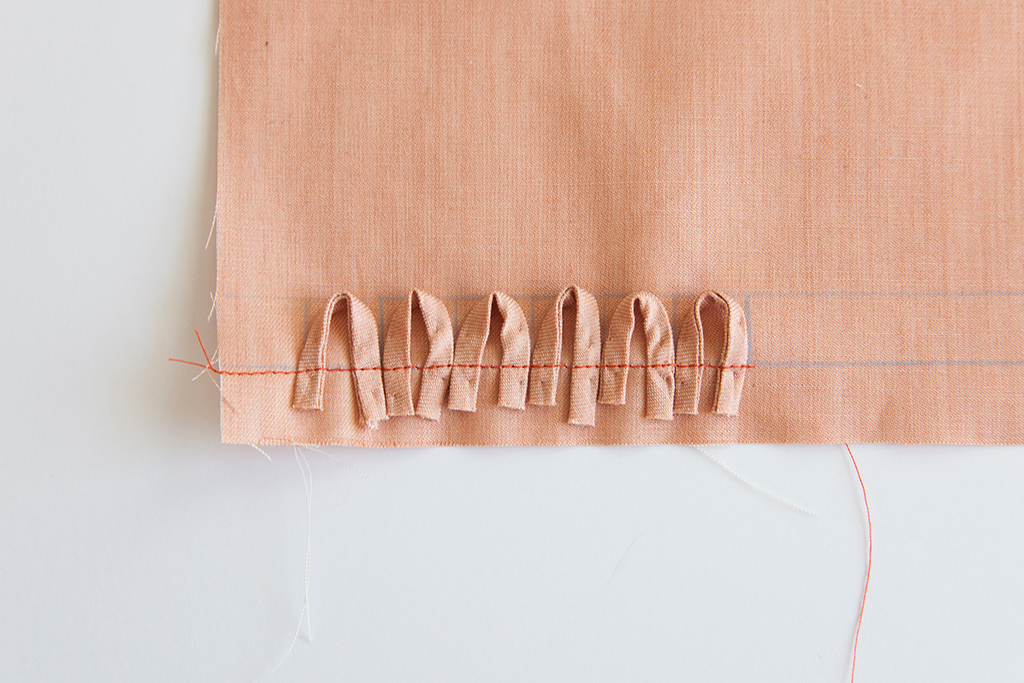
5. Stitch in place: Using a straight stitch, sew the loops securely within the seam allowance of your garment. Reinforce with a second line of stitching if your fabric is lightweight.
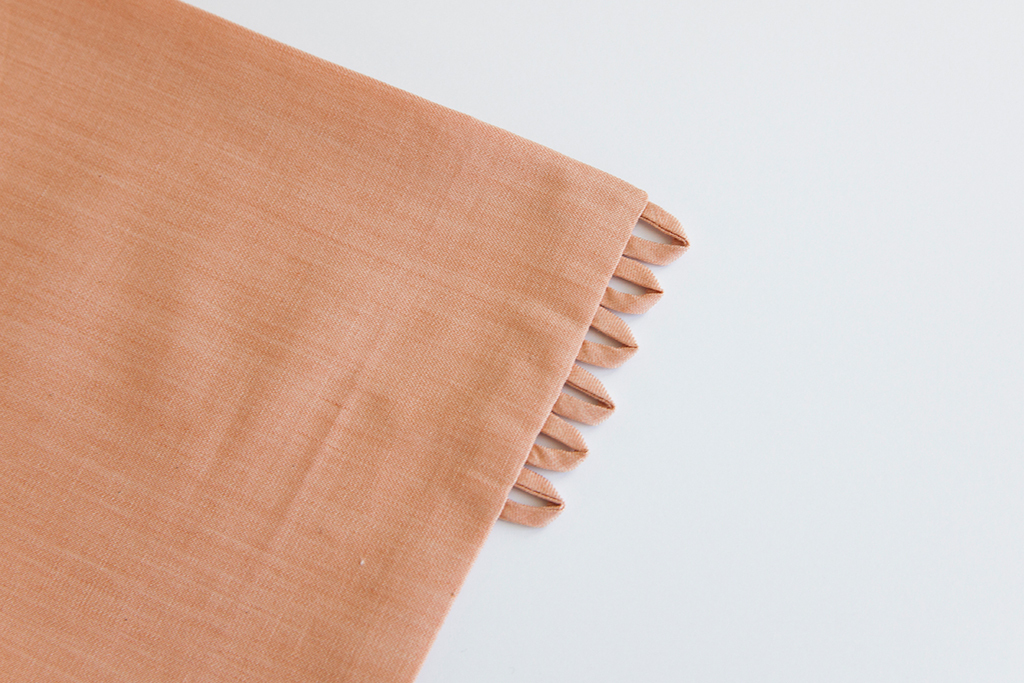
6. Complete the garment: Finish your garment according to the pattern instructions. When joining facing or other garment sections, ensure the loops are sandwiched neatly between layers.
7. Final pressing: Once construction is complete, press your garment carefully, shaping the loops with your fingers to ensure they stand out properly from the edge.
Creative Variations to Try
Once you've mastered basic rouleau loops, experiment with these inspiring variations:
1. Contrast Fabric Loops
Use a contrasting fabric for your loops to create a striking design element. This works beautifully with complementary colors or prints against a solid background.
2. Different Sizes and Shapes
Play with loop sizes—mix tiny loops with larger ones for visual interest. You can also shape your loops into teardrops or triangles instead of standard loops.
3. Decorative Loops
Add loops as purely decorative elements—no buttons required! Arrange them in patterns along seams or necklines for a couture touch.
4. Beaded Embellishments
Thread small beads onto your loops before stitching them down for added sparkle and sophistication.
5. Knotted Loops
Instead of simple loops, try knotting your rouleau tubes for a more textured effect that works beautifully on casual garments.
Troubleshooting Tips
Even experienced sewists encounter challenges with rouleau loops. Here are solutions to common issues:
-
Difficulty turning: If your tube won't turn, try using a thinner rattail cord or making a slightly wider bias strip. -
Uneven tubes: Ensure you're stitching at a consistent distance from the cord and trimming seam allowances evenly. -
Loops too tight for buttons: Always test your loop size with the actual button before finalizing. Remember to add a few millimeters for ease. -
Fraying edges: A tiny dot of fray check on the raw edges can help prevent fraying, but use sparingly to avoid stiffening. -
Bulky seam where loops attach: Grade your seam allowances carefully around the loops and consider clipping corners for smoother results.
Elevate Everyday Garments
While rouleau loops are a staple in formalwear, I've found so much joy in adding them to casual pieces. Consider:
- A simple linen shirt with tiny rouleau loops instead of buttonholes
- A casual summer dress with loops down the back for unexpected elegance
- A basic tank with a single loop at a keyhole neckline
- A wrap skirt with loops along the waistband for a secure closure
The beauty of this technique is that it adds a touch of artisanal quality that makes your handmade garments truly special.
Beyond Buttons: Alternative Uses
Rouleau tubes have uses beyond button loops! The same technique can create:
- Delicate fabric-covered belts
- Chinese ball buttons (by knotting the tubes)
- Decorative ties and closures
- Spaghetti straps for camisoles and dresses
- Fine piping for delicate fabrics
Once you master the basic technique, you'll find countless ways to incorporate it into your sewing projects.
Conclusion: A Detail Worth Mastering
Rouleau button loops represent the beautiful intersection of function and artistry in sewing. While they require a bit more time and attention than standard buttonholes, the elegant results elevate your handmade garments to heirloom quality.
I encourage you to try this technique on your next project—perhaps start with just one or two loops on a small detail like a cuff or keyhole opening. As your confidence grows, you'll find yourself incorporating this lovely finish into more of your handmade wardrobe.
Have you tried making rouleau button loops before? Which Seamwork pattern would you like to enhance with this elegant closure technique? Share your experiences and ideas in the comments!

