
 Sign In
We've all been there. You're excited to start a new sewing project, but then you spend nearly an hour just wrestling with pattern paper, second-guessing your size, and hunting for tools. By the time you actually start cutting, your initial enthusiasm has faded into frustration.
I've been sewing for almost 30 years, and I can tell you that inefficient pattern cutting is one of the biggest momentum killers in sewing. When you're constantly battling unwieldy paper, squinting at confusing size lines, or searching for missing scissors, you lose focus on what really matters: making precise, confident cuts.
Today I'm sharing five simple tricks that will revolutionize your pattern cutting process. These aren't complicated techniques that require expensive tools—they're practical solutions that address the most common cutting frustrations every sewist faces.

Why Efficient Cutting Matters
Think about it: pattern cutting is the foundation of every single project you make. When this step is smooth and streamlined, everything that follows becomes easier. You'll have more energy for the actual sewing, better accuracy in your finished garments, and most importantly, you'll maintain that excitement that got you started in the first place.
Trick #1: Highlight Your Size Lines (Or Use Pattern Layers Strategically)
Here's a preparation step that most sewers skip because it seems like extra work, but it's actually the difference between smooth, confident cutting and constantly second-guessing yourself with every snip.
If you're working with PDF patterns that include multiple sizes, you have two great options. For sewists who are still figuring out fit or trying a new pattern company, I recommend printing all the sizes and then taking a bright highlighter—yellow or pink work beautifully—and tracing over your size line on every single pattern piece.
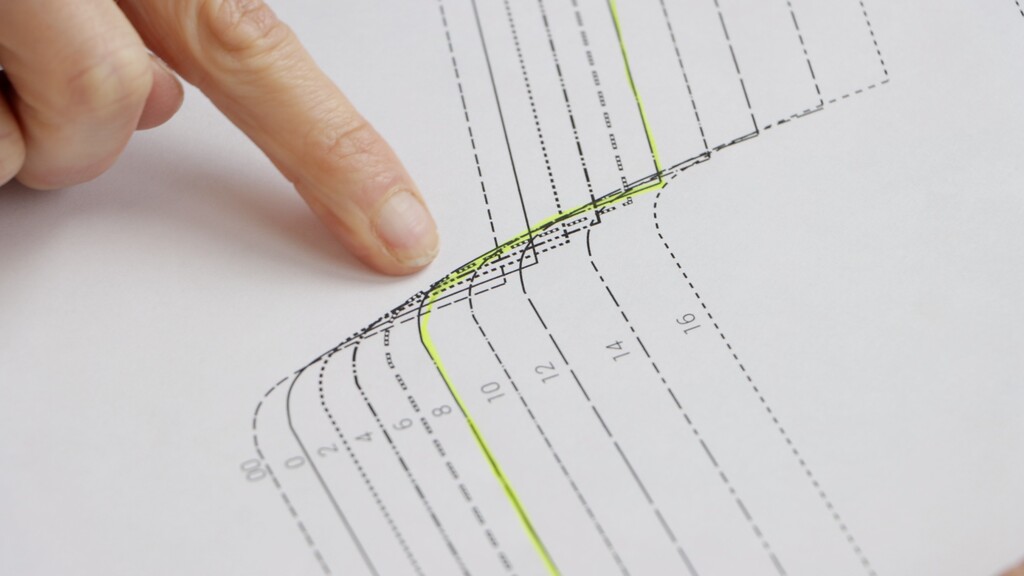
When you're cutting fabric, you're already focused on keeping your scissors steady and following the cutting line accurately. The last thing you want is to pause every few inches to figure out which line you're supposed to be following. With your size highlighted, there's no second-guessing, no squinting at tiny numbers, and no accidentally jumping to the wrong size mid-cut.
If you're more confident about your sizing, you can use the layer feature in Adobe Acrobat. Simply click off the layers for the sizes you don't need, save your pattern, and print just your size. This gives you clean, single-size pattern pieces that are even easier to follow.
Both approaches work beautifully—choose the one that matches your confidence level with the pattern.
Trick #2: Cut Pattern Pieces Apart Before Layout
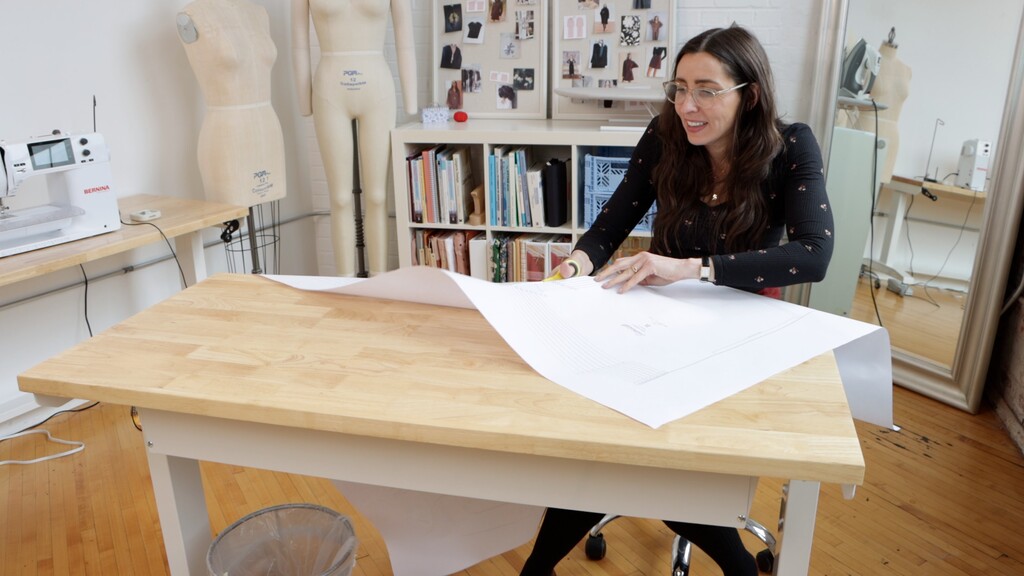
You know that moment when you're excited to start cutting, so you spread your entire printed pattern across your cutting table? Suddenly you've got this massive sea of pattern paper everywhere, and the moment you start cutting the first piece, everything else starts sliding around and falling off the table.
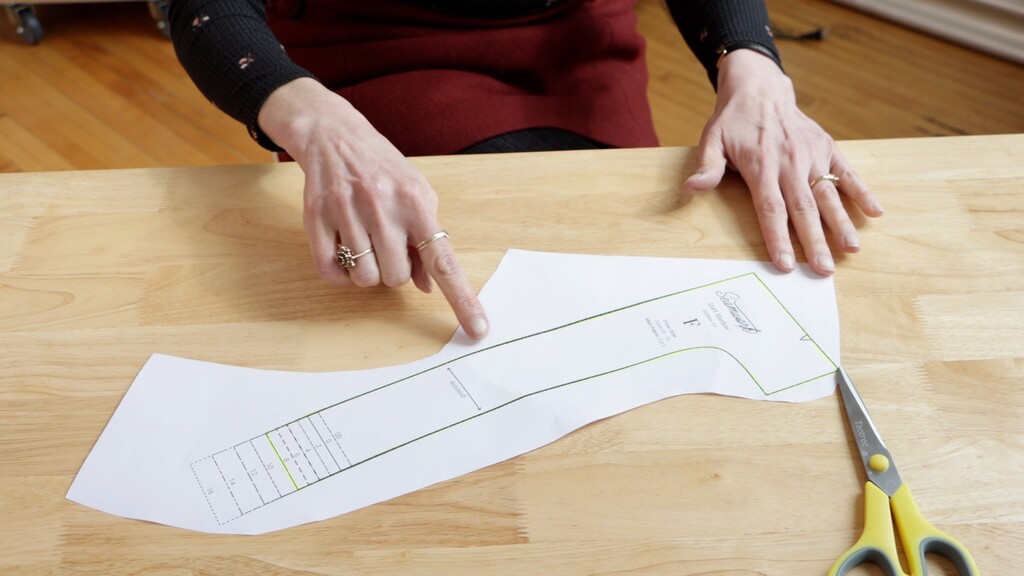
Here's how to completely eliminate this problem: before you even think about laying out your fabric, use your scissors to roughly cut around each pattern piece, leaving about an inch of extra paper around the edges.
Now you're working with individual, manageable pieces instead of wrestling with paper that's constantly shifting. You can focus on your cutting line instead of battling paper that keeps getting caught under your scissors. This approach gives you better accuracy, less frustration, and way more control.
I learned this trick after years of fighting with unwieldy pattern sheets, and it's one of those simple changes that makes you wonder why you didn't think of it sooner.
Trick #3: Use a Screw Punch for Perfect Pattern Markings
There's one small tool that costs less than ten dollars but will revolutionize how you handle one of the most tedious parts of pattern cutting. You might not even know this tool exists, but once you try it, you'll wonder how you ever managed without it.
I'm talking about a screw punch—it's designed to make clean, precise holes in paper, like a tiny hole punch that you can use anywhere on your pattern. Here's how it transforms your marking process: make a hole right at the tip of your dart on your paper pattern. When you lay your pattern on your fabric, use your fabric marking chalk to mark through that hole onto the wrong side of your fabric.
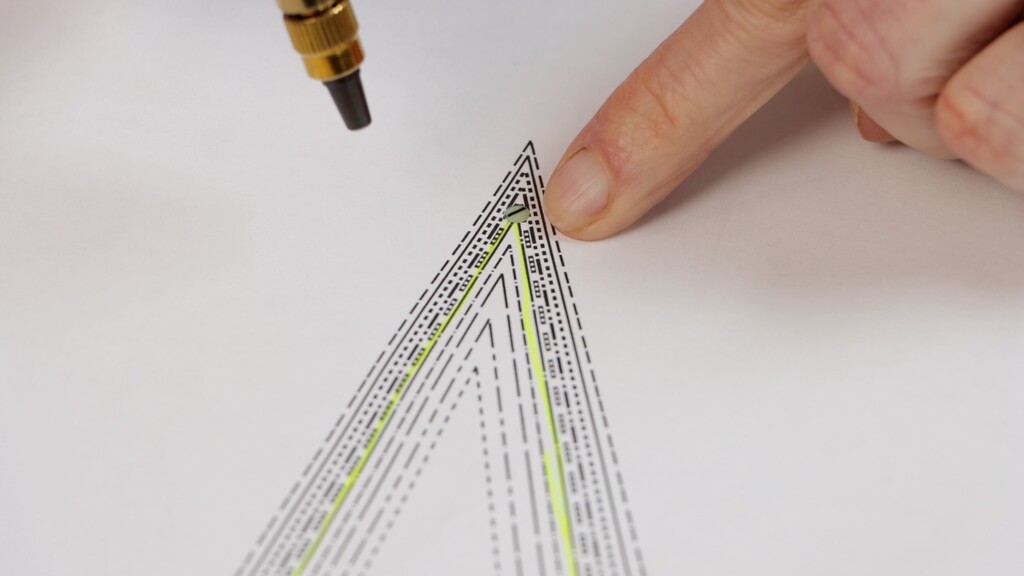
You now have perfectly placed dart markings that took seconds instead of minutes to transfer. But darts are just the beginning. You can use this technique for pocket placement, button markings, any kind of construction detail that needs to be precisely positioned.
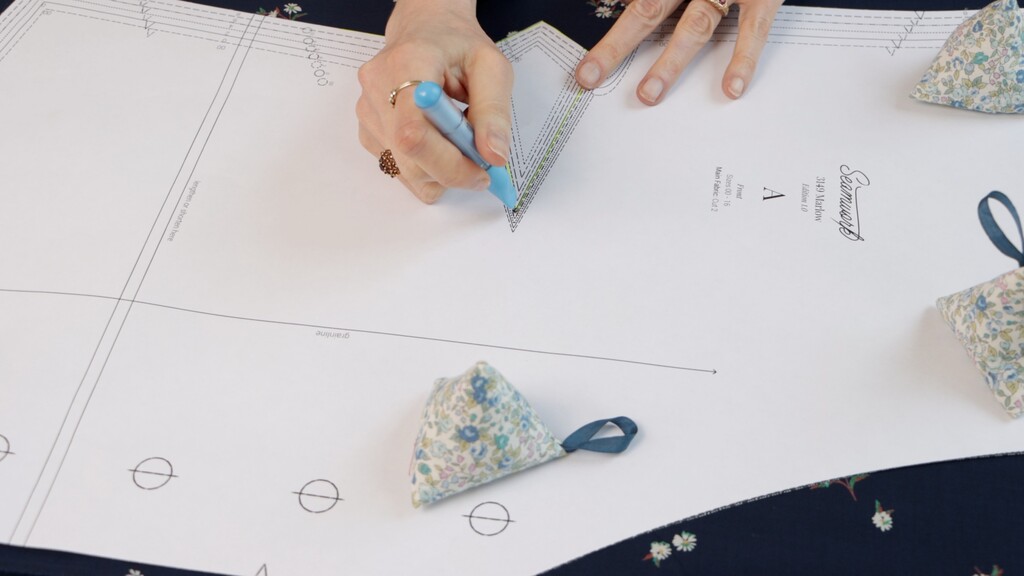
The beauty is that when it's time to cut your fabric, your markings are already done—no more stopping mid-cut to figure out where things go. This is especially helpful when working with Seamwork patterns like the Ash dress or the Taylor wrap dress, which have multiple dart and construction details that need precise placement.
Trick #4: Keep All Cutting Tools on a Dedicated Tray
Here's a frustrating scenario that I bet has happened to you more times than you'd like to admit. You're ready to start cutting, your fabric is laid out perfectly, your pattern pieces are positioned just right, and then you spend the next fifteen minutes hunting for your cutting tools.
Your fabric scissors have disappeared, your paper scissors are nowhere to be found, your thread snips have somehow migrated to another room, and suddenly half your sewing time is gone before you even make the first cut.
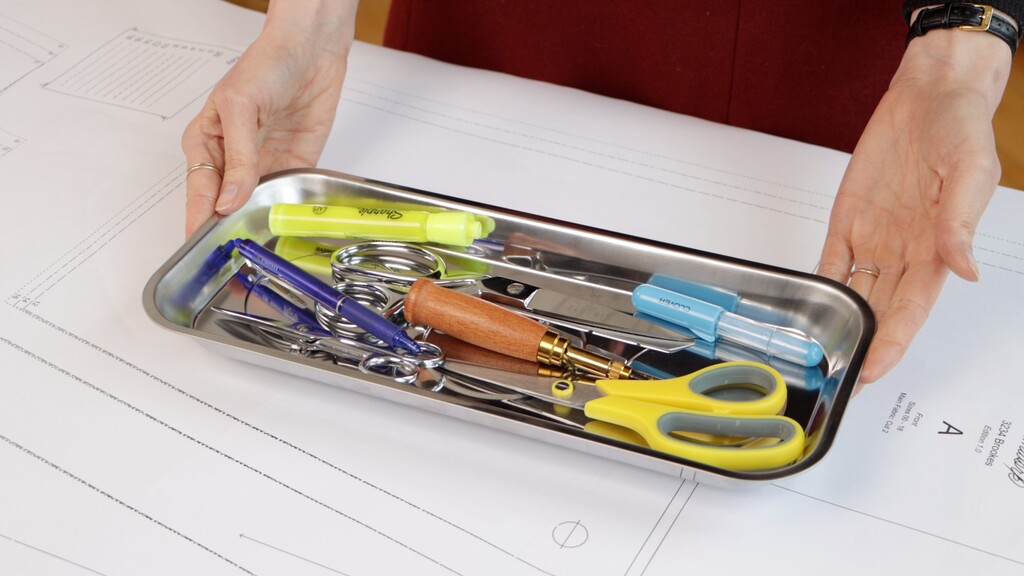
The solution is beautifully simple: keep all your cutting tools on a dedicated tray. Before you start any cutting session, gather ALL your cutting tools—fabric scissors, paper scissors, thread snips, rotary cutters, everything—and put them on the tray. Use them, then put them back.
This might seem like a small thing, but think about how much momentum you lose every time you have to stop what you're doing to search for a tool. When everything has a designated spot and you stick to the system, you can stay in that focused cutting zone where you're efficient and accurate.
I keep a vintage wooden tray on my cutting table specifically for this purpose. Not only does it keep everything organized, but it also looks beautiful in my sewing space.
Trick #5: Switch to Rotary Cutters and Pattern Weights
Most sewers stick with pins and scissors because it's what they learned first, but this method eliminates the main problems that cause cutting errors and slowdowns.
With pins, you're constantly dealing with fabric that shifts slightly, especially with lightweight or stretchy materials. And with scissors, you're having to carefully maneuver around those pins while constantly lifting your pattern to see where you're cutting—all of this creates opportunities for mistakes and forces you to go slowly.
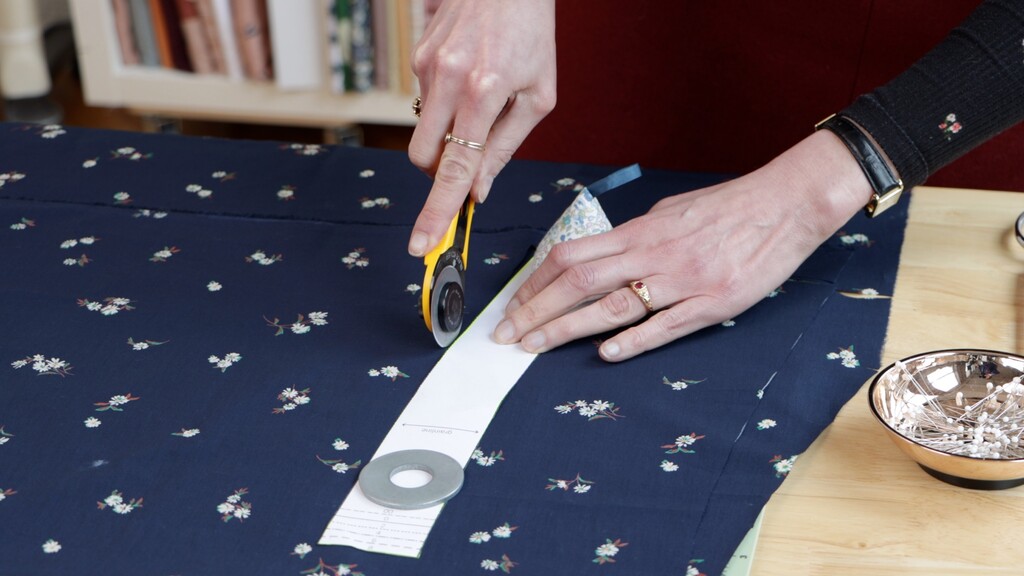
Here's the method that changes everything: ditch the pins and scissors in favor of a rotary cutter and pattern weights. Pattern weights hold your pattern pieces completely flat against your fabric without any distortion. Then, you can run your rotary cutter along the edge of your pattern in one smooth, continuous motion. No jagged scissor cuts, no repositioning, no pins slowing you down—just clean, precise cuts every single time.
Here's a pro tip: invest in multiple sizes of rotary cutters. I keep a large 45mm rotary cutter for long, straight edges—it covers more ground and gives you nice, smooth lines. For tight curves and detailed areas, I switch to a smaller 28mm rotary cutter that gives me much more control.

Consider getting a second rotary cutter that you use exclusively for paper. If you're working with PDF patterns regularly, having a dedicated paper rotary cutter means you never have to worry about dulling your fabric blade, and you can cut out your paper patterns with the same speed and precision as your fabric.
Pattern Weight Options That Actually Work
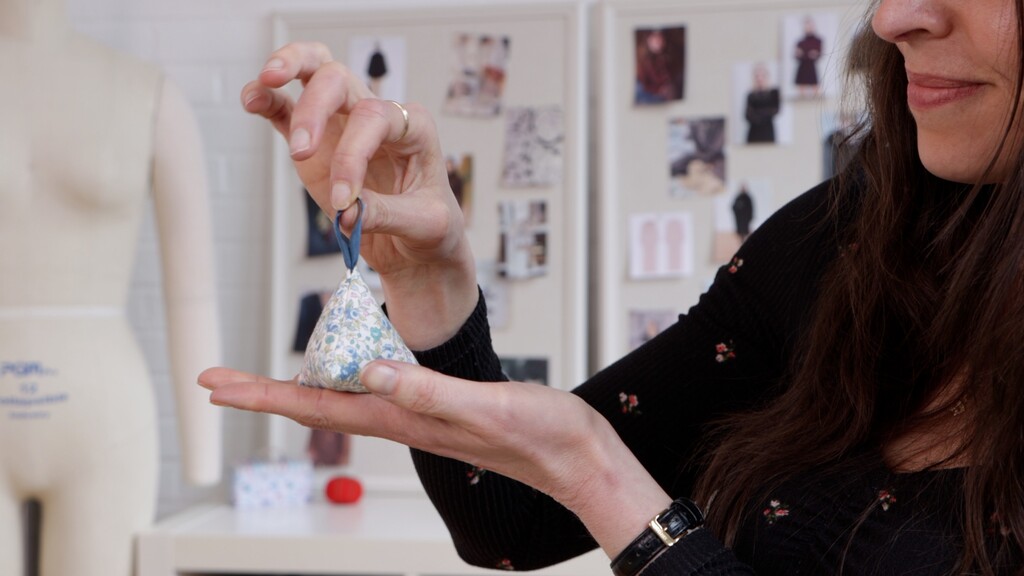
As for pattern weights, you have lots of options. You can make your own using fabric scraps filled with rice or poly pellets—we actually made some beautiful ones here in the studio using leftover fabric from Seamwork projects. If you want something even simpler, large washers from the hardware store work perfectly. Read this article on DIY pattern weights for step-by-step instructions.

The key is having enough weight to hold your pattern flat without being so heavy that they're cumbersome to move around. I find that 3-4 ounces per weight is the sweet spot.
Making These Changes Work for You
The initial investment in rotary cutters and weights might seem like more than you want to spend, but when you calculate how much time you'll save on every single project, it pays for itself incredibly quickly. Plus, your cuts will be more accurate, which means better-fitting garments and less frustration during construction.
These techniques work especially well with Seamwork patterns because our pieces are designed with clean, smooth cutting lines. Whether you're working on the simple rectangles of the Quince Day Robe or the curved pieces of the Dezi skirt, these cutting methods will make your process smoother and more enjoyable.
Remember, efficient cutting isn't just about speed—it's about creating the right conditions for accuracy and enjoyment. When you're not fighting with your tools and techniques, you can focus on the creative aspects of sewing that drew you to this craft in the first place.
The next time you're ready to start a project, try implementing just one or two of these tricks. I think you'll be amazed at how much smoother your cutting process becomes, and how much more energy you'll have for the actual sewing.

