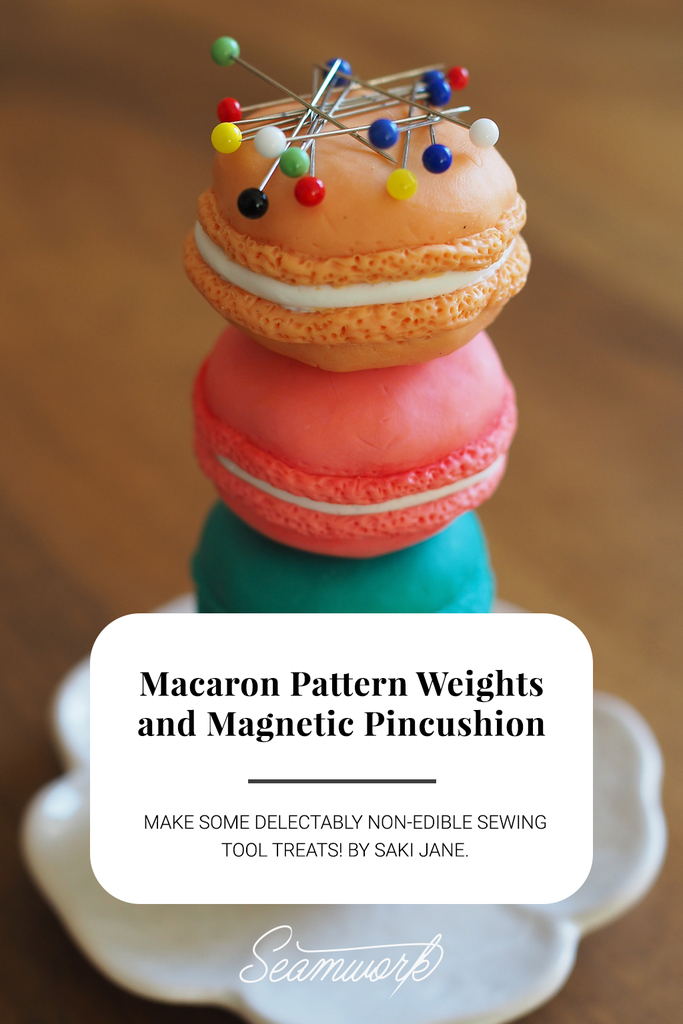
Did you ever play with polymer clay as a child? Aside from quilting with my mom, sculpting figurines out of bakeable clay was one of my favorite creative hobbies. Commonly referred to by brand names Fimo or Sculpey, it’s so easy to use, and kid-friendly, I was able to occupy myself for hours creating random objet d’art. But because I associate Fimo so heavily with my childhood, I hadn’t thought it could be considered a creative medium for adults until I started seeing polymer clay pattern weights popping up on social media.
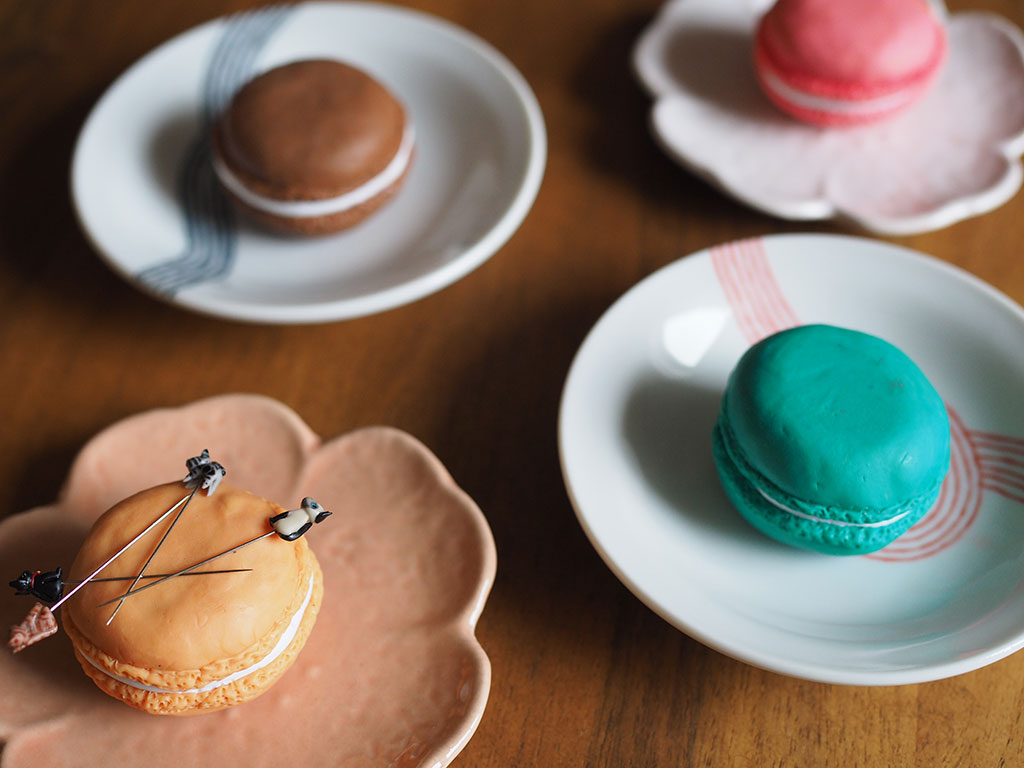
Researching this how-to led me down a long and windy rabbit trail of a world of polymer creations and YouTube videos. For example, I had no idea that colored pastel shavings could be used to paint shadows and textures onto clay before it’s baked or that liquid polymer clay can be mixed with pigment and used as a glaze of sorts. It turns out that with the right tools and tactics, polymer clay can be made into some pretty interesting pieces.
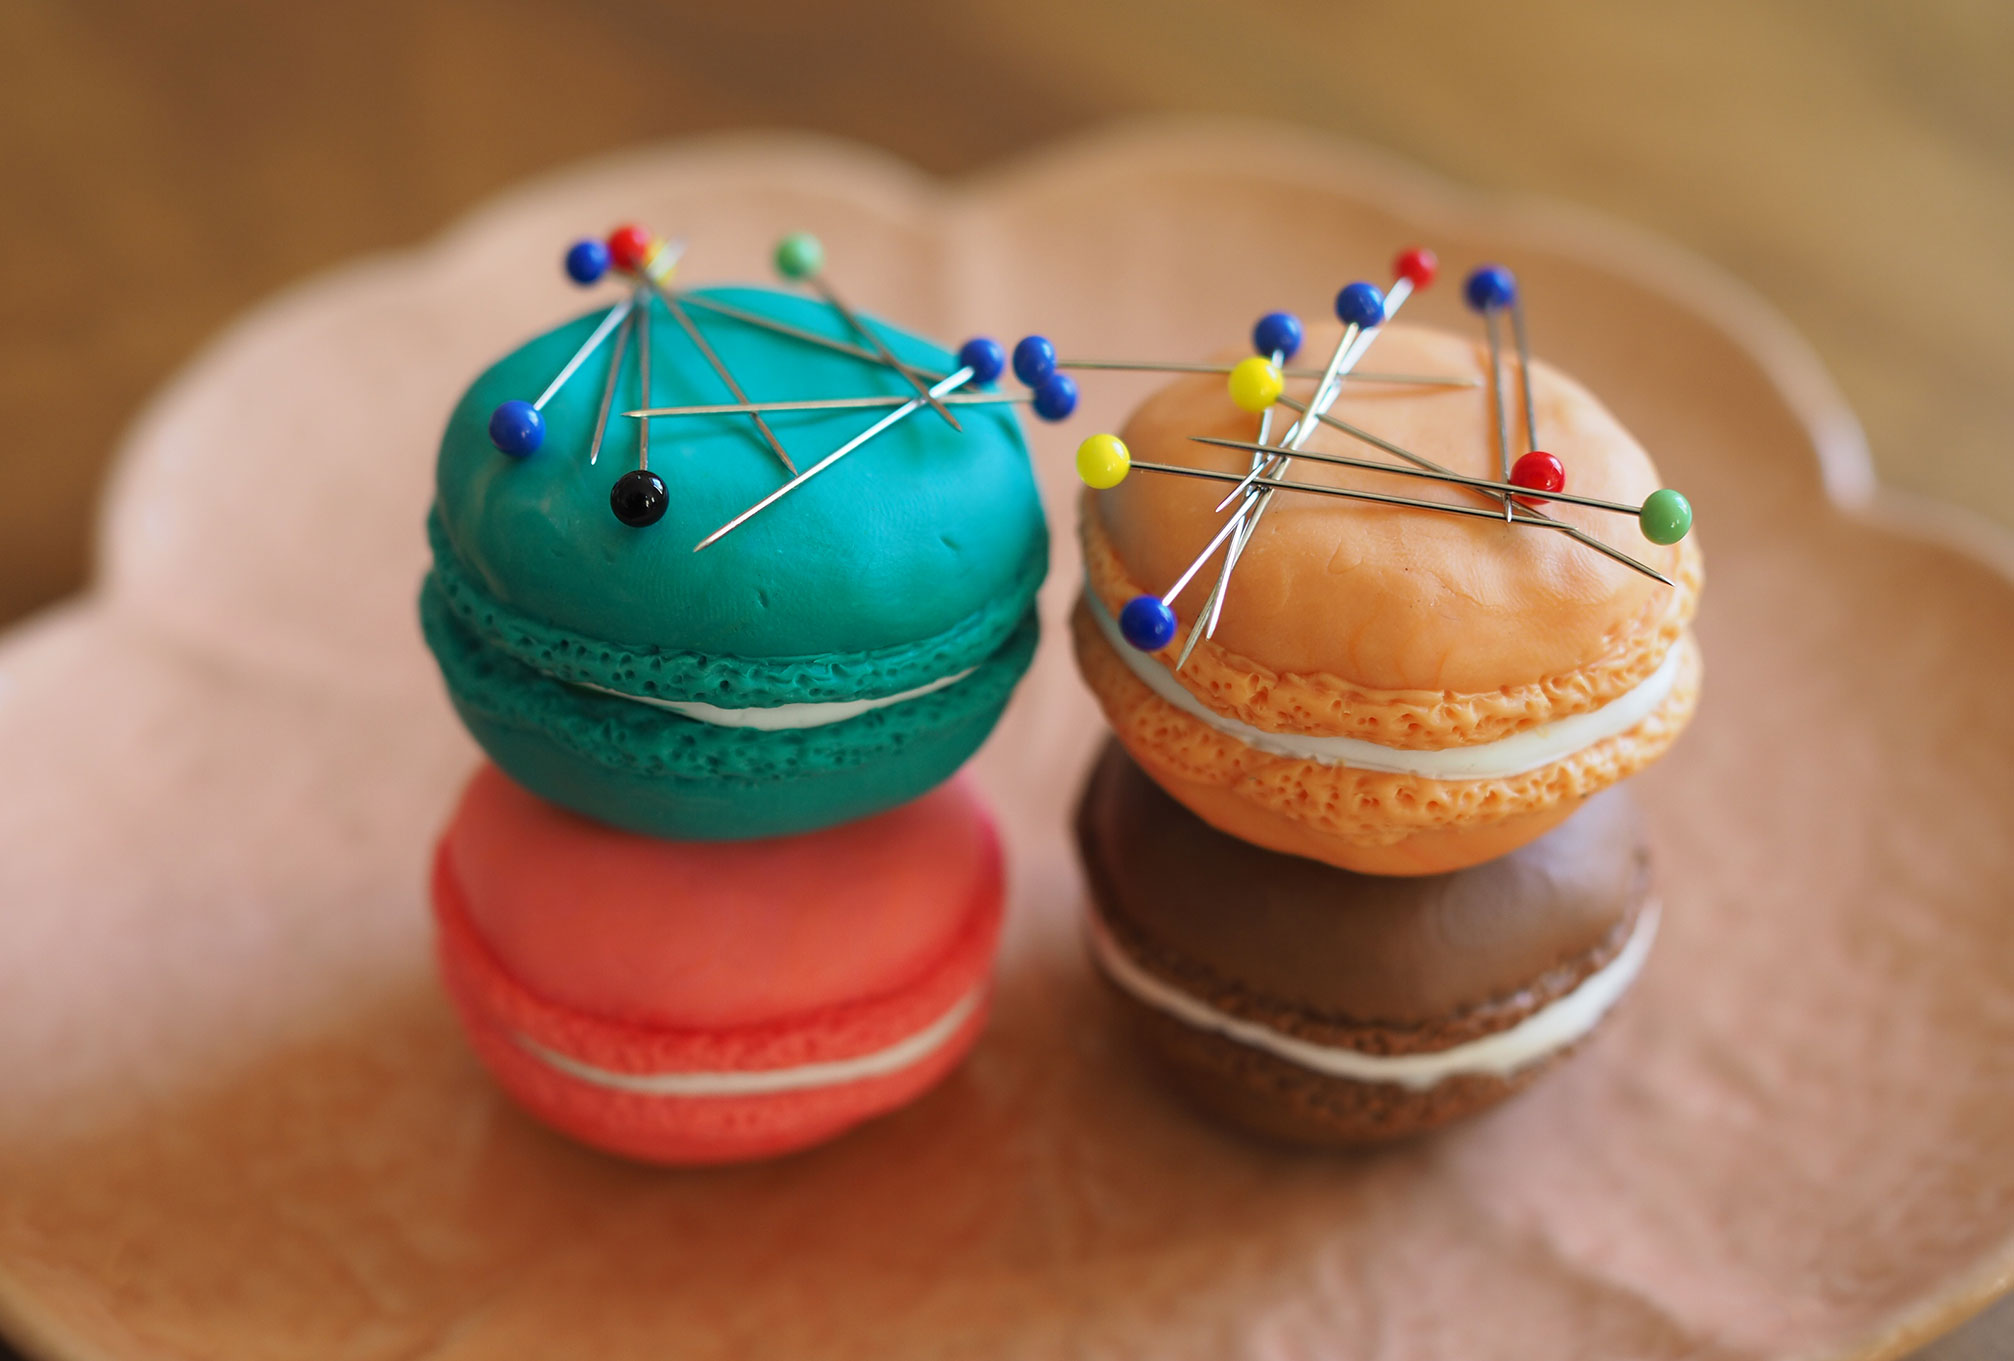
But there’s no need to buy a whole slew of new art supplies for our project this month. We’re going to keep things simple with these macaron pattern weights and magnetic pincushions. These have been on my to-make list for ages, so I’m excited to share the process today!
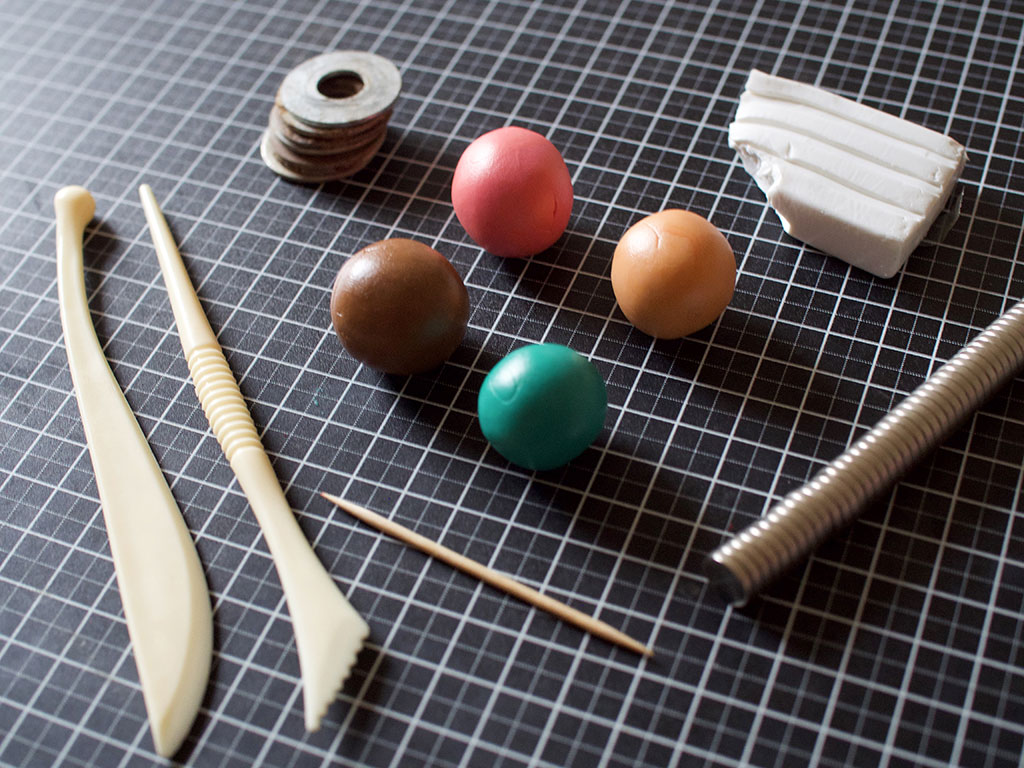
A note about magnets:
Most magnets will lose their magnetism when heated to over 176 degrees Fahrenheit, so the type of magnet you use for this project is important. There are only a few types of magnets that can resist heat treatment, but the strongest and most commercially available magnet is Neodymium. Make sure that the Neodymium you purchase is graded SH, UH, EH, or AH to be sure that it can withstand the heat needed to bake your polymer clay.
Additionally, Neodymium magnets come in all sorts of shapes and sizes, but it’s difficult to find smaller sizes in the US. For ease, I recommend a flat disc of the same size as your washers.
Finally, because of their magnetic strength, Neodymium magnets can be extremely dangerous if swallowed. Keep those magnets away from kids and pets!
Let’s Get Started!
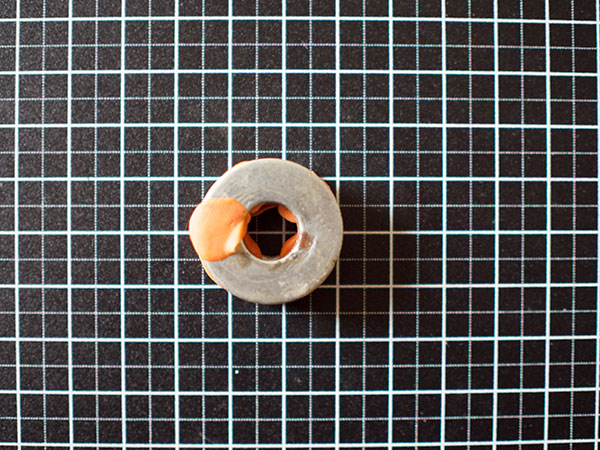
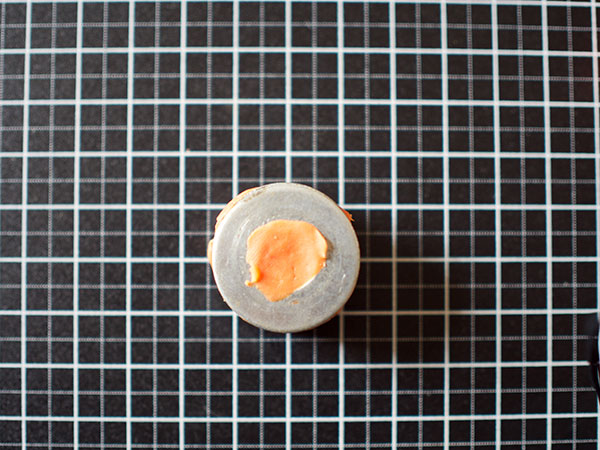
First, you’ll need to stick your washers together to keep them from shifting about while you’re assembling your macarons. Sandwich a pinch of clay between each washer to act as a sort of glue. In this and the following steps, I use one of my least favorite colors that came in my multi-pack, because it won’t be visible in the finished macaron. I call this color my “throwaway clay.” P.S. if my washers look grimy, it’s because they are! I stole them from my husband’s workshop, knowing that they won’t be getting used any time soon. Reduce, reuse, recycle!
Roll a piece of throwaway clay between your palms into a cylinder until it’s a little less thick in diameter as the hole in the middle of the washers, then shove it inside the hole. Try to fill the hole with as much clay as you can fit. This helps to stabilize the washers.
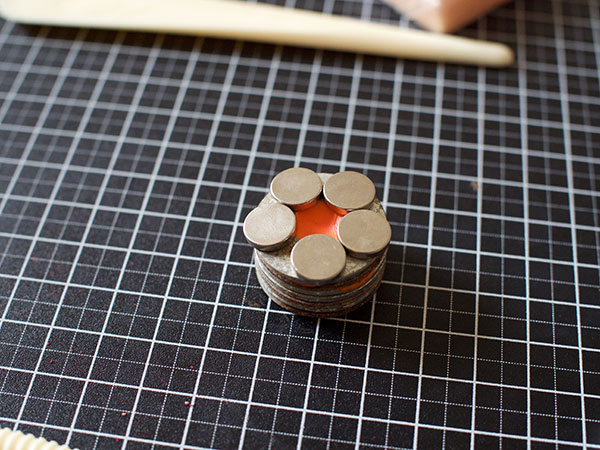
If you’re making a magnetic pincushion, place your Neodymium magnet(s) on one side of your washer stack. They should stay on there by sheer magnetic force. If you’re using multiple magnets like I did, fill the gaps between the magnets with more throwaway clay.
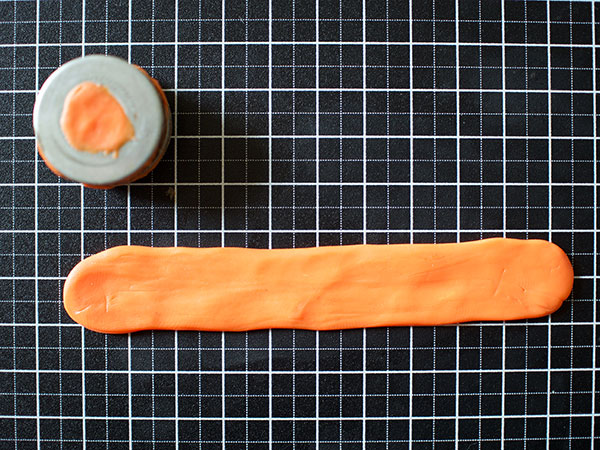
Roll one flat rectangle of throwaway clay about as long as the circumference of your washers and as tall as the stack. Wrap this rectangle around the outside of your washer stack.
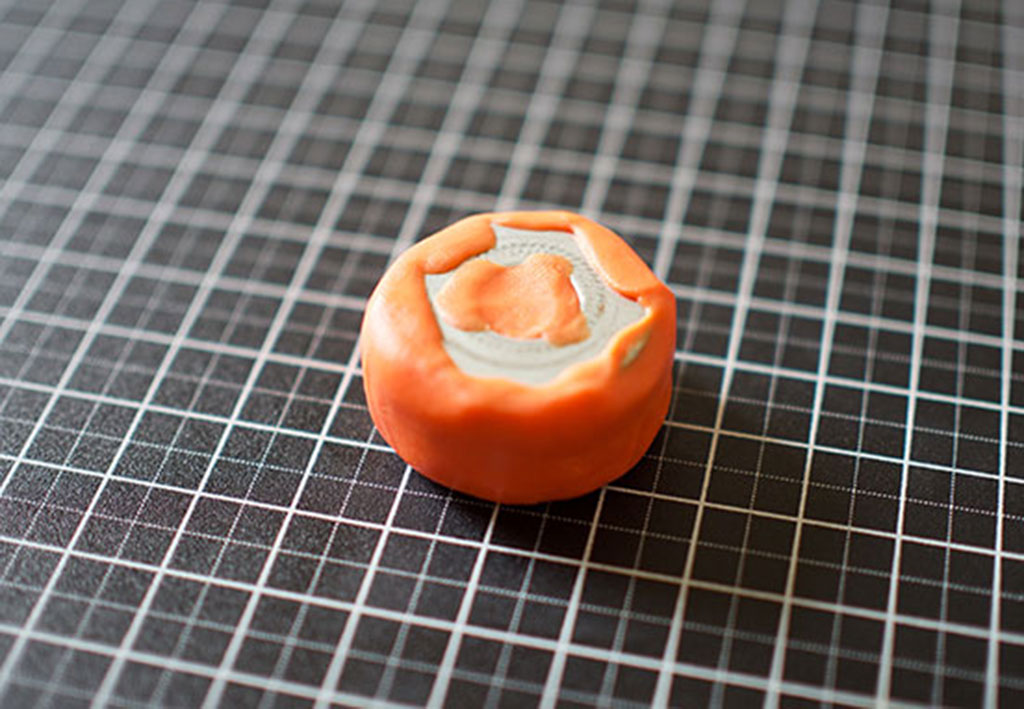
Roll two small balls of throwaway clay, then flatten the balls with your fingers or another hard surface to create flat circles the same size as your washers. Cover the top and bottom of your washer stack. Smooth the edges with your fingers.
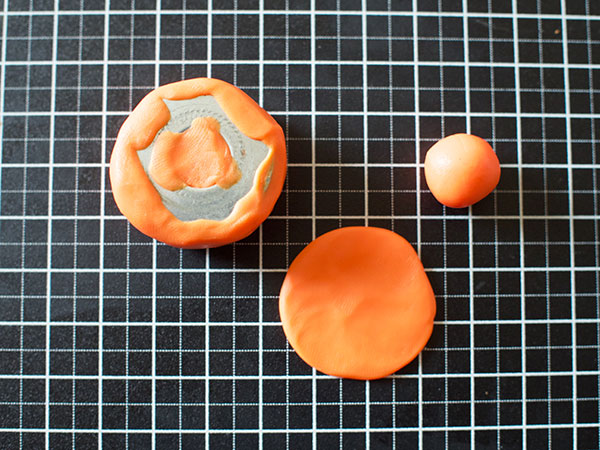
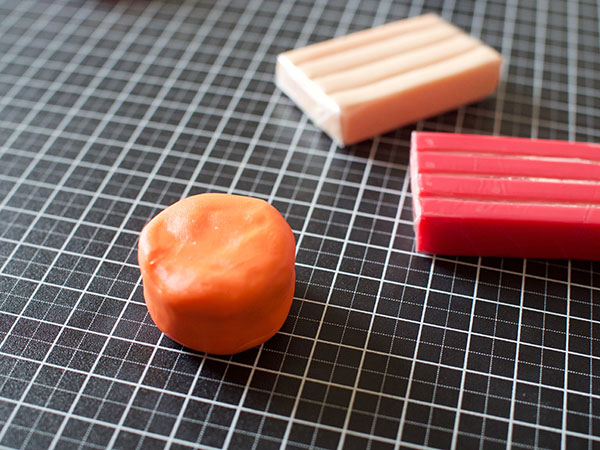
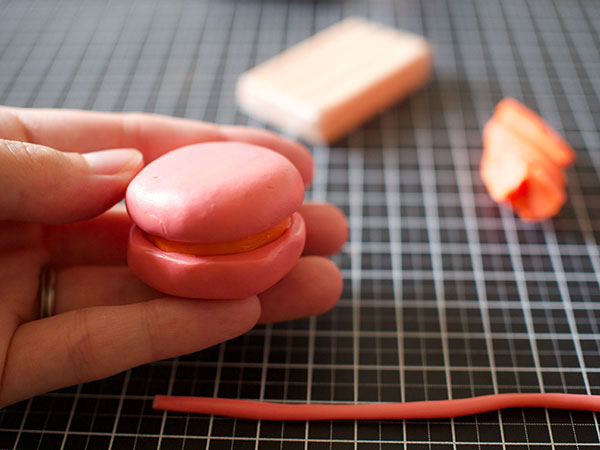
We’re now moving on to the outer layer of your macaron, so let’s prep your chosen clay colors. Roll two balls of your chosen clay slightly larger than the ones rolled in step 5. Flatten these balls in the same way, but to a slightly larger size than the top of your washer stack. Roll two snakes in your chosen clay and one in white clay that are long enough to wrap around the circumference of your washer stack once.
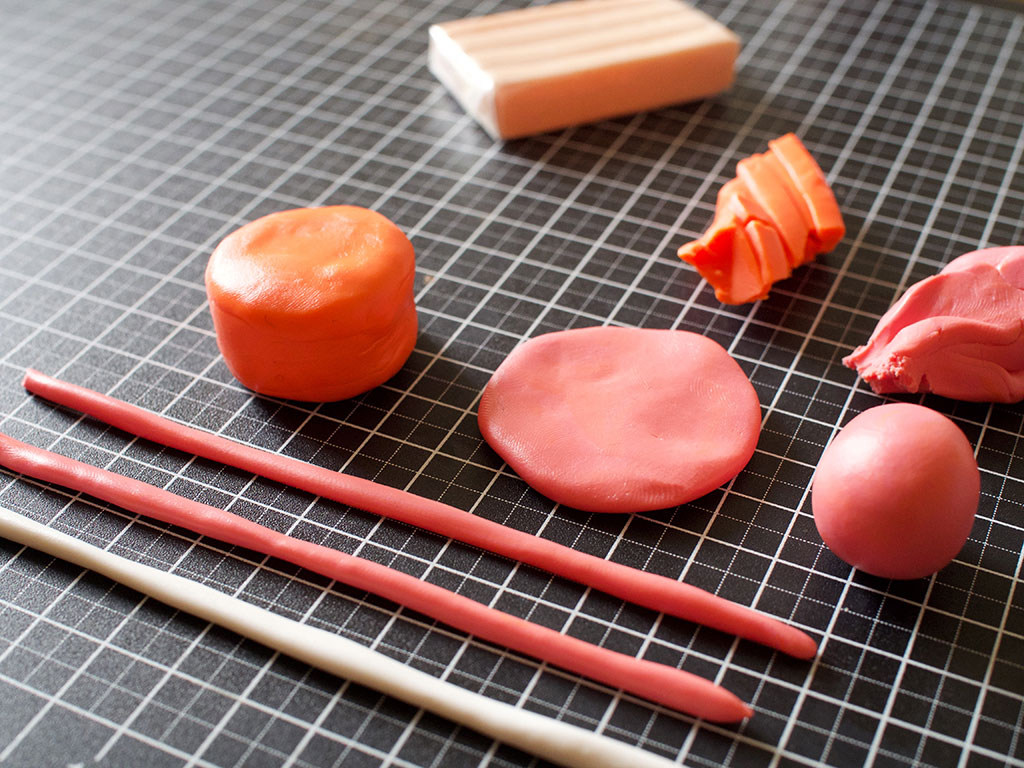
Place your flattened circles on the top and bottom of your washer stack and fold the excess clay over the edge of the washer stack and onto the side, with just a small gap of throwaway clay visible.
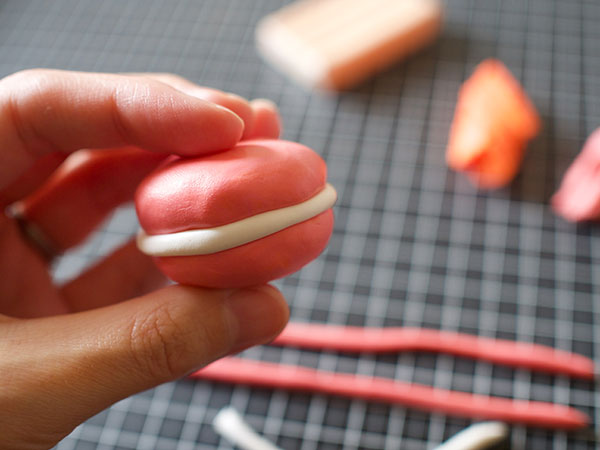
Place your snake of white clay in the gap you just made. Then wrap each of your chosen clay snakes on either side of the white clay snake to make a sandwich. You’re in the home stretch of your macaron pattern weight! Don’t be too worried about making these snakes lay perfectly—I’ve found that the less even these rings are in size, the more realistic the macaron looks in the end.
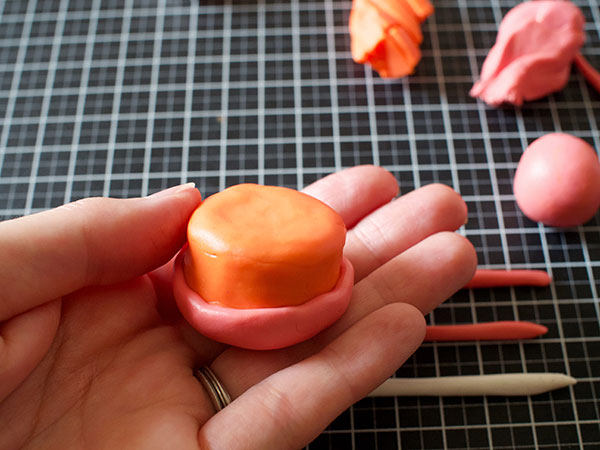
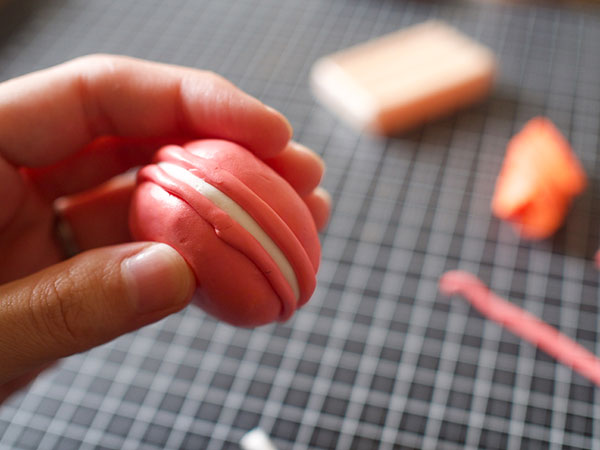
Like most things, the devil is in the details. Surprisingly, the only detail here that really makes the macaron look like patisserie-purchased treats is the stippling in the edge of the cookie. Using a toothpick, toothbrush, or other poking device, create texture and pockmarks on the chosen clay rings you’ve just added. The more texture, the better.
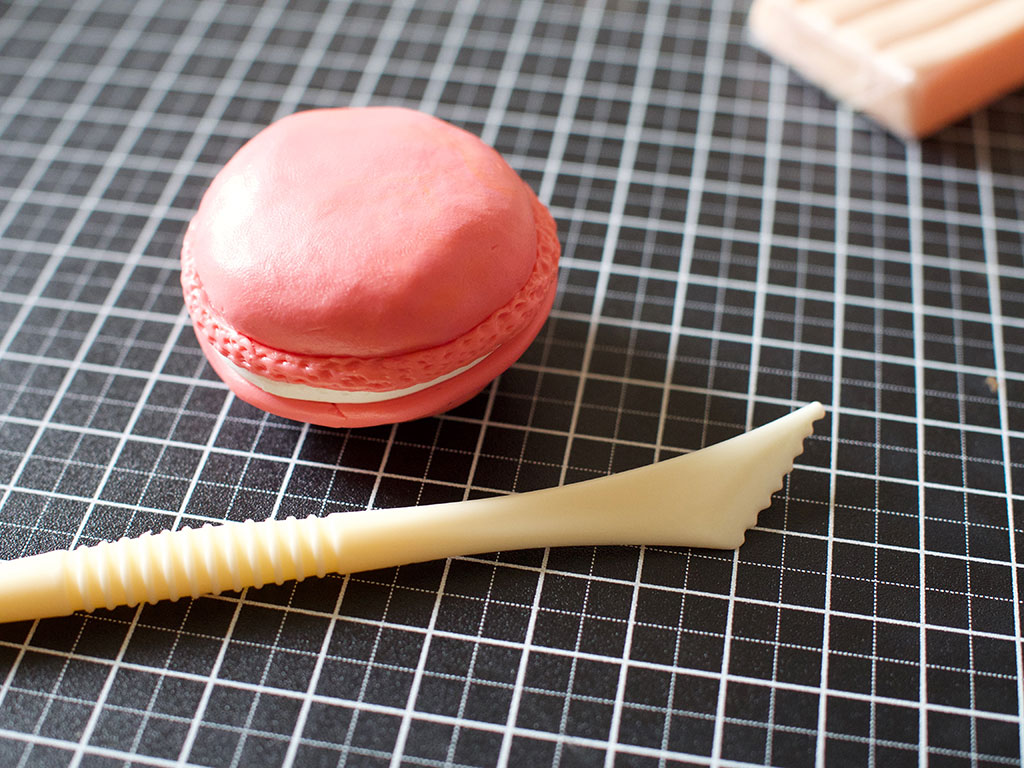
Preheat your oven to 265 degrees Fahrenheit or the temperature directed to you by your polymer clay package. While the oven is preheating, use your fingers to smooth the surface of the macaron and place your polymer art on foil on a baking sheet.
Bake your clay creations for 20-25 minutes, and let cool completely before handling. Congratulations! You’ve just made yourself some delectably non-edible sewing tool treats!

Saki Jane
Contributing Writer
Saki Jane has been sewing for over two decades, with a background in fashion and bridal design. Now, she finds pleasure in crafting her own wardrobe and sharing the joy of sewing with others through workshops and tutorials. You can find her work on Instagram @sakijane and at her blog at sakijane.com.
 Related Articles
 Best Articles