

Have you ever fallen in love with a check or stripe fabric, then talked yourself out of buying it because matching the pattern felt like too much work?
You're not alone. Even experienced sewists avoid these fabrics — not because they're actually that hard to sew, but because pattern matching feels intimidating before you start.
Here's the thing: once you know a handful of techniques, it becomes much more manageable than most people expect.
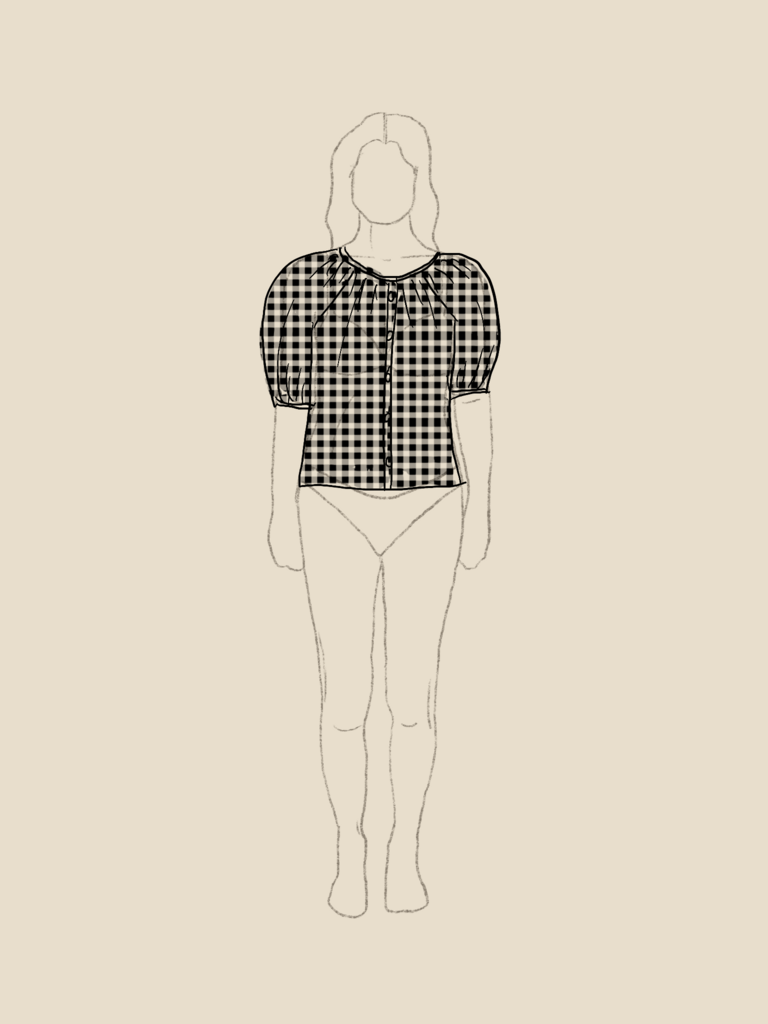
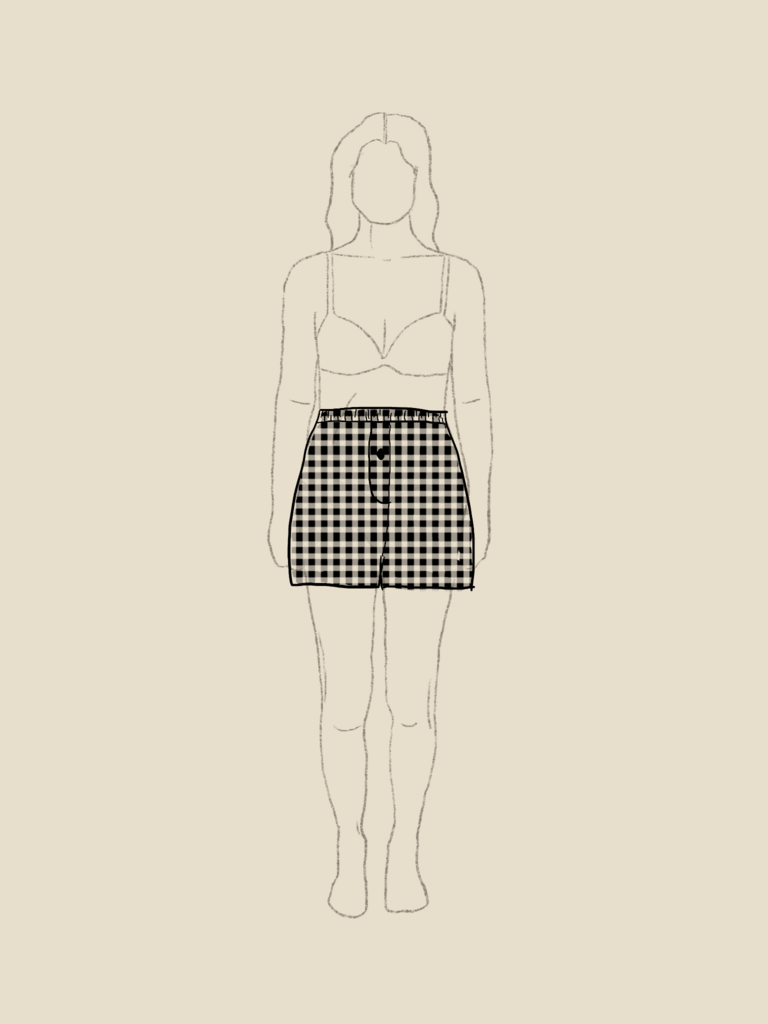
I've been sewing for almost 30 years, and this summer I've been building a mix-and-match capsule wardrobe using black and white gingham for two of my pieces — the Leif boxer shorts and the Fern blouse. Working with a graphic, regular check like that really made me think carefully about where those lines would land. And when they line up? It just looks so intentional. Like you really took care with it.
Today I'm sharing the five pattern-matching tricks I rely on most, so you can sew stripes and checks with confidence instead of avoiding them.
Tip 1: Prioritize Which Seams to Match
Here's the mindset shift that makes the whole thing less stressful: it's often impossible to match every single seam in a garment. And if you go in trying to, you'll exhaust yourself before you've even gotten to the fun part.
So the question I always start with is — which seams actually matter?
The answer is usually pretty obvious once you think about it. Start with center front and center back first, because that's where people's eyes go first. Then sleeves. Then side seams. Shoulders last, if you can manage it at all.
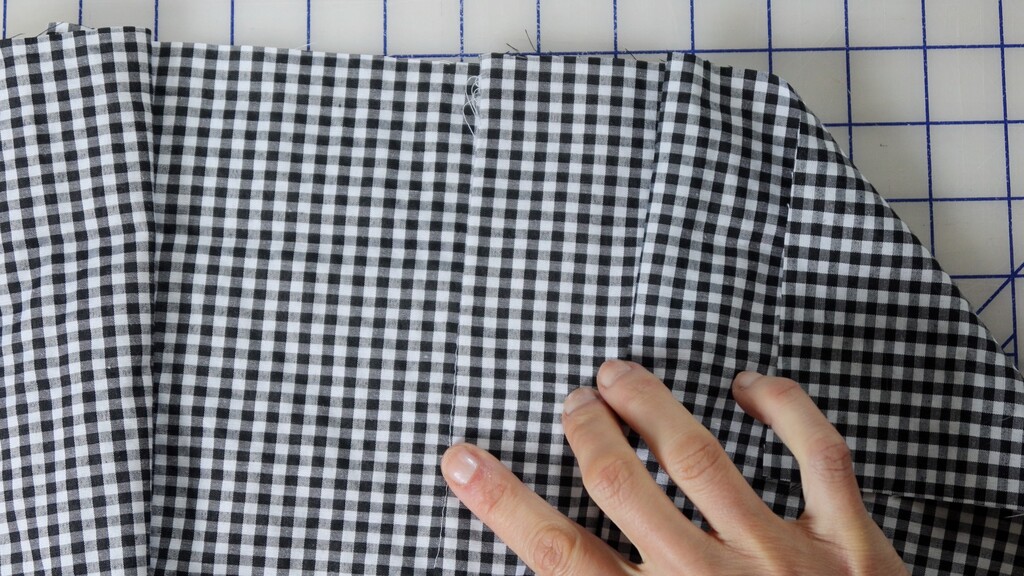
On the Fern, the raglan sleeves and gathering at the neckline kind of made the decision for me. When a seam is heavily gathered, the fabric is bunched up anyway — there's no clean line for the eye to follow, so matching there just isn't going to read. The pattern narrowed my options down on its own. Which honestly was a relief.
Pattern matching isn't something you have to do perfectly everywhere. It's something you apply where it counts. Give yourself permission to decide that, and the whole thing gets a lot less stressful.
Tip 2: Cut Some Pieces on the Bias
This next tip is one you've probably noticed on higher-end ready-to-wear without ever realizing it — and once you know about it, it's going to save you a lot of trouble on the fiddly little pieces that are hardest to match.
Have you ever noticed how on nicer shirts some of the pattern pieces are cut at an angle? That's bias cutting, and it's a classic move. When you cut a placket, pocket, or yoke on the bias, the check rotates into a diamond or chevron pattern. Instead of fighting to match those lines, you're turning the potential problem into a deliberate design detail.
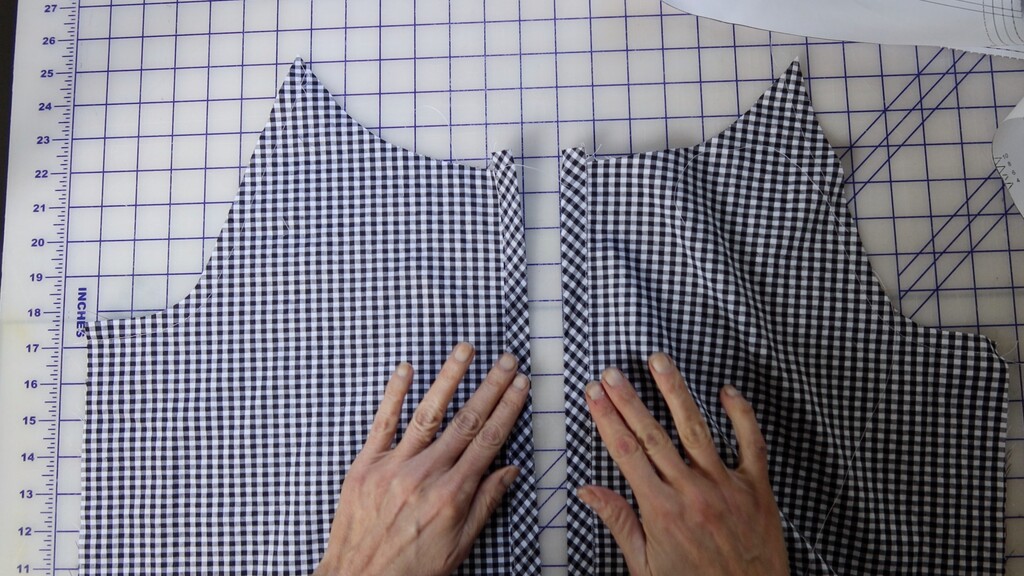
I cut the placket on my Fern on the bias, and in a high-contrast black and white gingham you can really see it. It looks like a feature of the garment, not a workaround. Yokes and patch pockets are the other big candidates for this treatment — a bias-cut back yoke on a check shirt is one of those details that looks really considered without requiring a lot of extra effort.
If you're working with stripes rather than checks, there's an even simpler version of this trick. Instead of going on the bias, just rotate the piece 90 degrees. If the body of your garment has vertical stripes, cut your yoke or pockets on the horizontal. It creates a beautiful contrast detail and sidesteps the matching problem entirely.
One caveat: pieces that need to be really stable — cuffs, collar stands, some placket styles — can stretch out if you cut them on the bias. For those, you're better off just matching as best you can.
Tip 3: Draw Your Seam Allowances Before You Cut
This is the tip I wish someone had told me earlier, because it's the kind of thing that seems obvious once you hear it — but it's also really easy to miss.
When you're matching a stripe or check across a seam, you want the pattern to line up at the sewn seam — not at the cut edge of the fabric. And those two lines are not in the same place. There's a whole seam allowance between them.
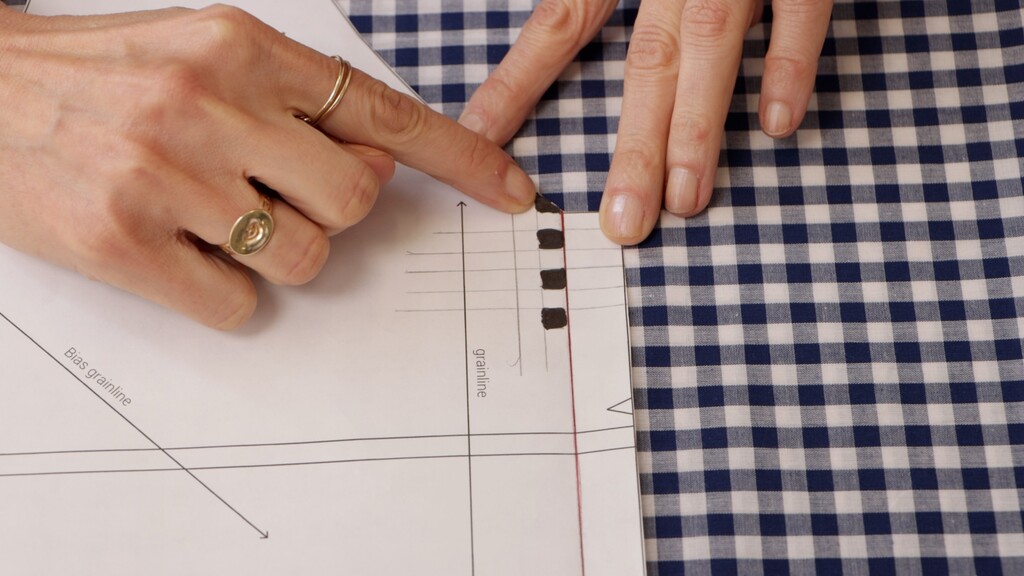
So: draw your seam allowances onto your pattern pieces before you cut. Mark the actual seamline on every piece you want to match, and align that line to the stripe or check on your fabric — not the outer edge of the pattern.
What happens if you skip this? You lay out your pieces, everything looks perfectly aligned at the raw edge, you sew your seam — and then the pattern has shifted by exactly the width of your seam allowance. After being so careful. Drawing in that seamline ahead of time means you catch it before it happens, not after.
There's a related trick I love too. Because patterns are drafted so that the underarm points meet, you can draw a straight horizontal line connecting those points across your front, back, and sleeve pieces. It's a quick way to check that all those pieces are going to hit the same stripe or check line at the same point across the body. Your side seam notches work the same way — they're not just for matching pieces together, they're alignment reference points too.
Tip 4: Cut Flat Instead of on the Fold
I know this sounds like it's adding a step, but hear me out — because it actually makes the whole matching process much more straightforward.
Most patterns have at least one piece marked "cut on fold" — you fold your fabric, place the piece along the fold, cut, and end up with a mirrored shape. For most fabrics, this works perfectly well. But when you're working with stripes and checks, cutting on the fold makes matching really challenging. Your fabric is folded, so you lose visibility of what's happening underneath, and you lose control of exactly where those lines land.
When you cut flat, you can see the whole fabric surface. You can place each pattern piece exactly where you want it and see precisely where every stripe or check line is going to fall on the finished garment. If a piece is marked "cut on fold," just trace it out as a full mirrored piece first. It takes a few extra minutes, but you have the whole shape in front of you and complete control over placement.
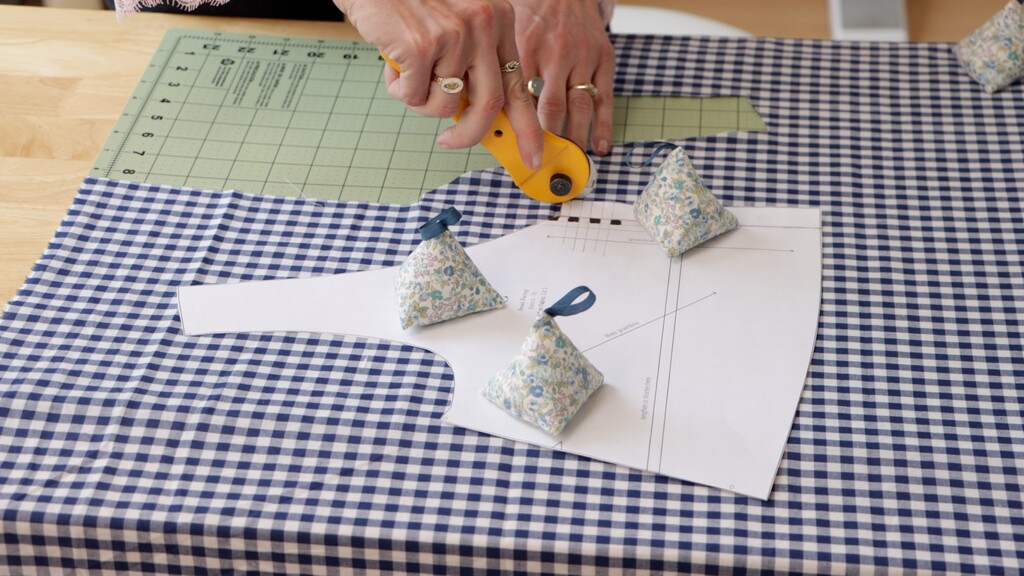
There's a really helpful trick to use alongside this too. Before you cut, take a soft pencil and lightly trace the fabric's stripe or check pattern directly onto your paper pattern pieces. You're essentially mapping the fabric onto the pattern, so you can see at a glance where every line will fall before you make a single cut. It's especially useful for visualizing how two pieces will look once they're sewn together.
Here's something that might surprise you: cutting flat can actually reduce how much extra yardage you need. When you can move pieces around freely, you can often fit them more efficiently than a folded layout allows. That said, do still plan to buy a little extra. For a small-scale pattern like a fine gingham, add about a half yard. For a larger-scale check, add a full yard. That extra fabric gives you room to experiment — like testing how a bias-cut placket will come together before you commit to cutting into the real thing.
Tip 5: Use the Lap-and-Edgestitch Method for Perfect Center Seams
This last technique is one I used on a really special project, and it's worth having in your back pocket for any time you want a center seam to be exactly right.
Last year, I was making the Kimmy dress to wear on stage at Stitchfest. I had this gorgeous vintage rayon I'd been holding onto forever — the perfect fabric for the occasion. The only thing was, the Kimmy has a seam right down the center front. With a large-scale print like that, a mismatched seam would be the first thing anyone noticed.
So I matched it using the lap-and-edgestitch method. I loved showing off that perfectly matched seam to other sewists that day. It's such a small detail, but it made me genuinely proud of the garment.
Here's how it works:
First, cut everything in a single layer so you have precise control over where every stripe or check lands.
Next, sew a line of basting stitches along the seamline of both pieces — this marks exactly where the seam will fall.
Then, fold one piece's seam allowance under along that basting line and press it crisp and flat.
Lap that folded edge over the matching piece so the pattern lines up exactly. You can see precisely what you're getting before you commit to sewing anything.
Now, use Wonder Tape to hold everything perfectly in place so nothing shifts when you get to the machine.
Finally, edgestitch along the fold.
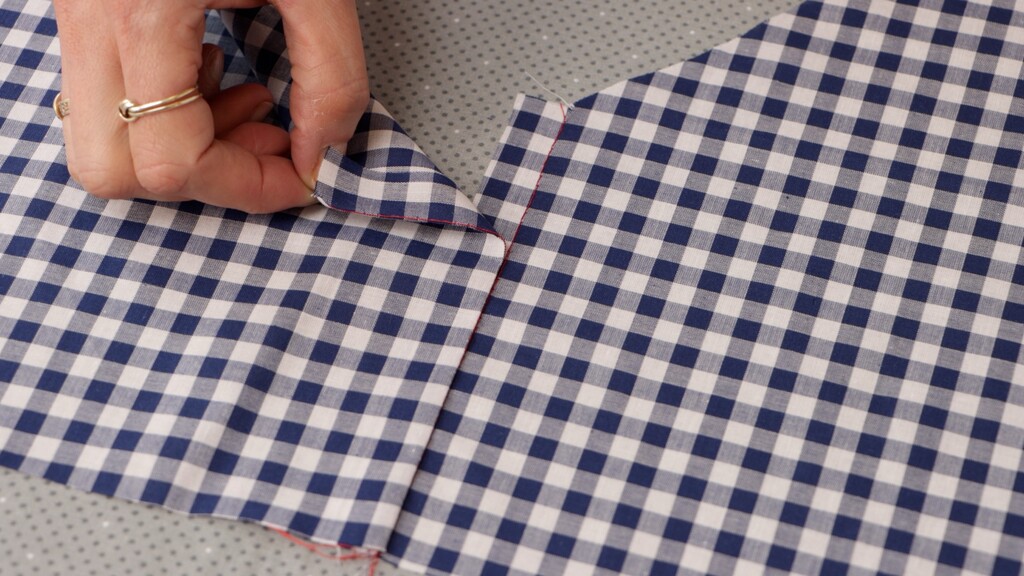
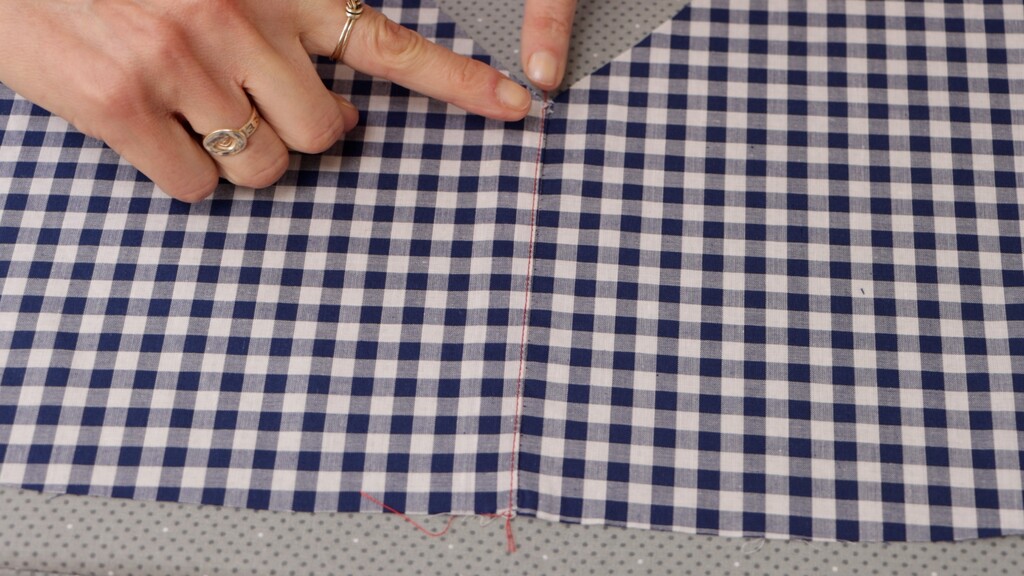
This technique works beautifully for center front seams, yoke seams, or any place where you want that match to be really sharp and visible. It takes more time than a standard seam, but once you have it in your toolkit, you'd be surprised how many patterns open up to you — including some you might have been avoiding because of the matching.
Great Patterns for Practicing Pattern Matching
Now that you have these tricks, the fun part is finding the right project to try them on. Here are a few patterns that are perfect for putting these techniques to work — from great starting points if you're building confidence, to more advanced options when you're ready to go all in.
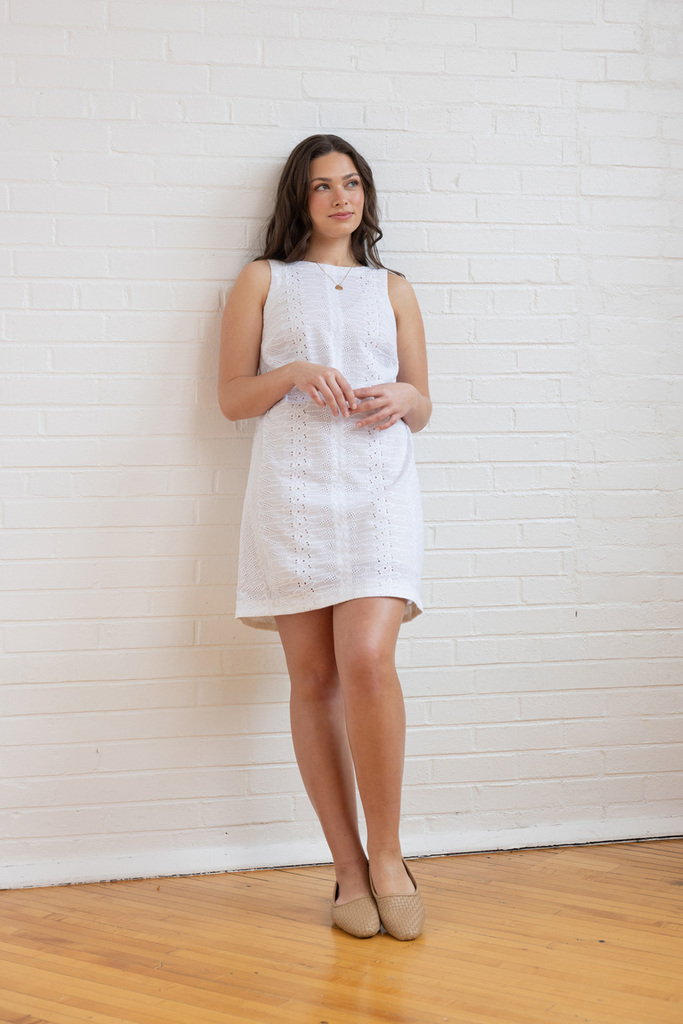
If you want to start simple, look for patterns with a small number of pieces and a center front seam. The Reed Dress is a great example — a clean shift silhouette with bust darts, a high neckline at front and V-back, finished with a side invisible zipper. The construction is approachable, and that center front seam gives you a really satisfying matching opportunity right away. The Arbor Skirt is another solid starting point — a full A-line with center front and center back seams, a bound waistband, and in-seam pockets. Matching that center front seam on a check fabric looks really intentional.
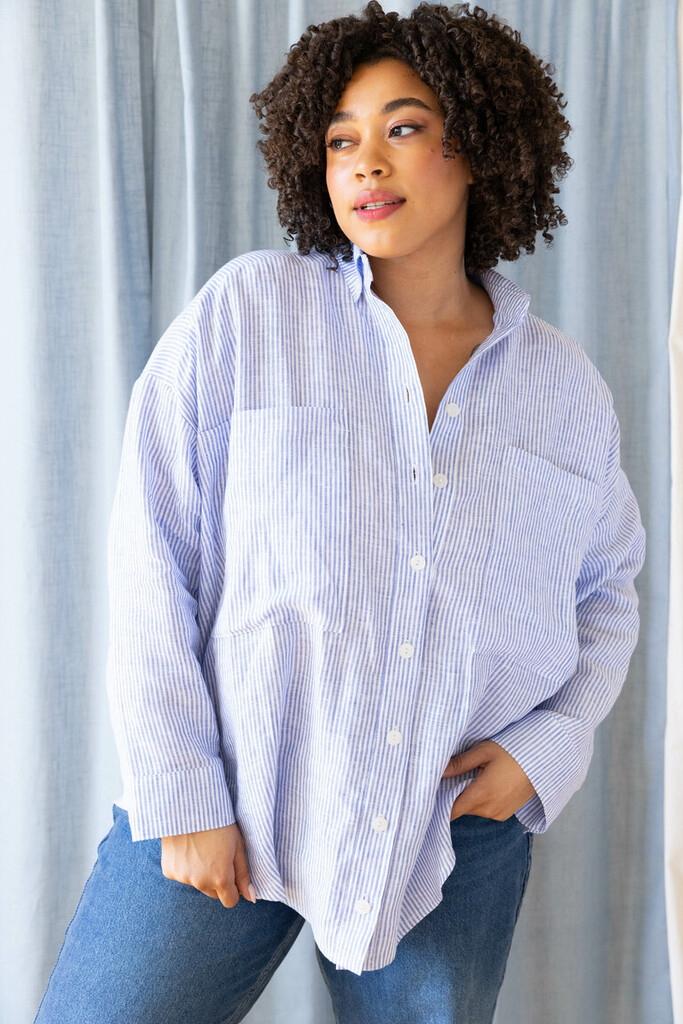
Once you're feeling confident, shirt-style patterns are where stripes and checks really shine — because they have all those smaller pieces like yokes, plackets, and pocket flaps that are perfect candidates for bias cutting. The Roan tunic is a classic oversized button-down with a sewn-on front placket, two chest patch pockets, cuffs, and a center back seam. The front placket, sleeve plackets, and pockets can all be cut on the bias in a check, and the contrast reads as really sophisticated. The Thyme Shirt has a similar set of opportunities — a partial front placket, a lined back yoke, sleeve cuffs, and a chest pocket, all of which work beautifully on the bias.
And if you want the shirt aesthetic with a little more forgiveness built in, the Garnet Blouse is a pussy bow pullover with a center front seam and a back yoke. The pullover construction means no buttonhole placket to worry about, and those long bow ties at the neckline draw the eye in a forgiving way — even if your center front matching isn't absolutely perfect.
Which of these techniques are you most excited to try? Have you been avoiding a beautiful plaid or stripe in your stash? Tell me about it below.
 Related Articles
 Best Articles

