

You finished your knit top. You tried it on. And then you noticed something was off around the neckline.
Maybe the neckband is standing away from your body. Maybe it looks a little wavy, or just not quite as crisp as the rest of the shirt. It's one of those frustrating things that can happen even when everything else about the garment turns out great.
Here's the good news: neckband problems are almost always fixable — and better yet, totally preventable. Once you understand what's actually going on with this little strip of fabric, you'll know exactly what to look for and how to get that clean, professional finish every time.
These are the five tips I come back to again and again, whether I'm sewing a crew neck or a scoop neck, a fitted tee or a casual pullover.
Tip 1: Understand Why Your Neckband Should Always Be Shorter Than Your Neckline
Before we get into the hands-on stuff, let's talk about what a neckband actually does. A neckband is that separate strip of fabric sewn around the neckline of a knit garment — you'll see it on t-shirts, sweatshirts, casual tops, and all kinds of knit basics. Its job is to finish the raw edge of the neckline, stretch enough to go over your head, and then snap back to hold its shape after wash after wash.
That last part is key. And it's what leads to the most important rule of neckbands — the one that trips people up the most.
Your neckband should always be shorter than your neckline opening. Not the same length. Shorter.
I know that sounds wrong. Wouldn't a shorter band be too tight? Here's what actually happens: a neckband that's shorter than the neckline has to stretch slightly as you attach it, and when it relaxes, it pulls everything snug against the body. That gentle tension is exactly what gives you the clean, hugging finish you're after.
Cut the neckband the same length as the neckline and it has nothing to pull against — it just sits there loosely, standing away from the body instead of lying flat.
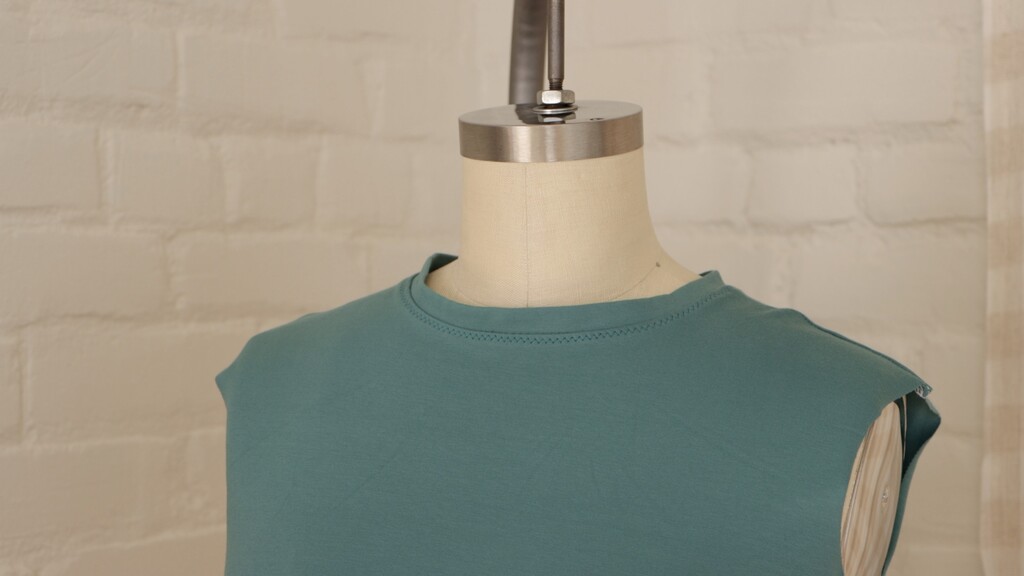
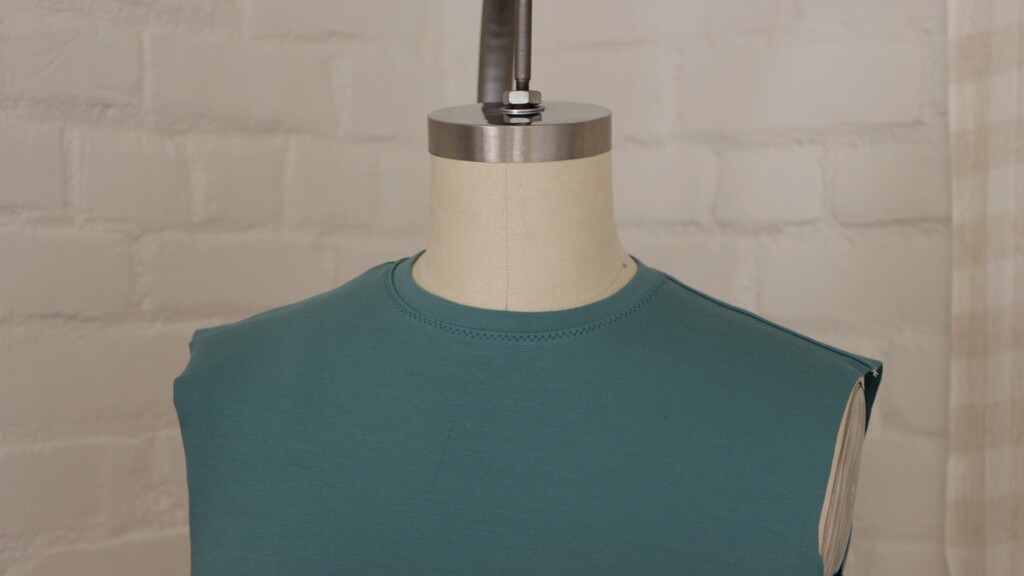
If you're using a pattern and your fabric has the stretch percentage the pattern recommends, you don't need to think about this much — the math is already done for you. But if your fabric is stretchier than the pattern calls for, your neckband can end up too long and come out looking floppy. Good to know before you're left wondering what went wrong.
Tip 2: Know Your Stretch Percentage Before You Cut
So what if you follow the pattern exactly, use the right length, and the neckband still comes out limp? Nine times out of ten, the culprit is stretch percentage — and once you understand this, a lot of knit-sewing mysteries start to make sense.
Every knit fabric has a stretch percentage that tells you how much it can stretch beyond its original width. A fabric with 50% stretch can go from four inches to six. A fabric with 100% stretch can literally double in width. For neckbands, you want at least 50% — because the fabric needs to be able to stretch over your head and fully recover back to its original size.
The easiest way to test this is with a simple stretch ruler. Fold your fabric back on itself and stretch it across a ruler. If four inches stretches to six, that's 50%. If it reaches eight, that's 100%. Quick, no math required.
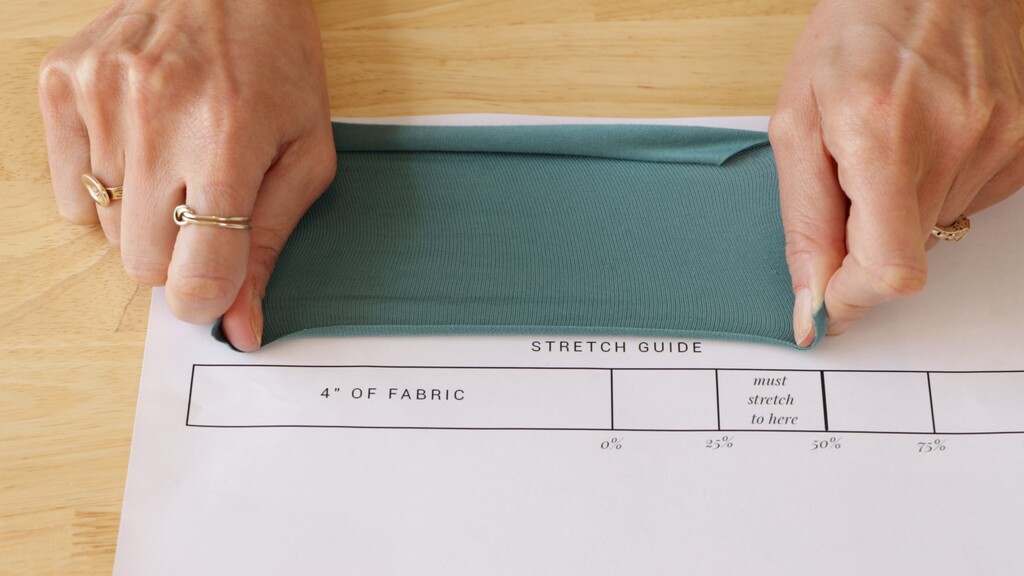
When you're buying fabric online, check the product description first — many listings will include the stretch percentage outright. If it's not listed, fiber content can give you a clue. Spandex is a particularly reliable indicator: even a 5% spandex content in a cotton blend usually means at least 50% stretch. More spandex generally means more stretch. It's not a perfect science, but it's a useful starting point when you can't test in person.
Tip 3: Choose Your Neckband Fabric Intentionally
When it comes to what fabric to actually cut your neckband from, you have two good options — and both can look beautiful. The choice is really about the look you're going for.
Self-fabric neckbands are cut from the same fabric as the rest of your garment, which gives you a seamless, coordinated appearance. Everything matches, everything flows. It's a slightly more understated, modern look.
Rib knit neckbands have that classic textured finish you'd recognize from most store-bought t-shirts and sweatshirts. Rib knit is specifically engineered for high stretch and reliable recovery, which makes it forgiving to work with.
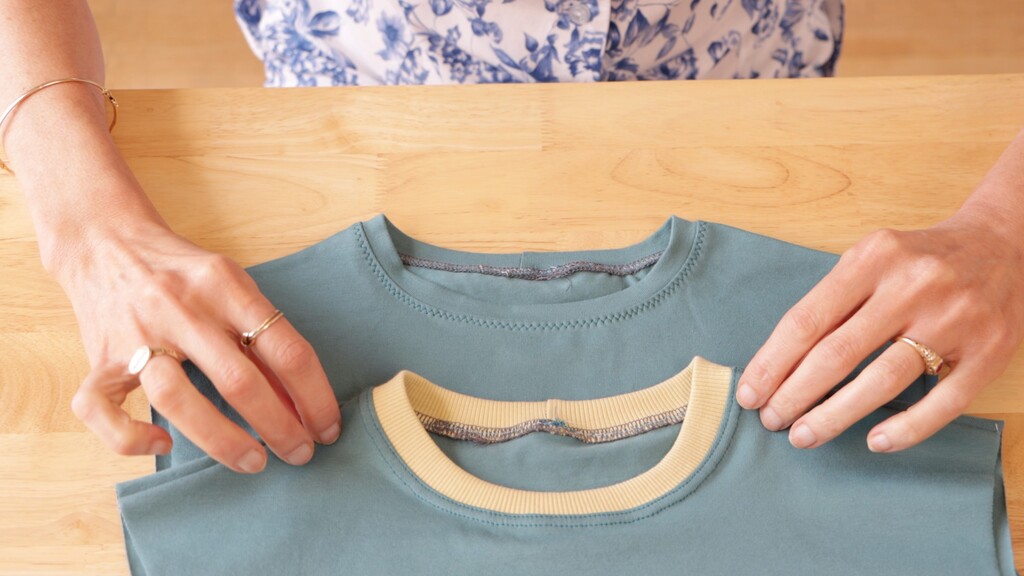
The main practical difference comes back to tip two: recovery. Rib knit is purpose-built for this kind of work. Self-fabric can be just as beautiful, but results depend on your specific knit. A lightweight jersey with great snap-back will behave very differently from a drapier fabric that doesn't recover as well. Always do a quick stretch test before you cut.
One thing I love about going the rib knit route: it opens up a fun design option. You can choose a rib that closely matches your main fabric for a subtle, coordinated look — or lean into contrast and choose something that makes a statement. It's a small detail that can completely change the personality of a finished garment.
Tip 4: Stretch As You Pin, Not As You Sew
This is the tip I find myself repeating more than any other. It makes the biggest visible difference in a finished neckband, and it's so simple once you know it.
Start by sewing the short ends of your neckband together, right sides facing. Press those seam allowances to one side — not open, to one side. It keeps the seam a little more stable and makes it easier to match up to the notch at your neckline later. Then fold the neckband in half lengthwise, wrong sides together, so the raw edges line up, and baste those edges together with a long zigzag stitch. This turns your neckband into a loop that's ready to attach.
Now here's the tip: stretch the band as you pin, not as you sew.
Most people stretch the fabric as it goes through the machine because it feels intuitive. But what actually happens is that the stretch ends up unevenly distributed — some spots get stretched more than others, and you end up with a wavy, uneven band after all that careful prep work.
When you stretch as you pin instead, you control the distribution before the fabric ever touches the machine.
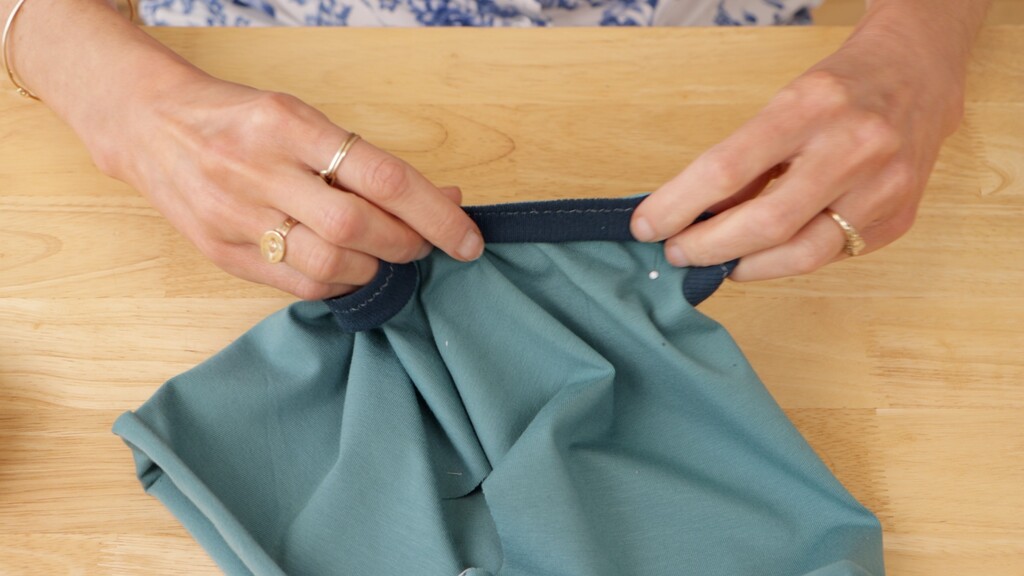
To attach the band, place it on the neckline with the seam matched to the back notch. Pin or clip all the way around, stretching the band slightly as you go so it eases in evenly. Fabric clips are great here — they don't leave holes in delicate knits and you can't sew over them by accident.
My absolute favorite method, though, is Wonder Tape. It's a water-soluble, wash-away double-sided tape, and once you try it on knits you'll wonder how you managed without it. Apply it all the way around the neckline, stretch the band slightly, and press it into place. It holds everything securely while you sew — and because the position is locked in before you start, it actively prevents a stretched-out neckband.
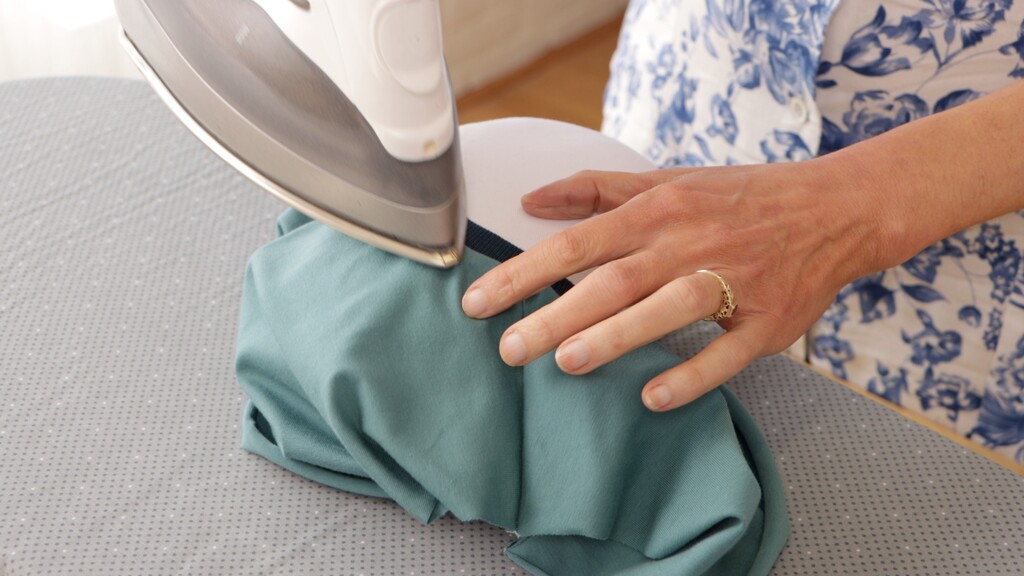
Once the neckband is attached, press it away from the garment and press the seam allowances toward the body. Then give the whole neckline a good press. I know it's tempting to skip this step when you're so close to done — but pressing sets your stitches, smooths the seam, and sets you up for a much cleaner topstitch in the next step.
Tip 5: Know Your Topstitching Options
Once your neckband is attached and pressed, it's time to topstitch — and this step matters more than most people realize.
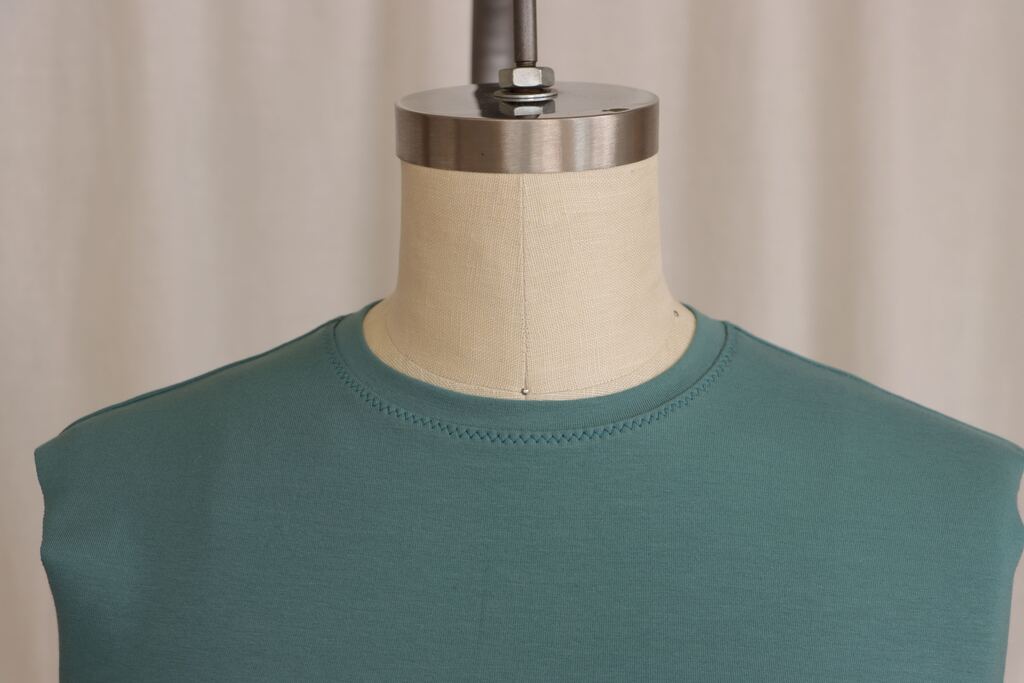
Topstitching just below the neckband catches those seam allowances in the stitching. That's what holds everything flat against the garment and gives you that finished, professional look on the outside. Skip it, and the seam allowances can flip around inside over time, causing the band to bubble or pull away from the body. It's a small step, but it's the difference between a neckband that holds up and one that gradually goes wrong.
There are three main options, and each gives you a slightly different result.
Twin needle creates two parallel rows of stitching on the right side with a zigzag on the wrong side — which gives you built-in stretch. It's the look most associated with ready-to-wear: that classic parallel topstitch you see on store-bought tees. It does take some troubleshooting to dial in — it requires a specific threading setup, and if something's off, you'll get skipped stitches or threads locking up on the underside. Definitely worth learning, but go in prepared for a little trial and error.
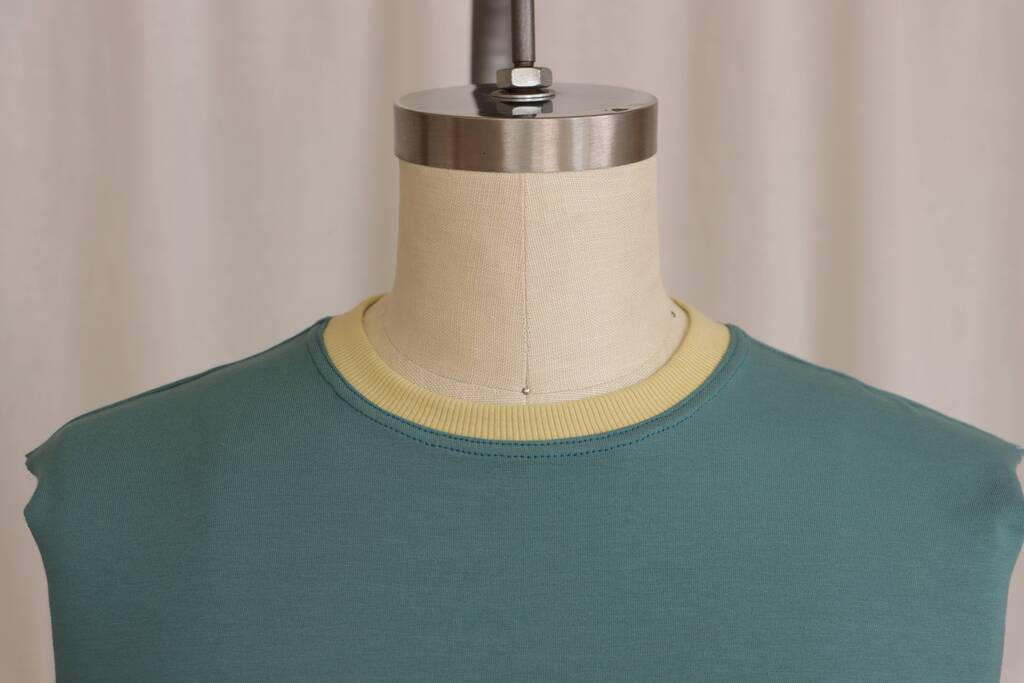
Zigzag stitch is the most straightforward option. Simple to set up, good stretch, great place to start if you're newer to sewing knits.
3-step zigzag (sometimes called a triple zigzag) takes three tiny stitches in each direction instead of one. That packs a lot more thread into the stitch, which translates to more stretch. It's also more forgiving on curves, which makes it particularly well suited to necklines. It's my personal go-to — but it really comes down to the look you're after and what your machine does well.
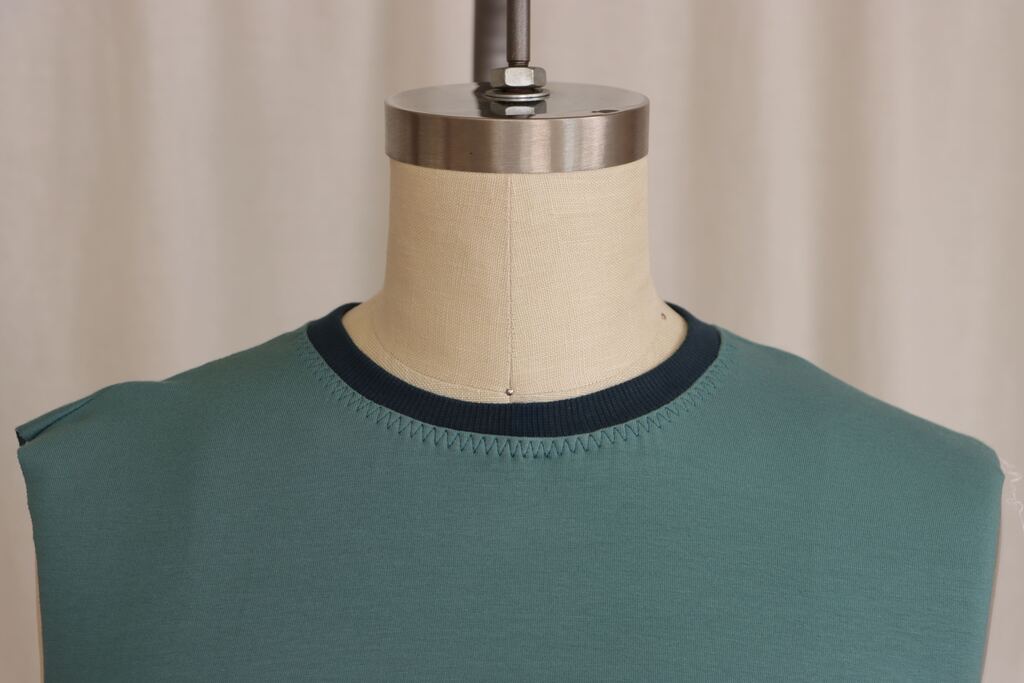
Whatever you choose, test it on a scrap piece of the same knit first. Topstitching can behave really differently depending on fabric weight, stretch, and even thread type — you do not want to discover a tension issue on your actual garment.
And once you start stitching: guide the fabric, don't pull it. Pulling while you sew is almost always what causes a wavy neckband at this stage. Let the machine do its thing and just steer.
A Few Final Thoughts
Once you understand the logic behind each of these steps — why the band is shorter, why stretch percentage matters, why you pin first — neckbands start to feel a lot less mysterious. Every decision has a reason, and when something goes wrong, you'll know exactly where to look.
The techniques here work just as well on a scoop neck as they do on a crew neck. And if you're newer to sewing knits in general, pairing these tips with the right fabric makes everything easier. Rib knits in particular are so forgiving and fun to work with — definitely worth getting to know if you haven't already.
What's the neckband issue you've struggled with most — floppy fabric, a wavy topstitch, or getting the length right?
 Related Articles
 Best Articles

