Sign In
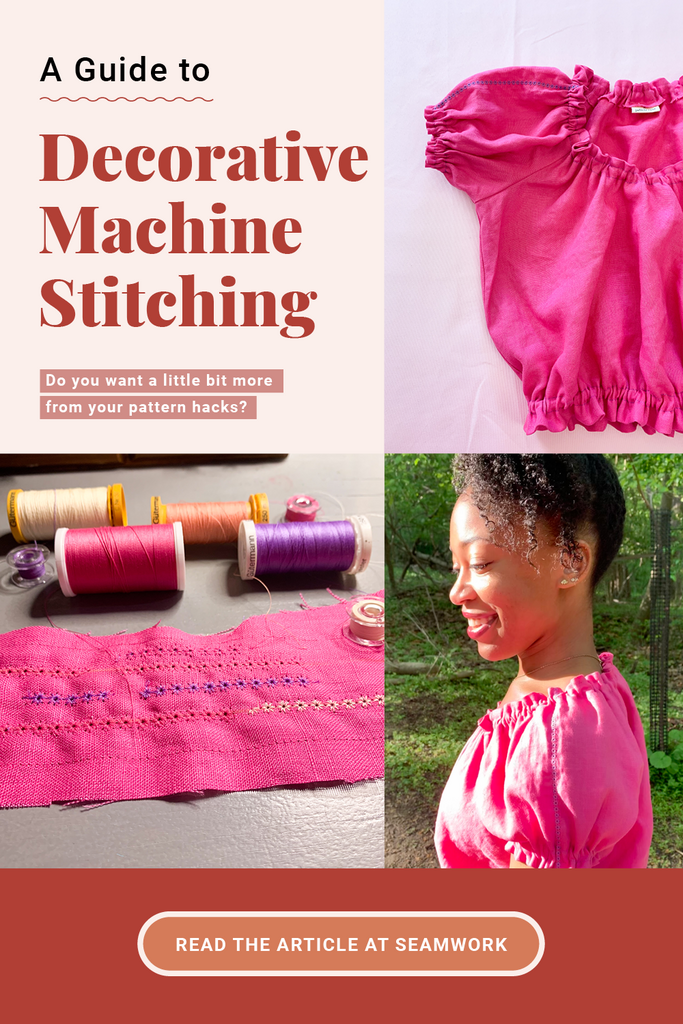
Decorative stitches are a beautiful way to add delicate details to your handmade pieces. They add interest and texture to fabric, and even the simplest decorative stitches can add a romantic element to your projects.
It’s great as a subtle accent to add structure or depth to a piece, and using these stitches is a fun way to play and express yourself. However, these stitches are an often overlooked feature of modern sewing machines. Most sewing machine manuals don’t walk you through the A-Z of using decorative stitches beyond what pressure foot to attach and which stitch to select. Moreover, it can be tricky to know how to incorporate these stitches into your designs.
In this guide, I’ll share with you how I approach decorative stitching and how you can use it to give your garments a vintage, heirloom feel. I'll also share what supplies you need, walk you through how to create a decorative stitch, and I'll leave you with project ideas to inspire you to get to stitching!
Step 1: Choose your decorative stitch
First, decide whether you’d like to create a standard decorative stitch, which requires a standard needle for your fabric type (e.g., 75/11 for woven fabric).
Heirloom stitching is achieved by using a wing needle, which gets its name from the tiny “wings” on either side of the eye. These wings cut into the fabric and create little holes that add interest and depth.
Most decorative stitching only requires a regular needle. However, I’ve decided I’d like to add heirloom stitching to my Madhu top. If you’d like to create this heirloom effect with tiny holes, you’ll need a wing needle too.
Step 2: Decide where to place your decorative stitch
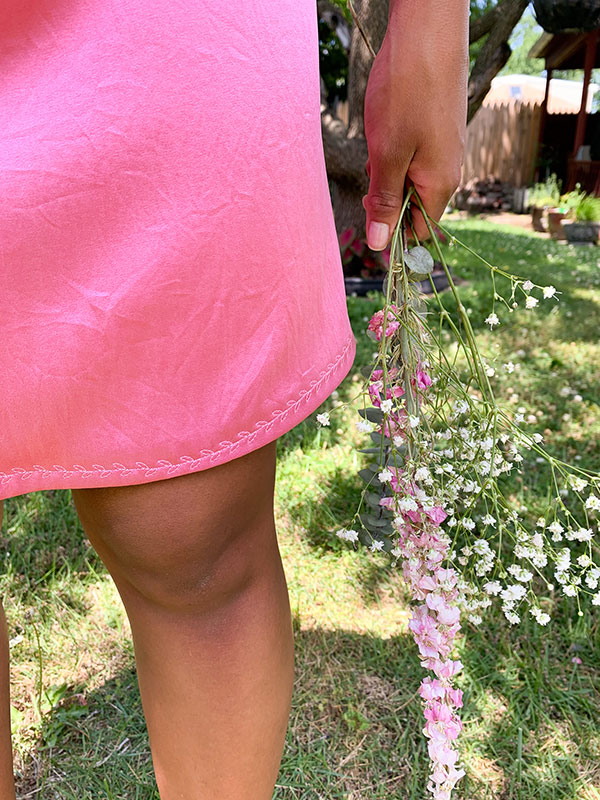
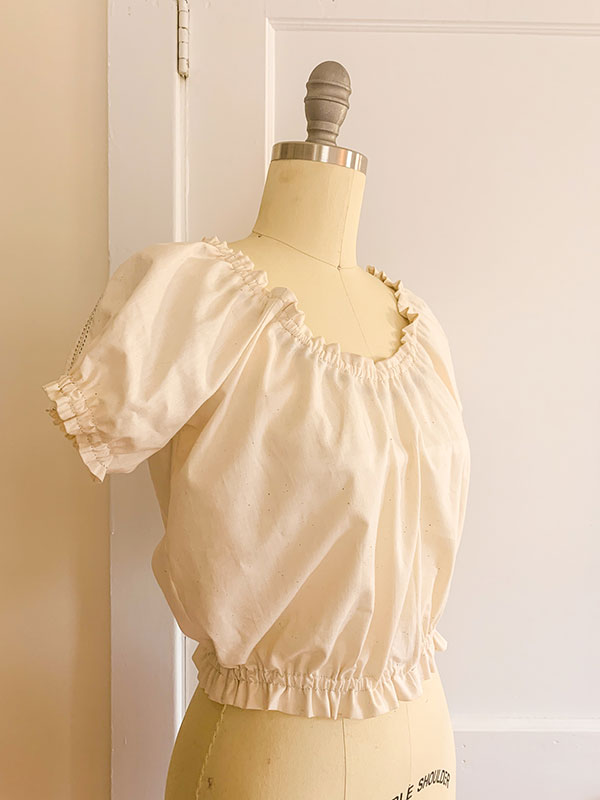
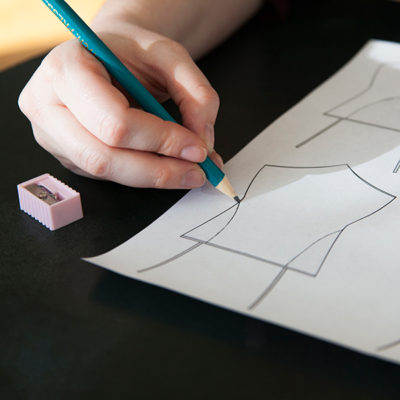
Next, decide where you’d like to add decorative stitching to your project, and draw a sketch to help you brainstorm. I’ll be sewing decorative stitching down the sleeve of the Madhu top to add some structure. Decorative stitching also looks great on collars, hems, and necklines.
Step 3: Prep a scrap of fabric
Now, cut a small rectangle of your final fabric. My scrap fabric was approximately 8 inches by 3 inches.
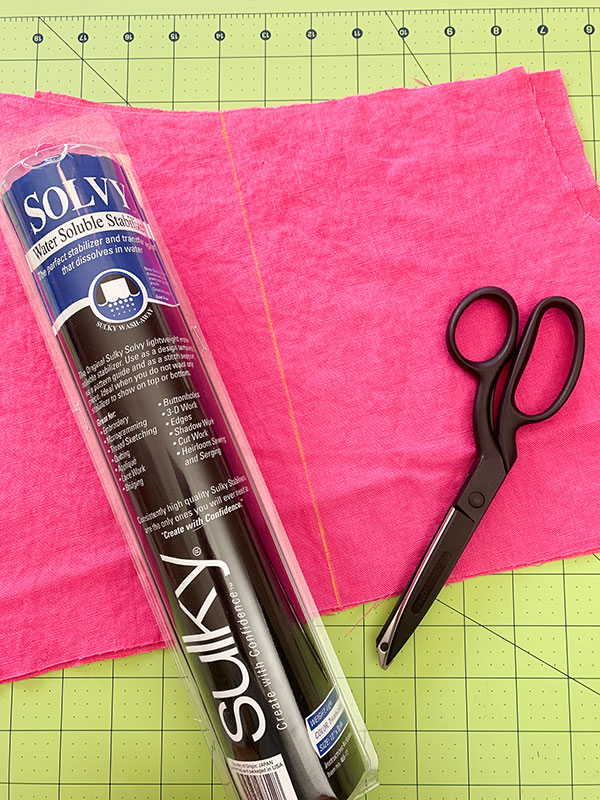
Grab your stabilizer. Using a stabilizer when sewing decorative stitching is critical. The stabilizer prevents your fabric from warping as you stitch. I used Solvy Water Soluble Stabilizer.
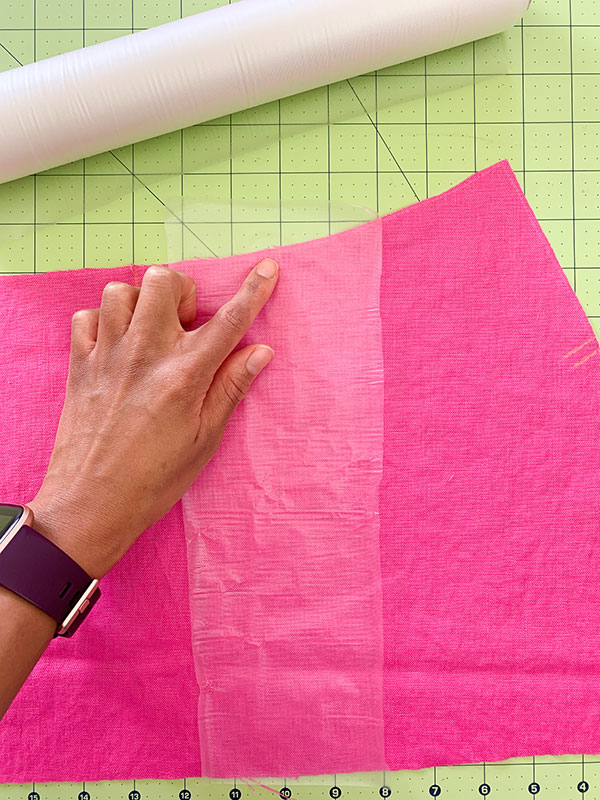
According to the instructions, you can pin Solvy underneath your self-fabric. I like to baste Solvy to my self-fabric because it’s slippery and can shift around while sewing. This stabilizer dissolves in water, so be careful not to get it wet.
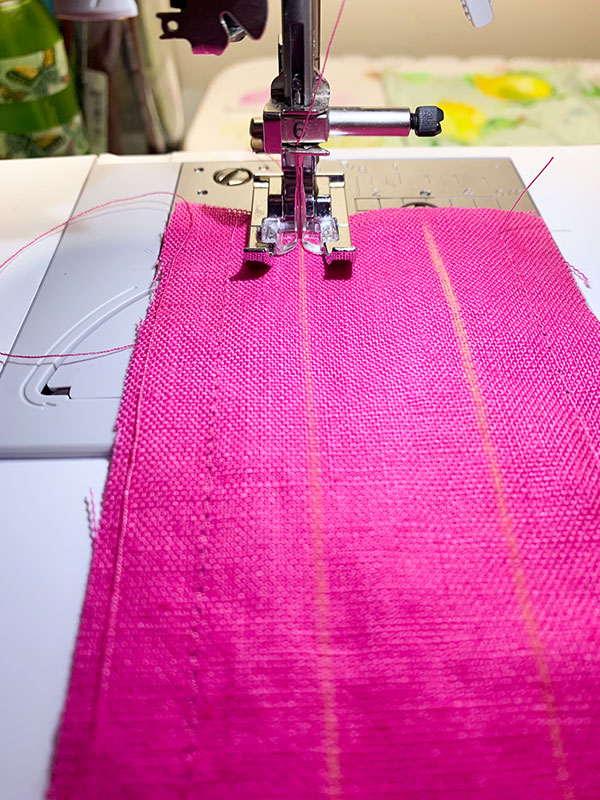
Draw 2-3 parallel lines on your scrap fabric with a fabric marker or chalk. We’re going to practice sewing decorative stitches on these straight lines.

Step 4: Set up your machine for decorative stitching
Select your decorative stitch. On my sewing machine, I navigated to the decorative stitch screen. I selected stitch 3-04, which is called a daisy stitch in my sewing manual. As you can see here, my machine requires the N presser foot for the daisy stitch, so I switched my standard J foot to the N foot.
Then, I removed the standard 75/11 needle from my sewing machine and replaced it with the wing needle. Make sure you screw the needle in snugly.
Everyone’s sewing machine is different. You may need to dust off that manual (or old-school DVD) that came with your sewing machine and see if there are any further settings you need to adjust. For example, my sewing machine automatically regulates the width and length accordingly.
Step 5: Practice decorative stitching on a scrap
Here comes the fun part! Place your final fabric scrap under your presser foot, lower the needle, and let’s get to stitching! Guide the fabric with a firm hand, without pulling or tugging. Stitch about 2-3 inches of the decorative stitching before you remove your scrap fabric. This will give you a good amount of stitching to observe.
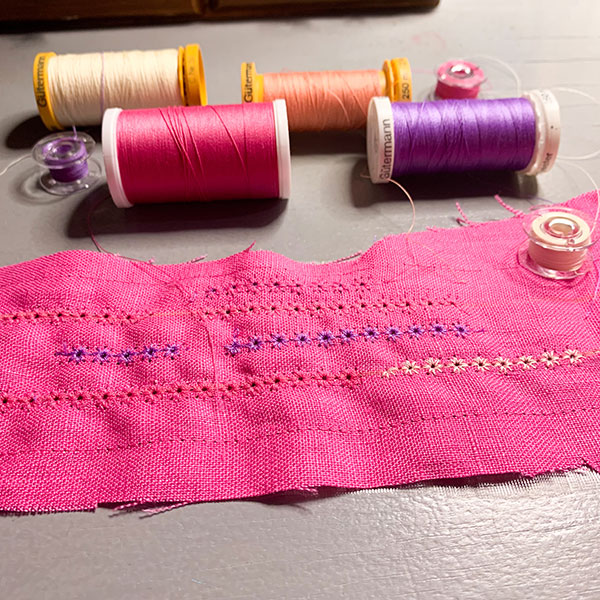
When you’ve finished stitching, have a look at your scrap fabric. Here is a key on how to troubleshoot most common issues:
Are the stitches too tight? Reduce the tension on your machine and refrain from pulling on your fabric as you stitch it. This can warp the design. Are the stitches too loose? Increase the tension on your machine.
Is the decorative stitching generally distorted? This can be a couple of issues. You may need to add another layer of stabilizer—some fabrics need two layers. You might need to adjust the machine tension, width, or length. You also may need to consider whether your fabric choice is the culprit. Is it too thick or thin to support this stitch?
It’s important to practice decorative stitching on your final fabric before constructing your garment because this will show you how your fabric reacts to this type of stitching—and whether it likes it or not.
It’s important not to be overly precious and pull on your fabric for dear life while decorative stitching. Instead, trust the machine to know what it’s doing and simply guide your fabric with a firm hand.
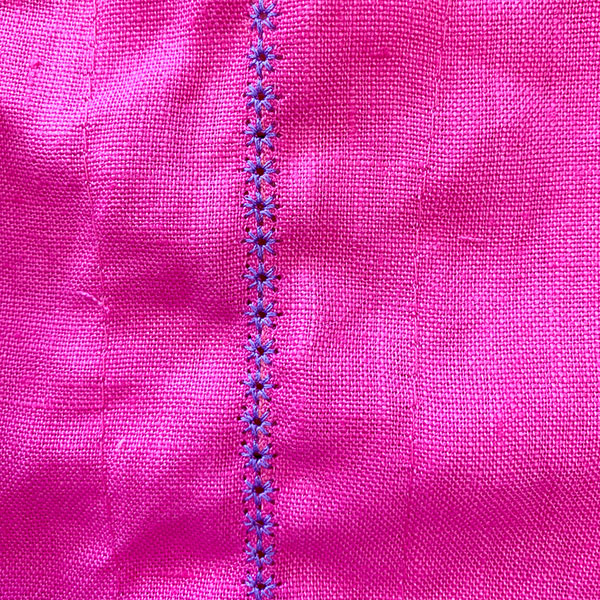
Once you have sorted out any issues, I suggest playing with different bobbin and top threads to determine which combination works best for your fabric. I decided to go with a violet top thread and a hot pink bobbin thread for this design.
Step 6: Create a muslin mockup
If you are adding decorative stitching to a garment that you will wear, I highly recommend sewing a muslin mockup first. I know that muslins can be a pain in the neck for those of us who like to jump right into a new project. But trust me, you will be grateful that you did a muslin mockup first. It will help you finetune the decorative stitching placement, see which stabilizer works best, and even decide which decorative stitch to use.
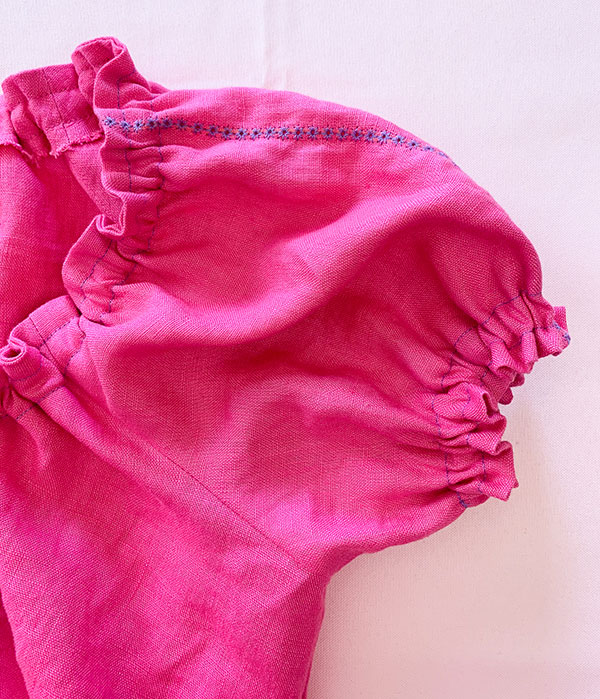
Here is the muslin mockup that I did. It helped me to determine where to place the sleeve heirloom stitching.
Questions to ask yourself in the muslin mockup phase:
- How wide is this embroidery stitch?
- What is the seam allowance for my project? Where do I need to place my decorative stitch so it will end up where I want it to be?
- What is the thickness of my fabric?
- Will this embroidery stitch hold up to washing and drying? (Throw your muslin mockup and your scrap fabric sampler in the wash. See how they hold up.)
- How often will it need to be ironed?
You’ve got this
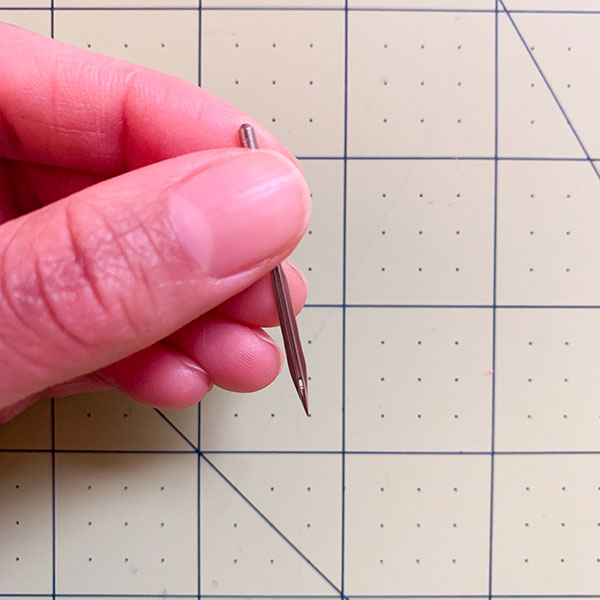
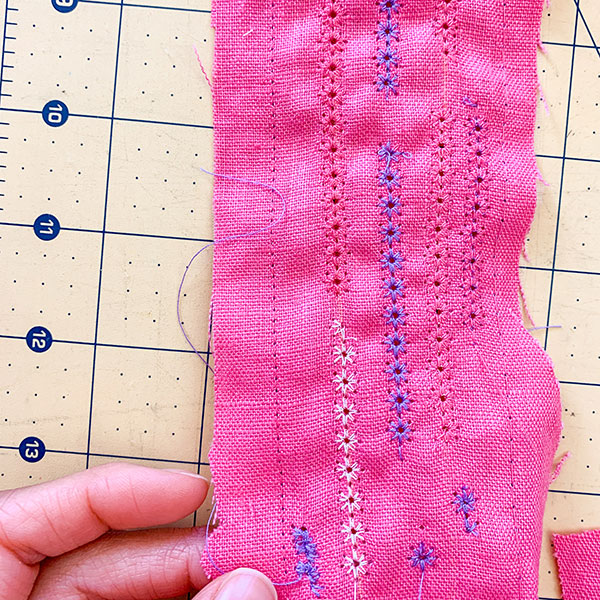
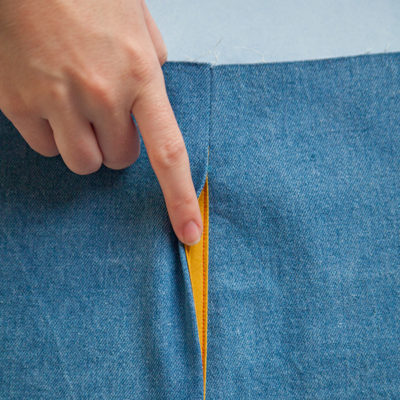
Don’t get discouraged if you make mistakes while learning how to decorative stitch. I want you to take a good look at this photo:
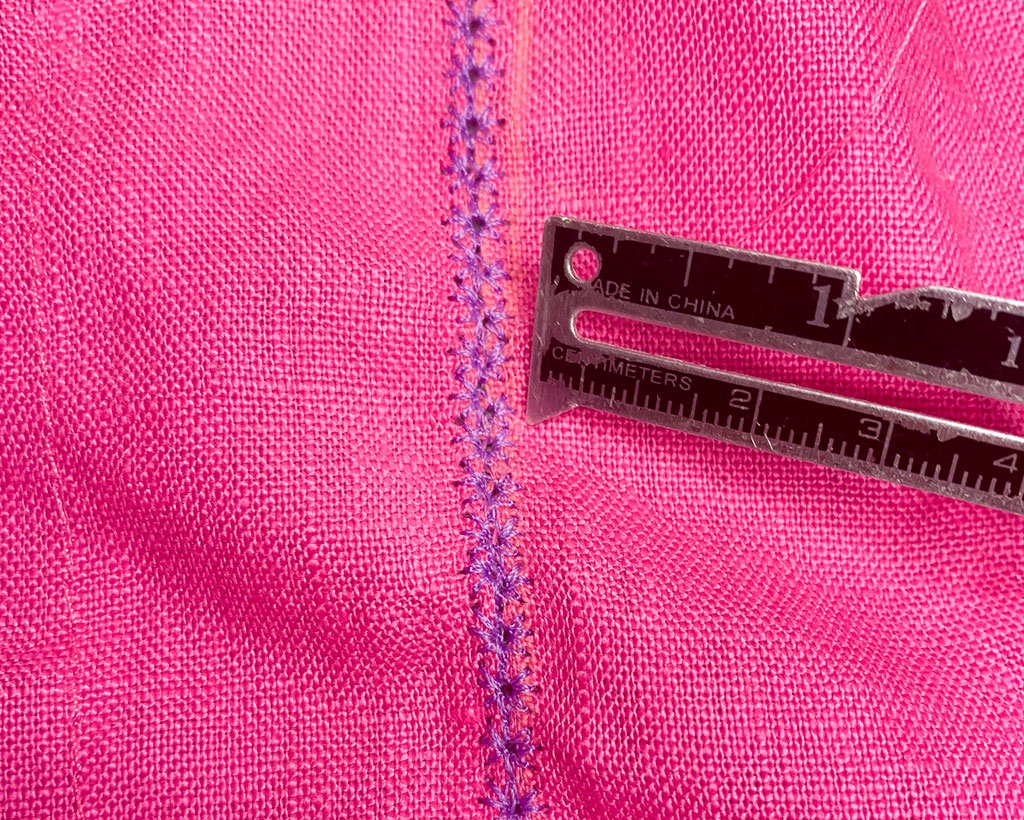
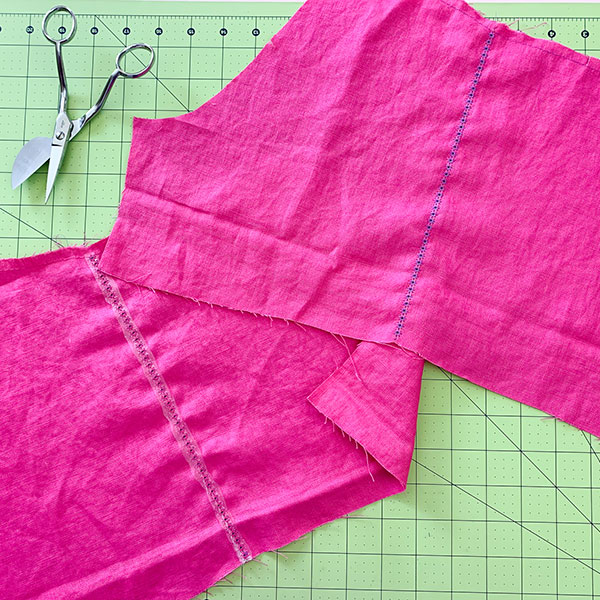
Have a look at the stitches that I’m pointing at with the sewing gauge. These decorative stitches were warped because I pulled on the fabric too tautly while sewing. I had to cut out new sleeves and try again.
My first set of Madhu sleeves were not perfect at all! I was busy fantasizing about how great my decorative stitching would be, imagining garden walks in my new top, and dreaming about writing this article. Meanwhile, I didn’t realize I was pulling on the fabric too tightly as I stitched. Even though I had practiced on a scrap of fabric and created a muslin, I still made a mistake in my final fabric. You know what I did next? I took a deep breath in, exhaled it out, and tossed those mangled sleeves to the side. Then, I cut out some new sleeve pattern pieces and started again.
That’s what I want you to do when you make a mistake. Don’t let it define you. Take a moment to own that mistake and maybe even have a good laugh. Then, keep it moving! Mistakes along the way in our sewing journey don’t define us as sewists. They are learning lessons, nothing more.
Step 7: Sew your final project
Now, it’s time to add some heirloom details to our final project!
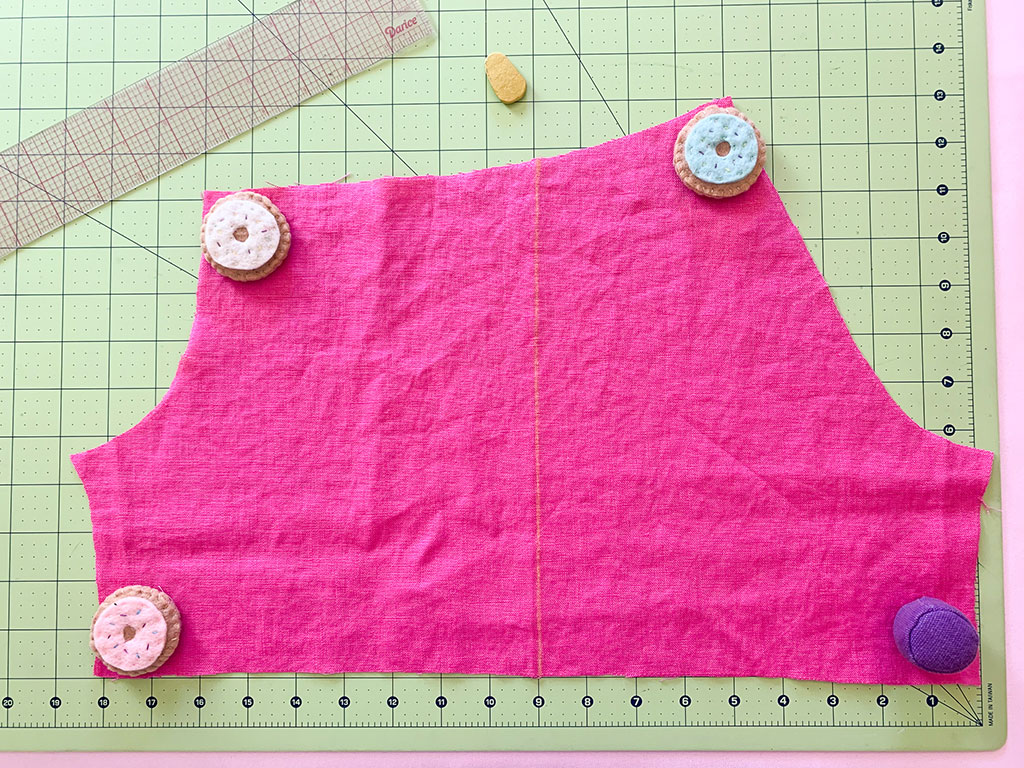
Generally, the best practice is to add decorative stitching to your pattern pieces before you sew your finished garment, so I’m starting with the sleeves of the Madhu top. The seam allowances of the sleeve are 5/8”. Because I sewed a muslin mockup, I knew that if I want my decorative stitching to go down the center of the sleeve, I needed to fold the sleeve in half.
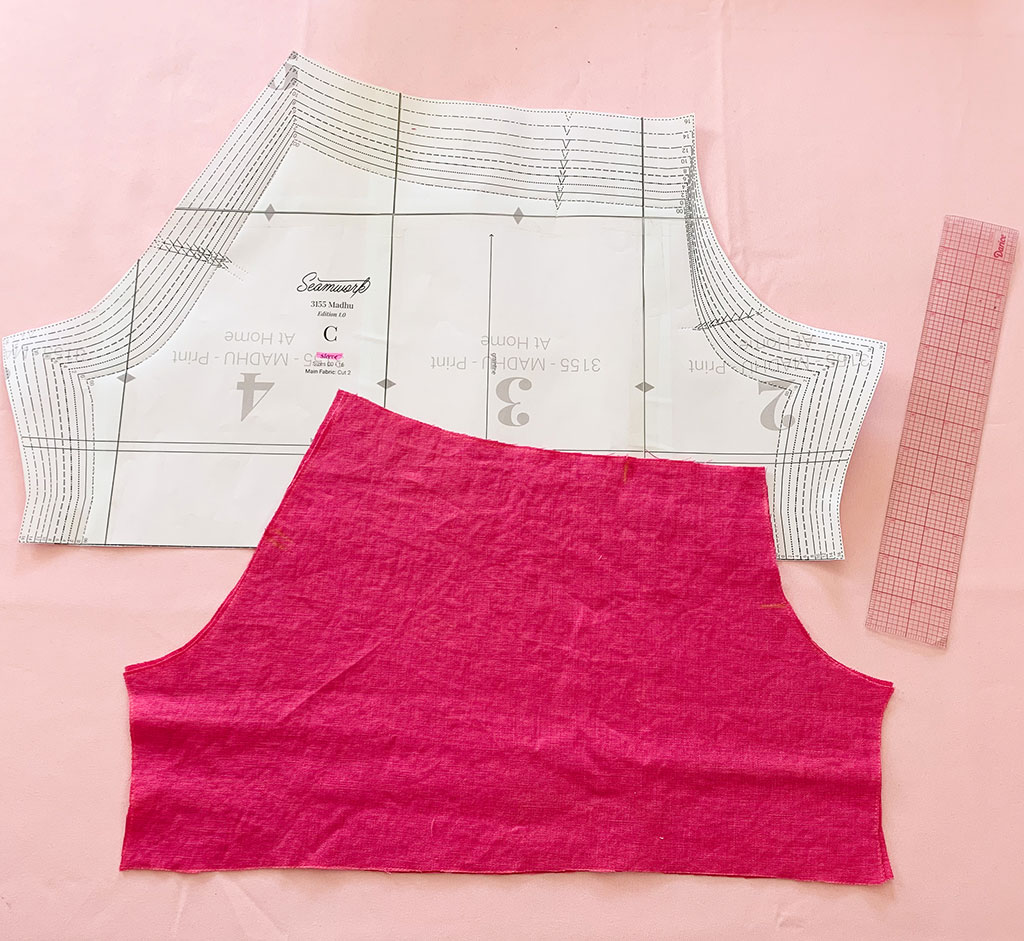
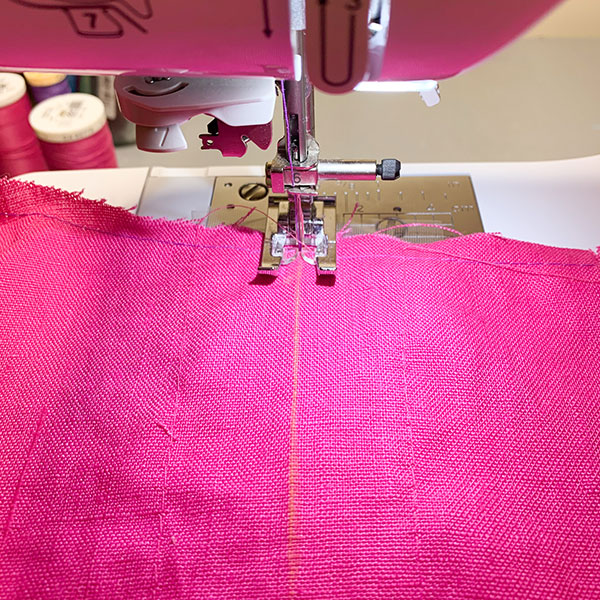
I added a mark on the fold using tailor’s chalk, then unfolded the sleeve and drew a straight line down. This yellow line is where I will sew the decorative stitching. Please test your fabric first to ensure that the tailor’s chalk or marker that you use to mark your fabric can be easily washed off.
I used about a 3-inch wide length of stabilizer on the Madhu sleeve. Since I only stitched one line of heirloom stitching down the sleeve, there’s no need to back the entire sleeve with a stabilizer.
Before you start sewing the real thing feel free to practice another line of decorative stitching on your scrap fabric. If everything looks fine, it’s time to start sewing on your pattern piece!
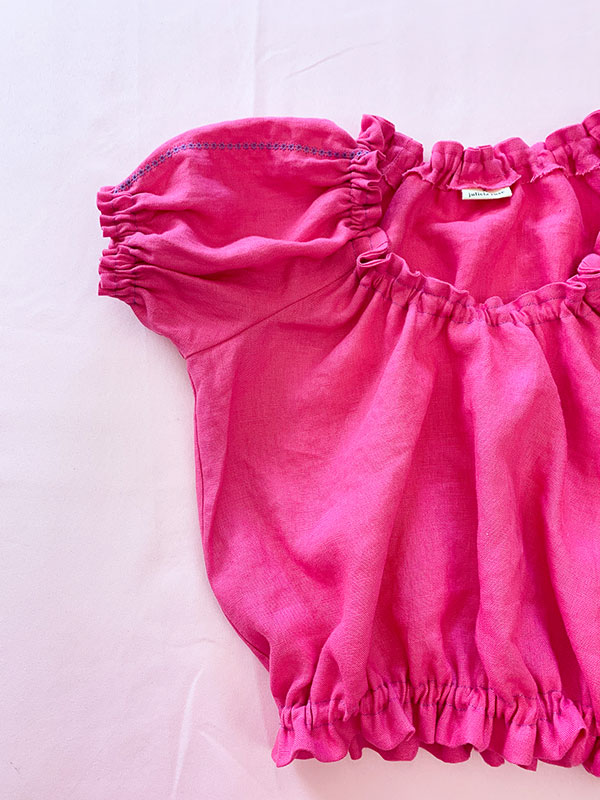
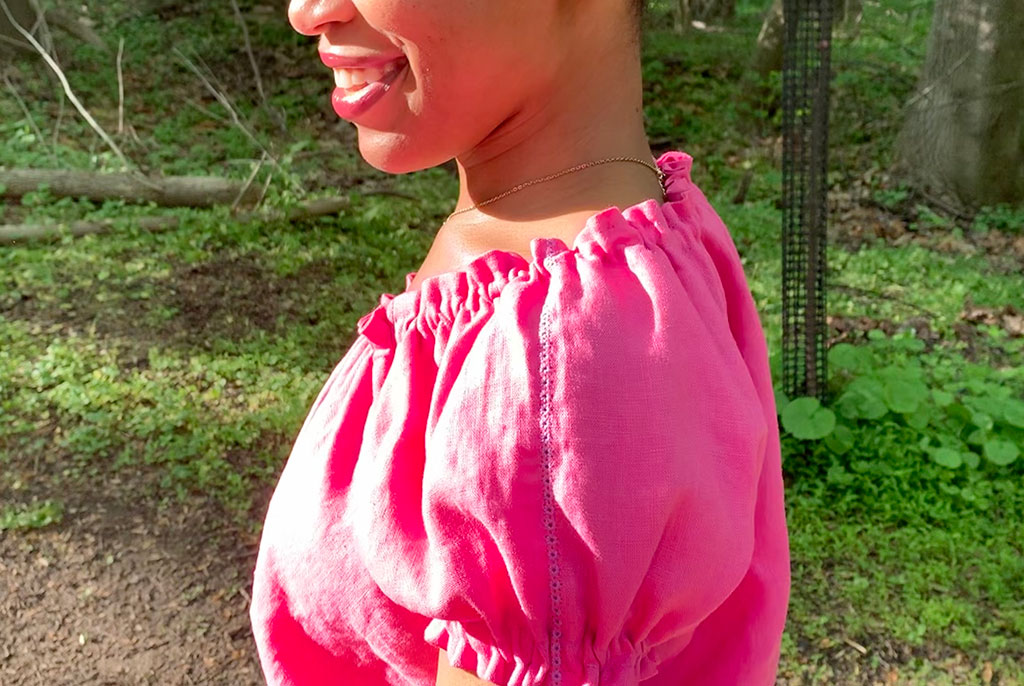
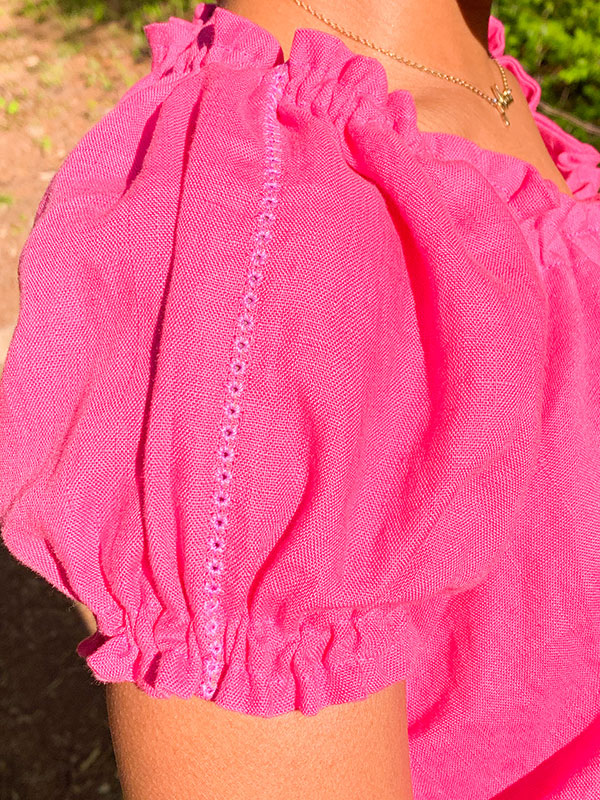
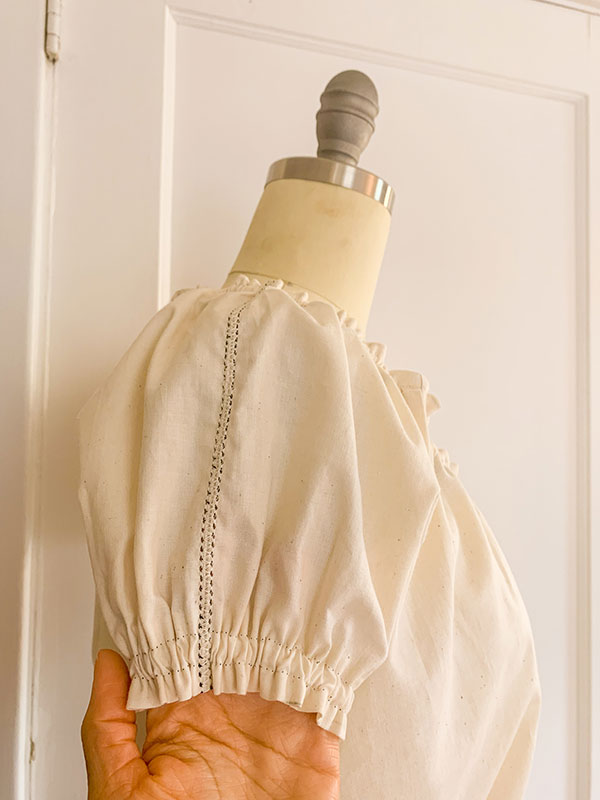
Here is the Madhu sleeve with heirloom stitching.
Now, if you’ve used Solvy like me, you’ll want to remove the stabilizer carefully. Gently seam rip the basting stitches and cut away as much of the stabilizer as you can.
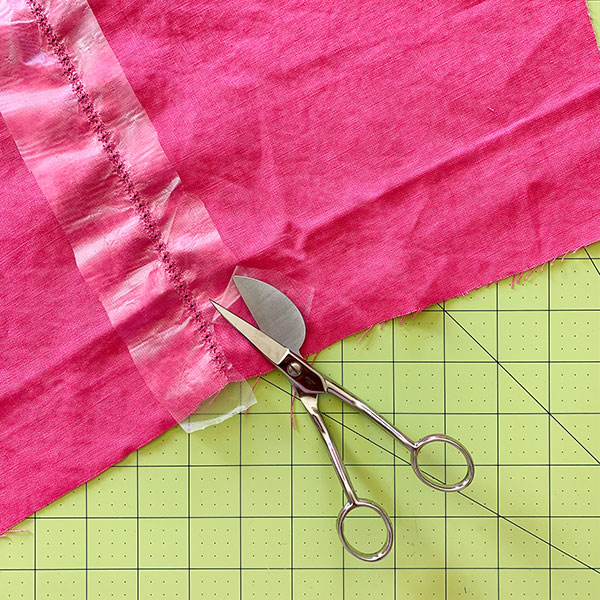
I could have submerged the Madhu sleeves in water to remove the rest of the Solvy, but I didn’t bother. After I throw it in the washing machine , the rest of the Solvy will dissolve in the wash.
Hurray! You’ve just finished your decorative stitching! Now you can construct the rest of your garment according to the pattern directions. Remember to remove your wing needle if you did an heirloom stitch. This needle punctures holes in fabric, so it is not to be used for garment construction.

Projects to inspire you
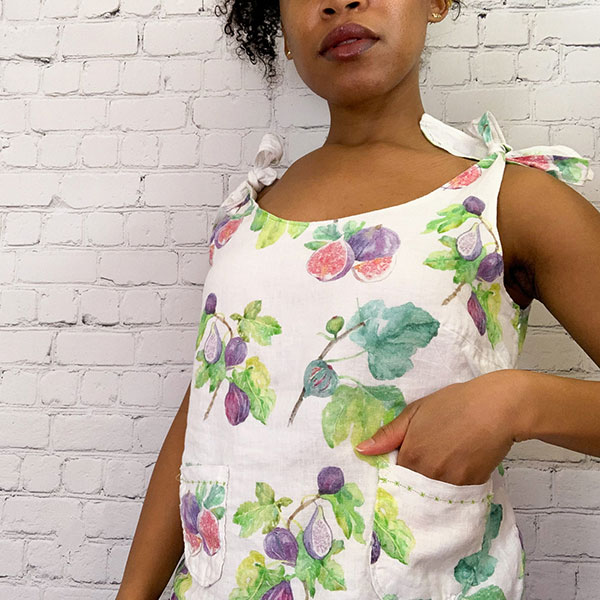
I hope you have so much fun using the decorative stitches on your sewing machine! If you need some inspiration, here are some Seamwork projects that I think would look fabulous with decorative stitching:
- Embroider your name on the top flap of the Rocco Lunch bag.
- Stitch dainty leaves along the V-neckline of the Marlow button-up.
- Hem the Kimmy dress with an heirloom stitch.
- Stitch “Bon appétit” on the Alex Apron.
- Add geometric satin stitching to the collar of the Willis shirt or the Campbell Jumpsuit.
- Stitch your favorite short quote on the James glasses case.
- Gift the Ari Jewelry and Cord Roll to a friend and stitch their name on it.
- Embroider darling hearts or daises along the handles or top edge of the Ollie Grocery Bag.
Congratulations! You’ve successfully completed your first project with decorative stitching! If you share your makes on Instagram, please tag @seamwork and me at @juliciarosecreates.

Julicia James
Contributing Writer
Julicia James is a creative spirit. She loves to sew, write, and watercolor. She began to sew so she could make clothes that fit her petite frame since most retail brands don’t carry petite lines. She signed up to take evening sewing classes after work at a design college, and the rest is history. She believes that art is a conversation with yourself, and creativity is healing. You can find her on Instagram and on her website.
Related Articles
How to Color-block Sewing Patterns
How to color-block and customize knitwear by designing and drafting your own style lines, by Haley Glenn.
A Guide to Coverstitch Machines
A comprehensive guide to using and purchasing a coverstitch machine. By Melissa Fehr.
Design Your Own In-seam Pockets
Learn 3 different pocket variations that can be added to any side seam, by Katie Whittle.