Sign In
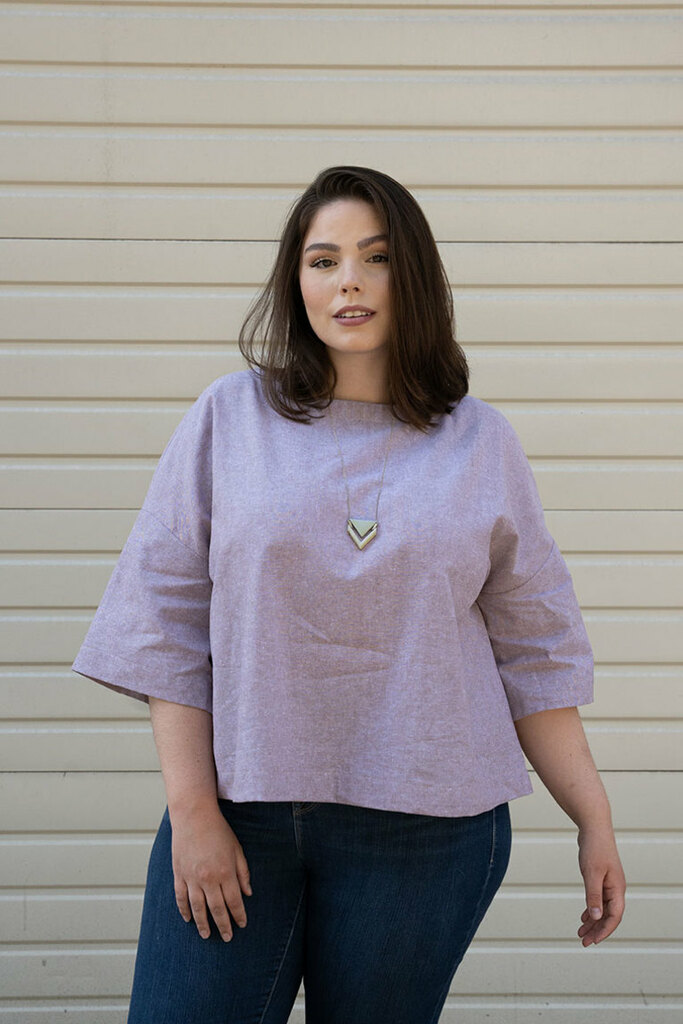
Sometimes your shoulders might be at a slightly different angle than the pattern was drafted for. Your shoulders are anchor points for any top or dress, so if the shoulders don’t fit, the whole garment won’t fit! Learn how to quickly adjust the shoulder slope with this tutorial.
Do you need this adjustment?
If your shoulders are more flat than the pattern was drafted for, the high point shoulder (your shoulder seam at the neckline) might point up toward your ears. If you notice this, pinch out the amount you need on your muslin. Pinch until the shoulder seam lays flat. Measure how much you pinched out.
If your shoulders are more sloped than the pattern is drafted for, you might notice some straining at the high point shoulder. If so, take a seam ripper or scissors, slash your muslin and measure how much to add.
If your shoulder slope is more flat than the pattern
Step 01: Remove seam allowance from your pattern.
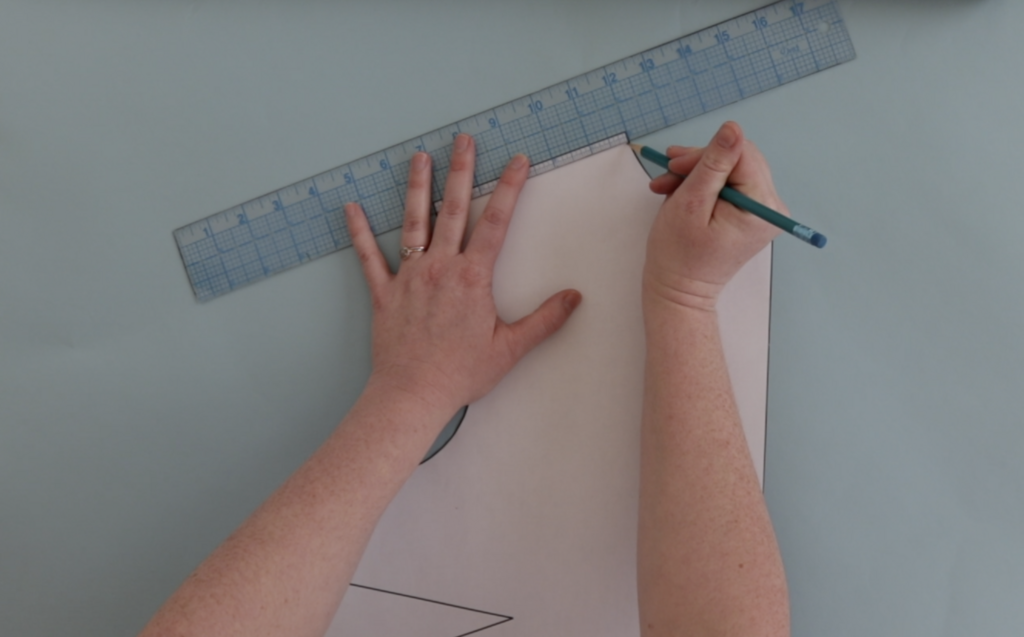
Step 02: Transfer the amount you pinched out to your pattern paper, right at the high point shoulder. Use your ruler to blend that point to zero at the low point shoulder, which is where your shoulder connects to your sleeve.
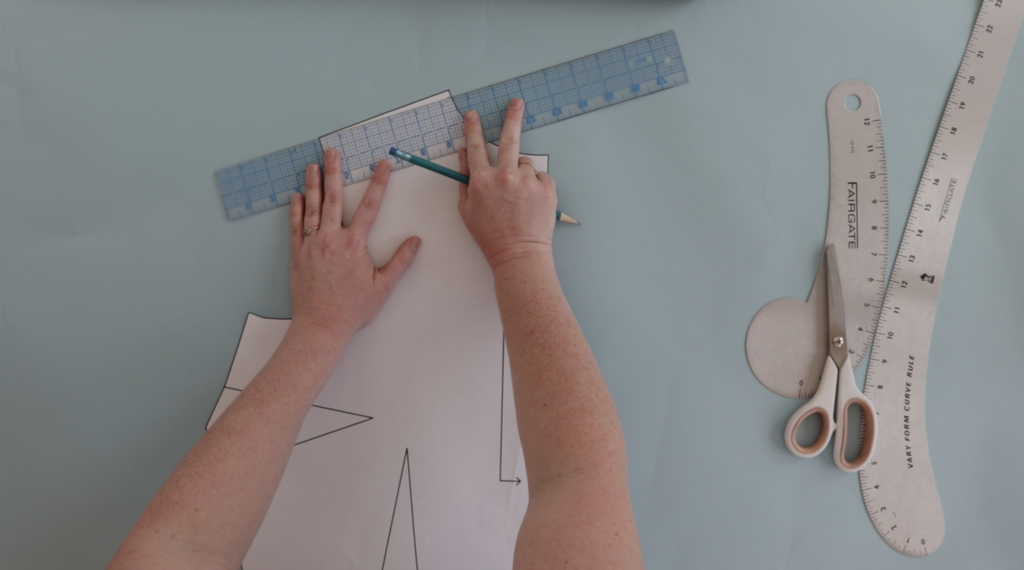
Step 03: Trim along the line and add your seam allowance. Be sure to make the same adjustment to the back pattern piece and add seam allowance.

If your shoulder is more sloped than the pattern
Step 01: Remove seam allowance from your pattern.
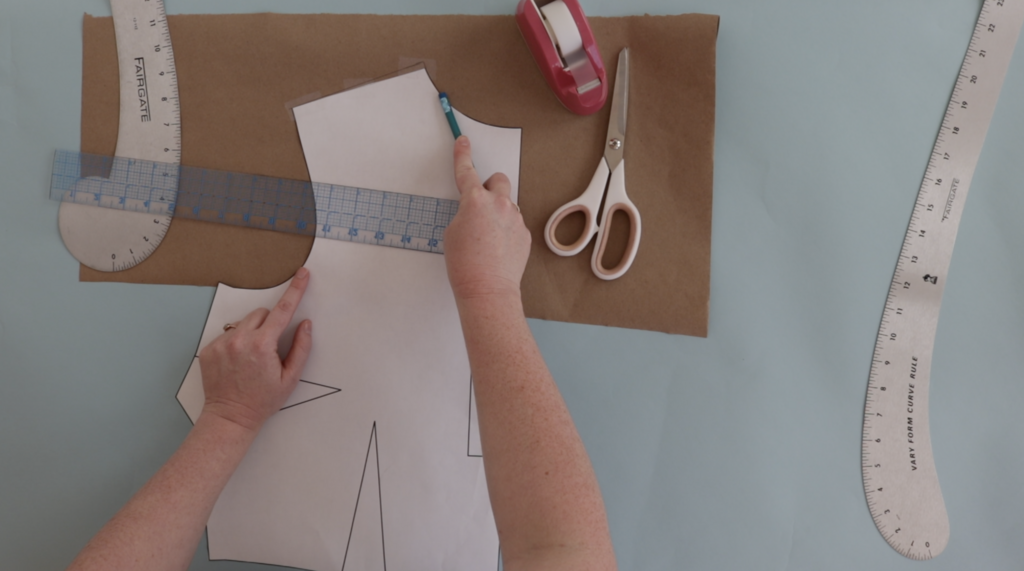
Step 02: Tape your pattern piece to an extra piece of pattern paper. Using the amount you measured on your muslin, extend your neckline at the high shoulder point. Blend from that new high shoulder point to zero at the low shoulder point.

Step 03: Trim along the line and add your seam allowance. Be sure to make the same adjustment to the back pattern piece and add seam allowance.
There is no need to change your sleeve pattern pieces as the armscye has not changed.