
 Sign In
Have you ever used the wrong interfacing for your sewing project? It can be a total disaster. Just like shopping for fabric, shopping for interfacing requires a little knowledge to ensure you have the suitable drape and weight.
Luckily, picking out the right kind for your project is simple once you figure out how interfacing works. So if you’re stuck on interfacing, here’s an easy guide to finding the right one.
What is interfacing, and what does it do?
Interfacing is a woven or non-woven fabric that gives your garment body, shape, and structure, and it also reinforces high-stress areas like buttonholes and waistbands, which might be prone to stretching and warping. You will fuse or sew interfacing to the wrong side of certain pieces of your pattern before you sew any of your pieces together, so it becomes an extra layer of fabric. This means that interfacing helps your garment visually maintain a particular silhouette and structurally supports it while you wear it. Some other common pattern pieces that require interfacing are plackets, cuffs, collars, facings, waistbands, pocket flaps, and zippers, for example.
What are the different kinds of interfacing?
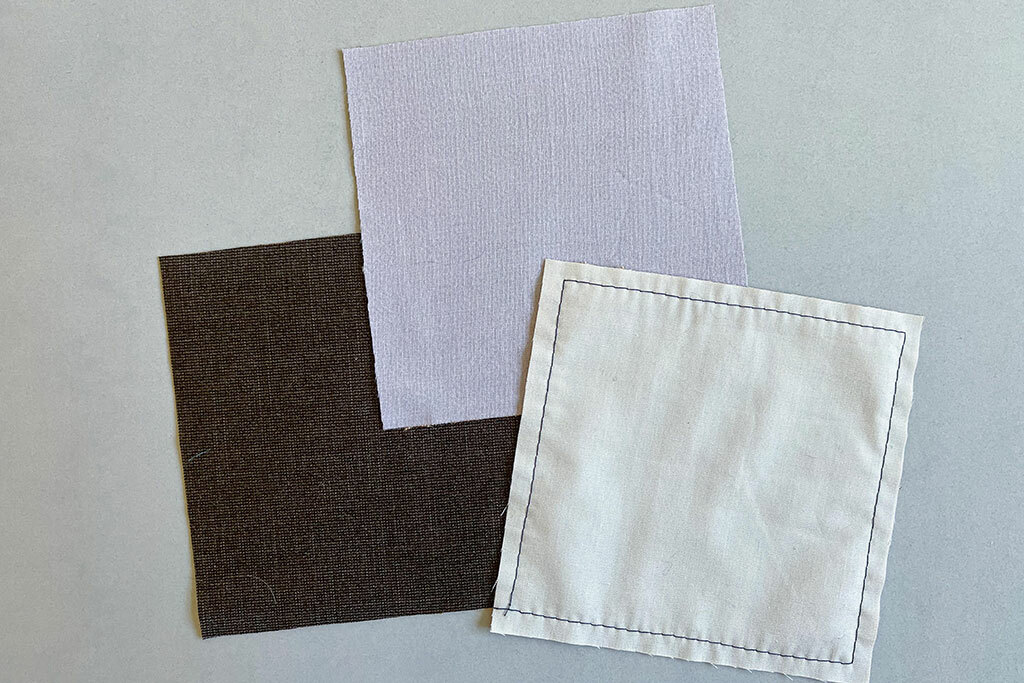
There are three common kinds of interfacing: woven, non-woven, and knit. They each serve similar purposes but knowing their differences is the trick to picking out the right kind for your pattern.
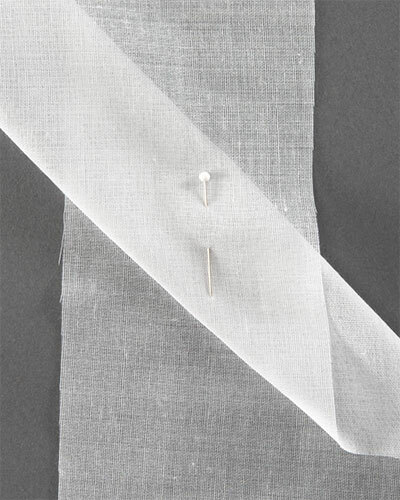
Woven. Woven interfacing is constructed just like woven fabric, so when you're working with it, you'll need to pay attention to the grainline. It’s ideal for projects that require medium-weight or heavyweight fabric or projects that use delicate fabrics that require additional body, like silk.
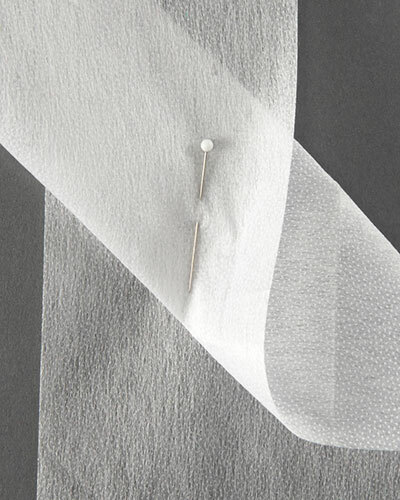
Non-woven. This type of interfacing is made of fibers that are bonded or felted together, which means it doesn't have a grainline, and it almost feels more like paper than fabric. You can cut out pieces in any direction, but it's not as durable as woven interfacing, especially when you wash your garment. This might be the most straightforward interfacing to use, but it’s best for crafty projects, like bags, accessories, home projects, or a quick muslin for a garment you won’t regularly wear.
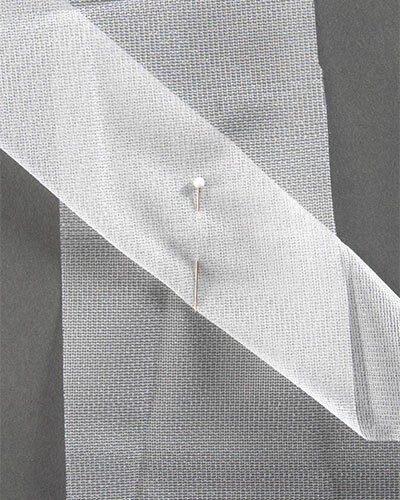
Knit. Knit interfacing has some crosswise stretch and minimal lengthwise stretch, so it can move with your fabric as it prevents it from stretching too much. It's ideal for knits, but it’s also great for lightweight woven fabrics with some stretch and drape, like rayon. When cutting out this interfacing, consider the direction of the greatest stretch for your pattern piece. For example, if it’s a knit waistband, you want the knit interfacing to stretch around your body along with your fabric.
Fusible and sew-in interfacing
Along with the three main types of interfacing, you’ll also find fusible and sew-in options. In most cases, you can use what you prefer.
Fusible interfacing. Fusible interfacing has little glue dots on the wrong side, and with a long press and some steam from your iron, it adheres permanently to the wrong side of your fabric. No need to sew!
Sew-in interfacing. If you are working with fabrics you don’t want to expose to heat and steam or fabrics with a crinkly texture or very loose weave, you can use sew-in interfacing. You’ll baste the interfacing to your fabric, creating a second layer.
Fabric as interfacing. If you don’t want to buy interfacing, you can baste a different layer of fabric to your main fabric, just like sew-in interfacing. For example, you can use lightweight cotton, batiste, muslin, organza, or flannel. In tailored garments, like suits, you can find horse-hair canvas used as interfacing (and Pellon has a fusible version). For knits, you can use a lightweight knit or mesh.
Other interfacings. If you need a thin strip of interfacing to stabilize while you sew, but you don’t want the interfacing to permanently attach to your fabric, look for water-soluble interfacing which washes out. There are also options for narrow rolls of knit or woven interfacing that remains in your hems, such as wigan. If you sew crafty projects or bags, look for double-sided interfacing.
How do you pick the right interfacing for your project?
Now that you know the difference between the different kinds of interfacing and their applications, there is another factor to consider: weight.
Like fabric, interfacing comes in different weights, and all you have to do is match the weight of your fabric to the weight of your interfacing. A good rule of thumb when selecting interfacing for your projects is to choose one with a similar or lighter weight and slightly less drape than your fabric. This will allow the interfacing to add some structure without completely stiffening the shape of your garment.
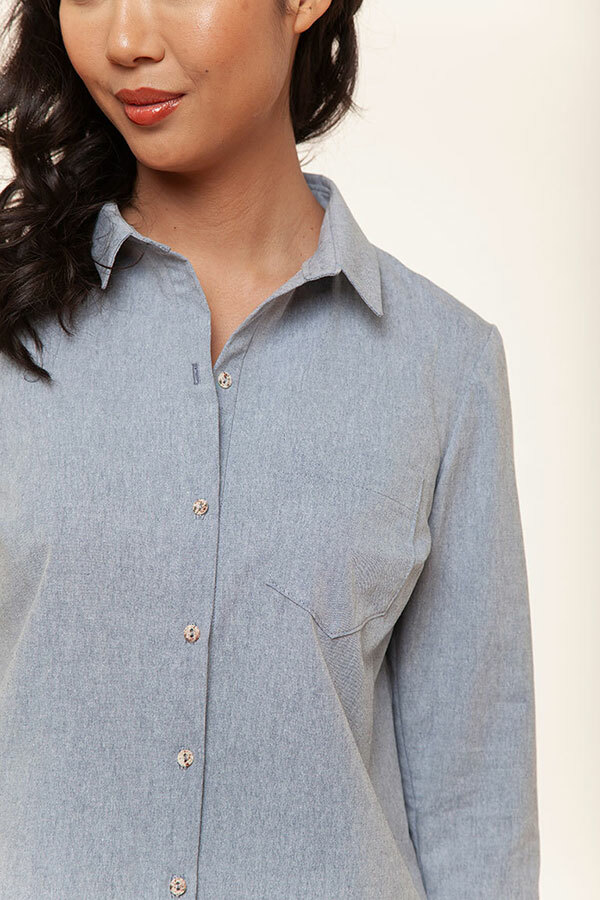
For example, if you make a Rachel shirt out of rayon or lightweight cotton, you’d want to use lightweight, flexible interfacing. If the interfacing is too heavy, it could make the collars, cuffs, and placket appear very stiff compared to the rest of your garment.

If you’re making outerwear, like the Rhett jacket, you can opt for medium-weight interfacing if your garment might benefit from the added structure. Again, just make sure the interfacing is similar or lighter in weight than your fabric.

If you’re making a hat, like Rey, you will create a very stiff brim with heavyweight interfacing, and that’s not the intended design for this pattern. Instead, lightweight interfacing will give the brim some structure but allow it to flop and drape as intended. However, heavyweight interfacing would be a good option if you are making a more structured hat or bag.
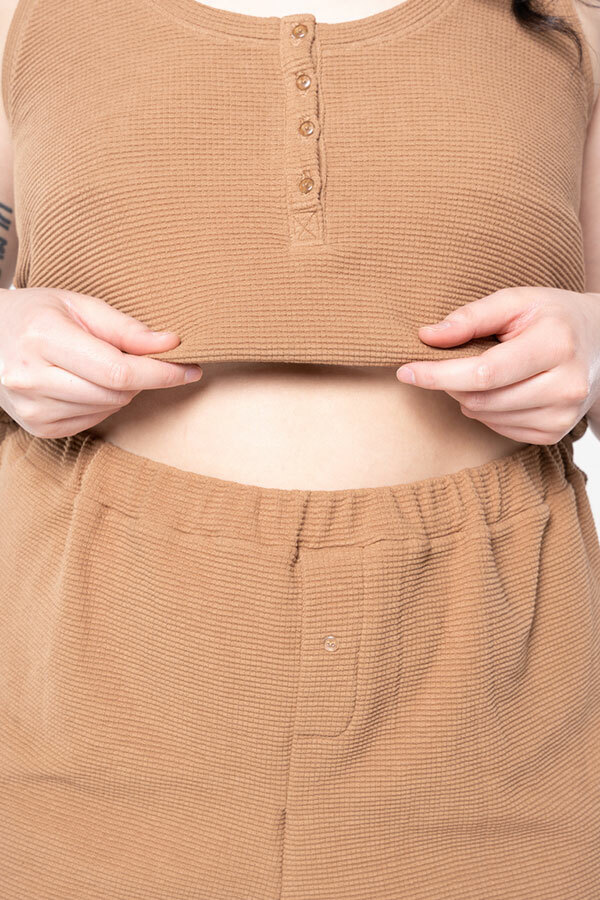
If you’re using a knit, match the weight of the knit to the weight of the interfacing. Jerseys and rayon blends benefit from lightweight knit interfacing, whereas double knits or ponte might work with medium-weight knit interfacing. When in doubt, go for a lighter weight. This Cal pajama top uses lightweight knit interfacing at the button placket and faux fly to support the soft waffle knit. Heads up, if you use woven or non-woven interfacing on knit projects, you will eliminate their stretch, which is why knit interfacing is so great!
How do you work with interfacing?
Here are some tips for using interfacing.
-
Follow the manufacturer’s directions. Every bolt of interfacing comes with an instructional sheet. Read them over before diving in. This is especially important when using fusible interfacing, so you don’t scorch your project. It never hurts to do a quick test swatch first. -
Do you have to pre-wash interfacing?. Woven interfacing doesn’t tend to shrink. You’ll want to pre-wash any other fabric you use as interfacing, like organza or muslin. You can also pre-shrink fusible interfacing by soaking it in warm (not hot) water, but in all honesty, this isn’t always necessary. -
The grainline sometimes still matters. While non-woven interfacing doesn’t have a grainline, woven and knit interfacing does. Pay attention to the direction of stretch when you cut out interfacing, and use the pattern’s cutting layouts to follow grainlines. This also ensures you won’t cut fusible interfacing with the wrong side facing up. -
Fusible interfacing has a right and wrong side. Pay attention to cutting layouts because fusible interfacing has a right and wrong side. The cutting layout will help you know which way to orient the pattern pieces. -
Trim seam allowances to reduce bulk. Sometimes your pattern pieces will have separate pieces for interfacing, but if not, you can always trim the edges of your interfacing to reduce bulk at the seam allowance. For example, trim about 1/8” (3 mm) from your fusibles before adhering or trim the seam allowance of your sewn interfacing after you baste it. -
Interface and then cut your fabric. When working with fusible interfacing for small pieces, like collars and waistbands, it can sometimes be easier to interface a block of fabric and then cut out your pattern pieces. -
Double-check your pattern markings after using fusible interfacing. Sometimes notches and other pattern markings can become hard to see after you attach fusible interfacing. Be sure to transfer these again before assembling your garment. -
Black or white interfacing? If your fabric is dark, go with black interfacing, if your fabric is light go with white. -
Wrinkled interfacing? If your interfacing is creased or wrinkles, soak it in water and then hang it dry. Don’t be tempted to press fusible interfacing to remove wrinkles because you’ll end up gluing it to your ironing board. -
Use a press cloth (and clean your iron). Speaking of glue and irons, use a press cloth to keep fusible interfacing from sticking to your iron. Clean your iron regularly as well. Ez-Off is an iron cleaner available here at Wawak. -
Press don't iron. The back-and-forth motion of ironing can distort the shape of your garment and cause bubbles in your interfacing. Let your interfaced fabric cool and dry completely before moving it around to prevent bubbles from forming. -
Is sew-in interfacing just underlining? Underlining is similar to sew-in interfacing, but when you underline, you attach another layer of fabric to the entire garment rather than certain pieces. For sheer or very lightweight fabrics, this is a great option. Read a tutorial for underlining here.
Where is the best place to buy interfacing?
You can find interfacing in most fabric stores and big-box craft stores. Here are some of our recommendations.
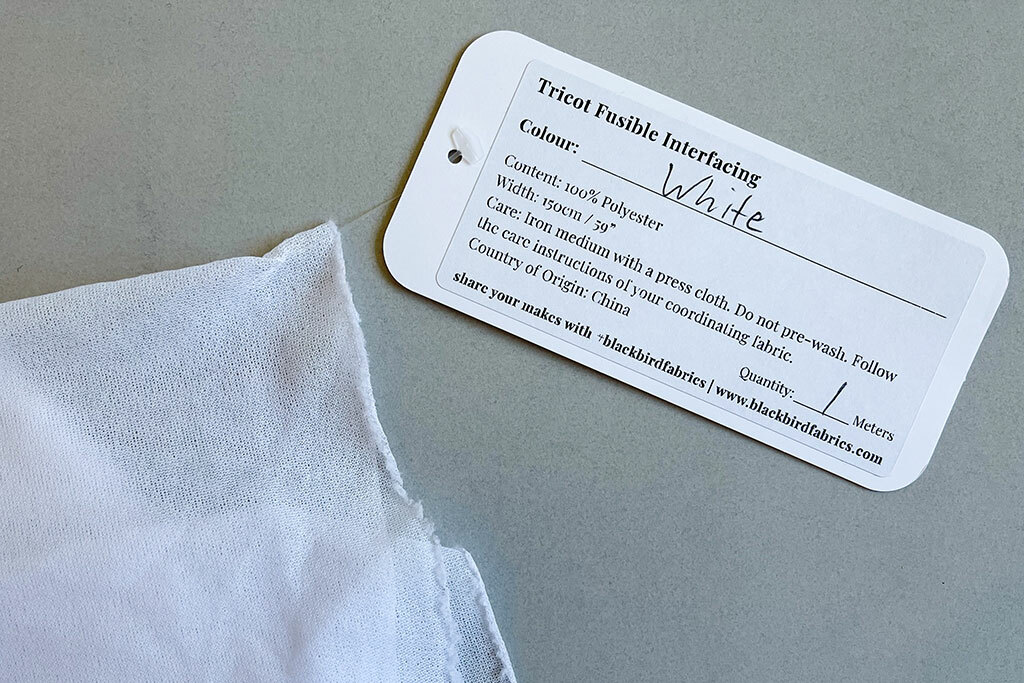
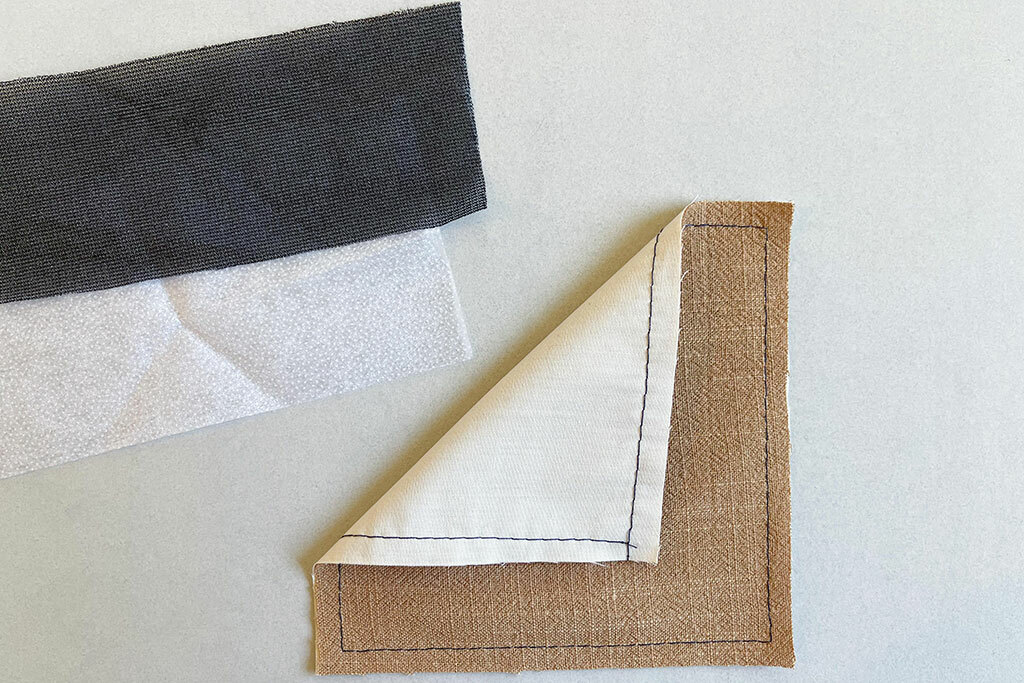
- Tricot interfacing is always ideal to have in your sewing room. It has 2-way or 4-way stretch, and it’s perfect for most projects that require lightweight interfacing. You might think it’s only for knits, but it works very well for wovens requiring lightweight interfacing. It adds subtle body, and it has a malleable hand and lovely drape, perfect for everyday garments. The tricot pictured above is from Blackbird Fabrics, who include instructions with each cut.
- Pellon is perhaps the most recognizable brand of interfacing, and it comes in dozens of options. It can seem very overwhelming at first, so the best thing to do is to bring your fabric with you and go touch the different options to see what feels best in your hand. Shape-Flex (SF 101) is a good basic to have on hand if you want somewhere to start. Pellon even has a PDF guide to choosing the best interfacing for your fabric and project.
-
Palmer and Pletsch has very trustworthy interfacing. It's more costly than what you might find in some craft stores, but it’s worth the extra expense, especially for projects you will wear often. -
Fashion Sewing Supply describes themselves as the interfacing experts. They only carry woven or knit interfacing, so everything is ideal for making garments. -
Wawak carries many fusible and sew-in interfacings. They also have a chart to help you pick out the right kind of interfacing for your project. -
Dharma Trading Co. is a trusted source for plain, natural fabrics for dyeing projects, but these are also suitable to use as sew-in interfacings or underlinings.
Love the article? Pin it for later.
If you want to learn even more about interfacing, watch this video, and Haley will show you how to sew with fusible interfacing.


