
 Sign In
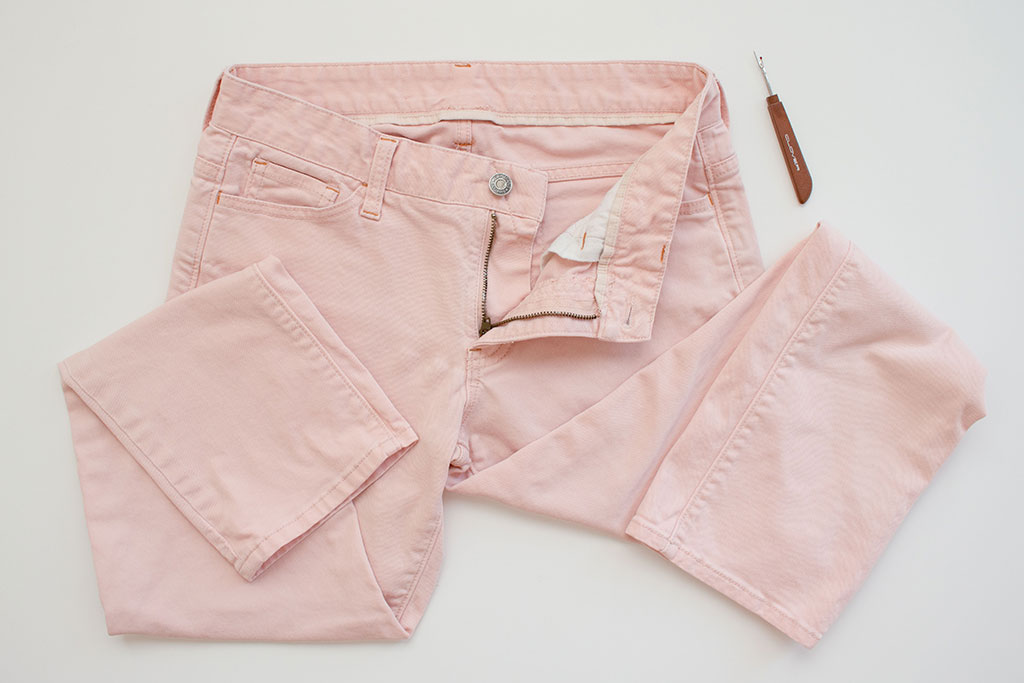
There’s really no mystery to repairing or replacing a zipper. If you can install a zipper, you can replace one. It’s actually pretty simple—not easy, per se, because it involves a lot of unsewing, which is the part I don’t like. But unless you have a phobia of installing zippers, you probably already have the skills needed to replace one, and that’s assuming you need to.
I’ve fixed plenty of zippers working with the Pasadena, California, Repair Café, a group of volunteers keeping things out of landfills by fixing them. We have tinkers fixing lamps, toasters, fans, you name it—and stitchers, like me, who patch holes, replace buttons, do hems, and fix zippers.
How a zipper works
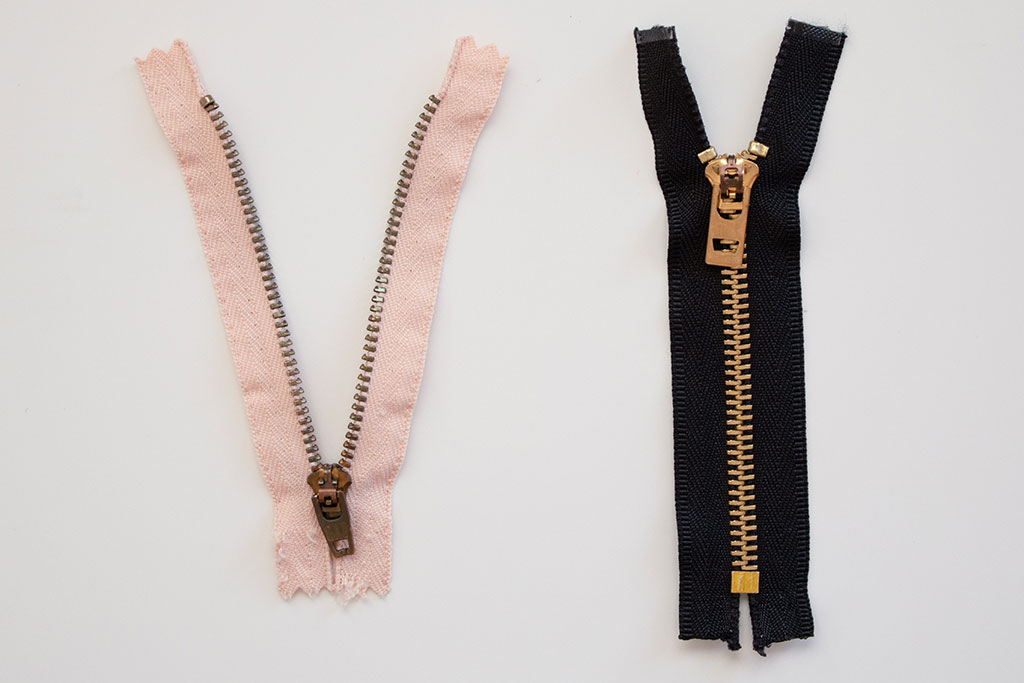
Zippers come in various forms—regular, separating, invisible— and in a variety of materials, but mostly metal or nylon. They all, however, work the same way.
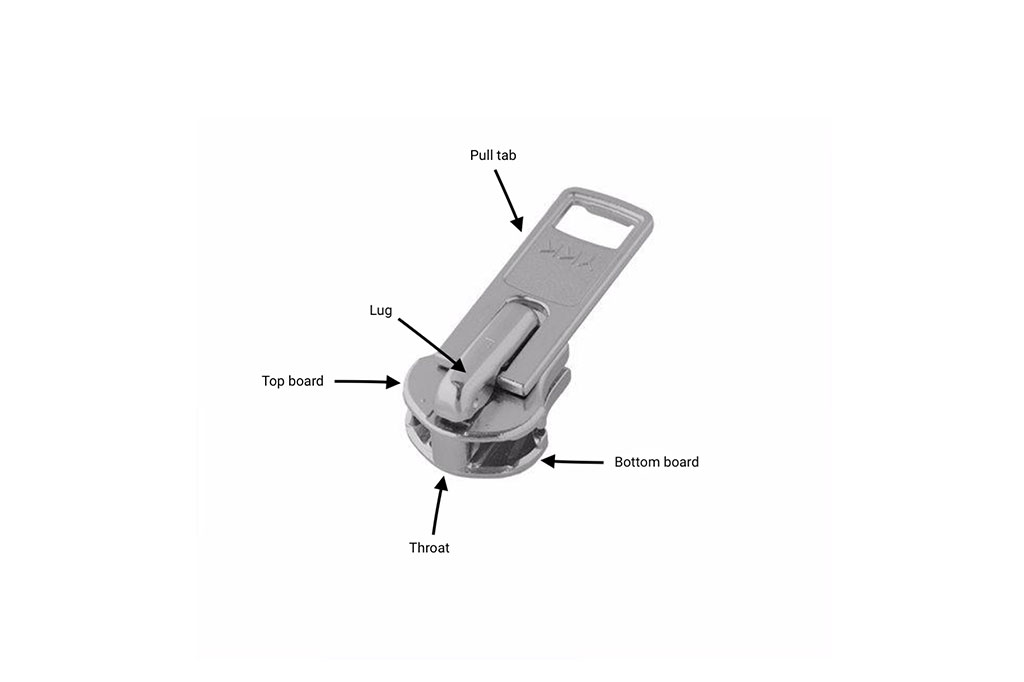
The slider part is the bit that zips up and down. The other basic parts are the top and bottom boards, through which the teeth pass, the throat at the front of the slider holding the two boards together, and the lug at the top, which holds the pull tab.
The teeth are embedded onto two pieces of fabric tape. When you pull the zipper up, the boards mesh the teeth together. Pull down, and the throat separates the teeth. Look at this page for a more detailed description of zipper anatomy.
The things that go wrong
Zippers fail in all kinds of ways; too many to go into here. The good news is that not all failures mean that you need to replace the zipper.
Say you’ve lost the pull tab. You can buy pull tabs from various suppliers, including decorative ones. I like to get pull tabs and other parts from Wawak, which provides tools and supplies to professional garment companies. However, you can also use a zip tie, a split ring, or make your own out of a piece of ribbon.
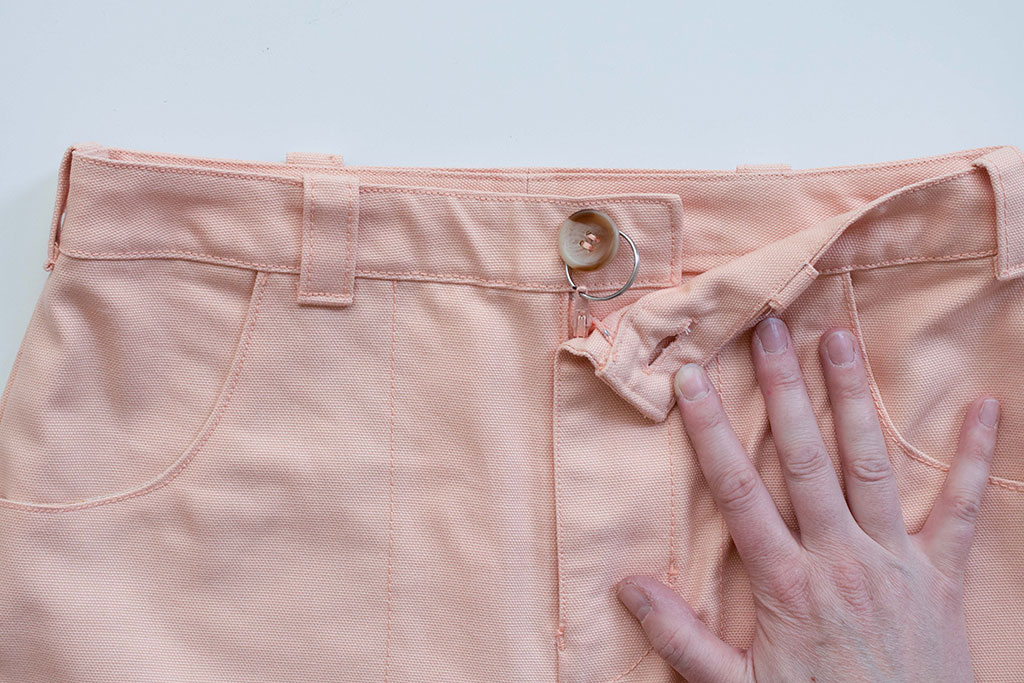
Another problem is the zipper that won’t stay up. So I loop some ribbon through the pull tab and knot it, leaving a large enough loop to slide over my pants button when the zipper is up. You can also use a key ring.
Stuck zippers, with or without fabric caught in the teeth, are generally a matter of pushing and pulling to pull the fabric free or get the zipper moving, then zipping down and up a couple of times. If no fabric is caught, you can also try rubbing soap on the teeth.
It can take some force to get the zipper unstuck, especially if a heavier fabric got caught in it. When you’re trying to repair something, it’s a little nerve-wracking to force it or use some other technique that might ruin the item you’re trying to fix. Obviously, you want to try safer efforts first. But especially in the case of zippers, if the zipper, itself, is not working, and you end up breaking the teeth trying to fix it, well, you were probably going to have to replace it, anyway, so you have nothing to lose by applying force.
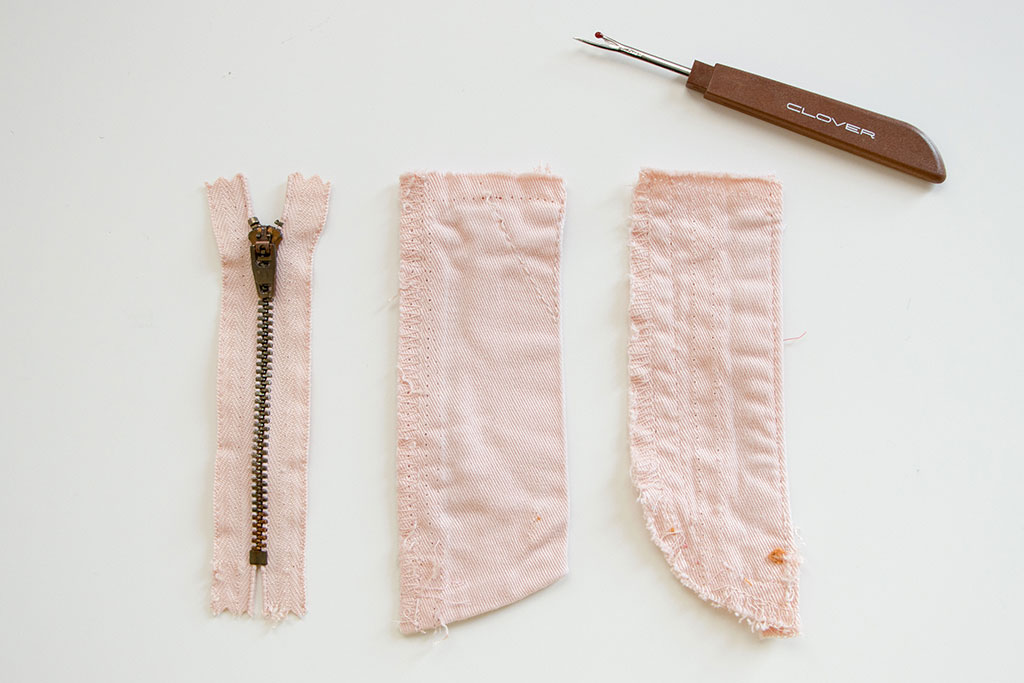
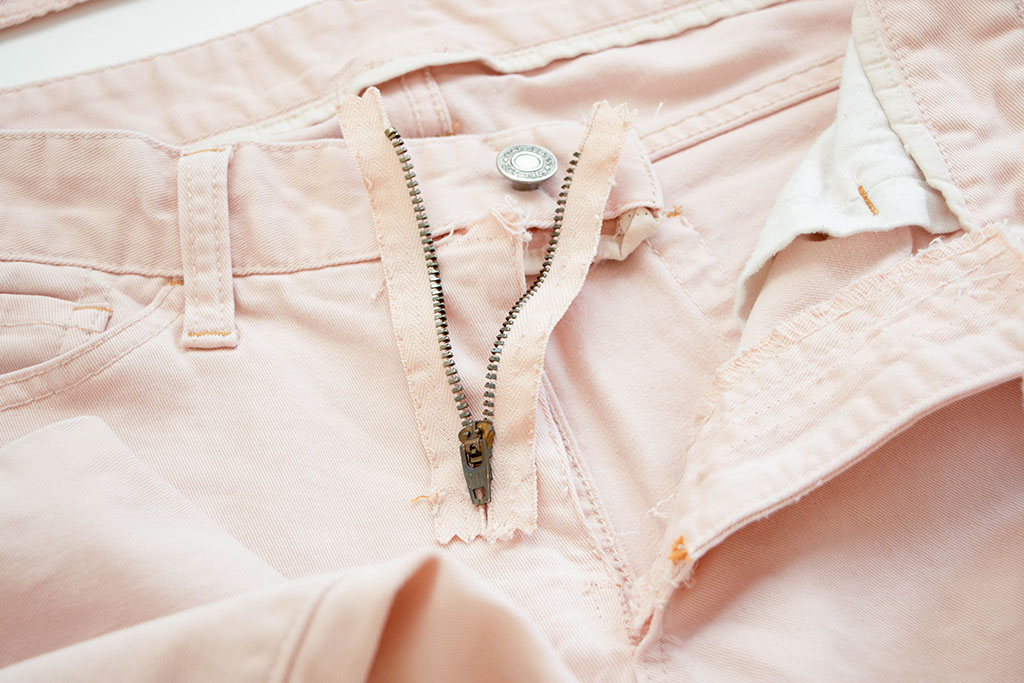
Burst zippers are usually caused by a broken tooth or two. Unfortunately, if even one of the teeth is broken, it cannot be fixed, and you will need to replace the zipper.
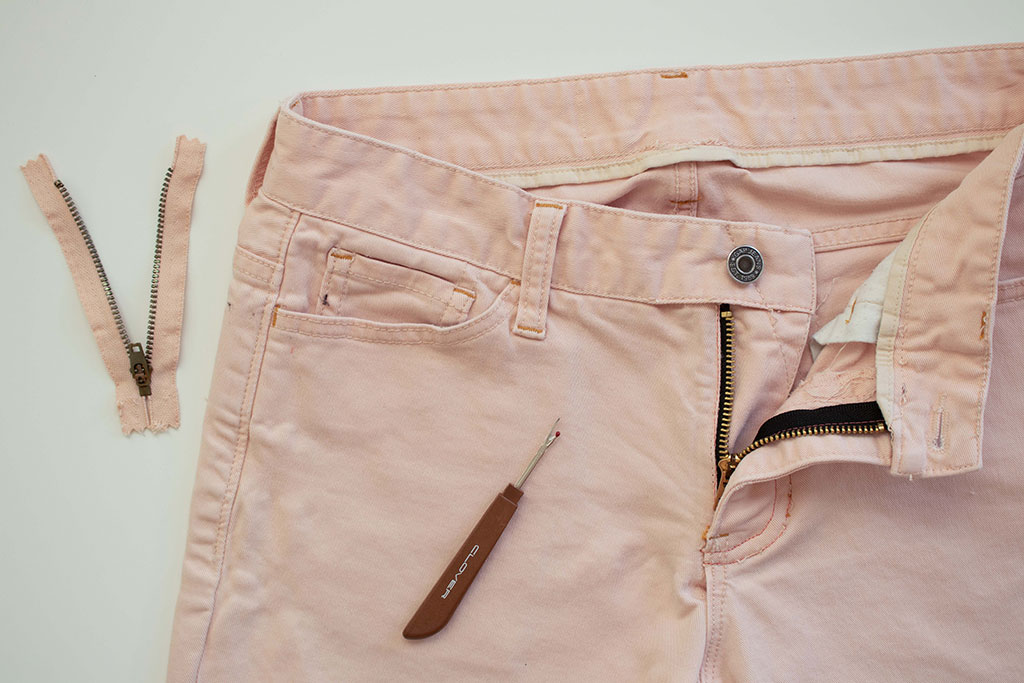
Get your seam ripper ready
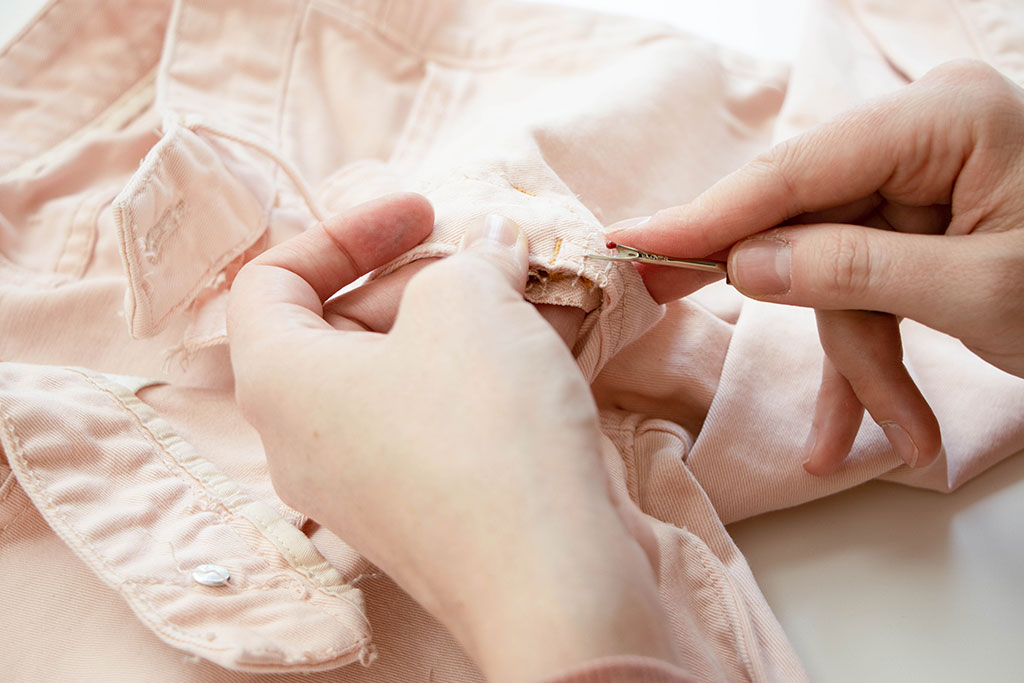
Replacing a zipper is where the unsewing comes in, and the truth is, that’s 90% of the aggravation. You might have to unpick topstitching thread sewn by an industrial machine, as well as the occasional bartack. Be prepared to spend quite a while unpicking, and it’s not a bad idea to have a backup seam ripper.

The good news is that once you get the zipper out, putting it back in is much simpler than installing one from scratch. Your seams are likely already finished, and if you preserve the original stitch lines as much as possible, you can use them as guidelines to install the new zipper. To do this, don’t remove all the pieces of thread as you unpick—treat them like a trail of breadcrumbs to help you find your way back. You can even use a water-soluble tool to mark the original stitch lines. Then when you insert the new zipper, all you have to do is line it up with the original stitch lines.
Don’t remove all the pieces of thread as you unpick—treat them like a trail of breadcrumbs to help you find your way back.
What if my pants look different?
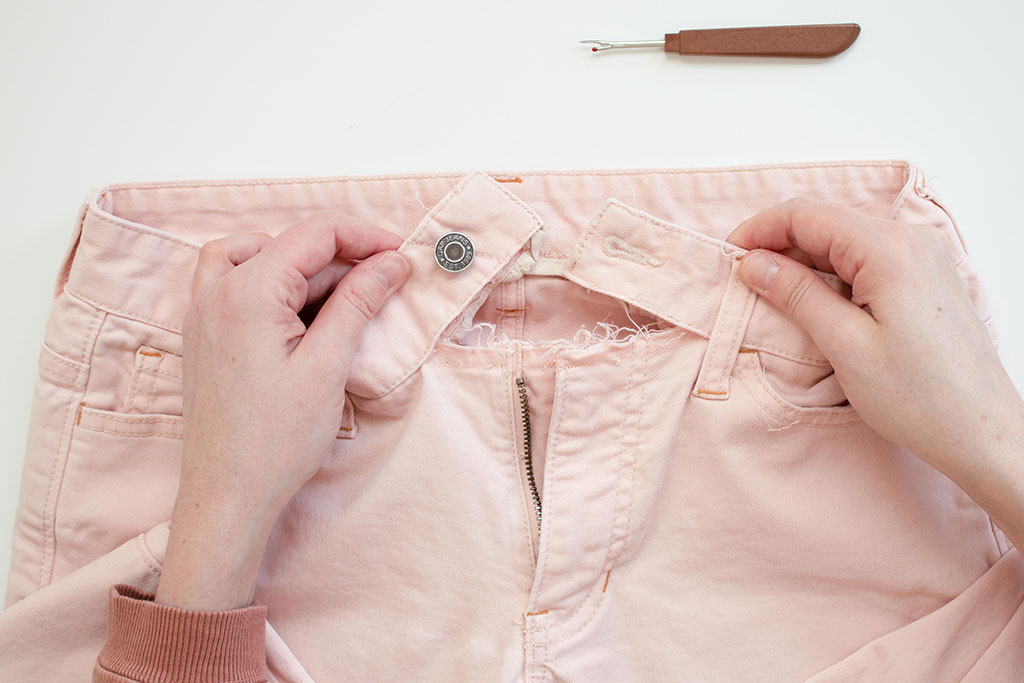
Do your pants look different than the example here? Construction methods may vary, especially with ready-to-wear clothing. For example, your pants might have a fly guard, and they might not. It might make sense to unpick the fly guard or the fly completely, but you also might be able to keep some seams intact.
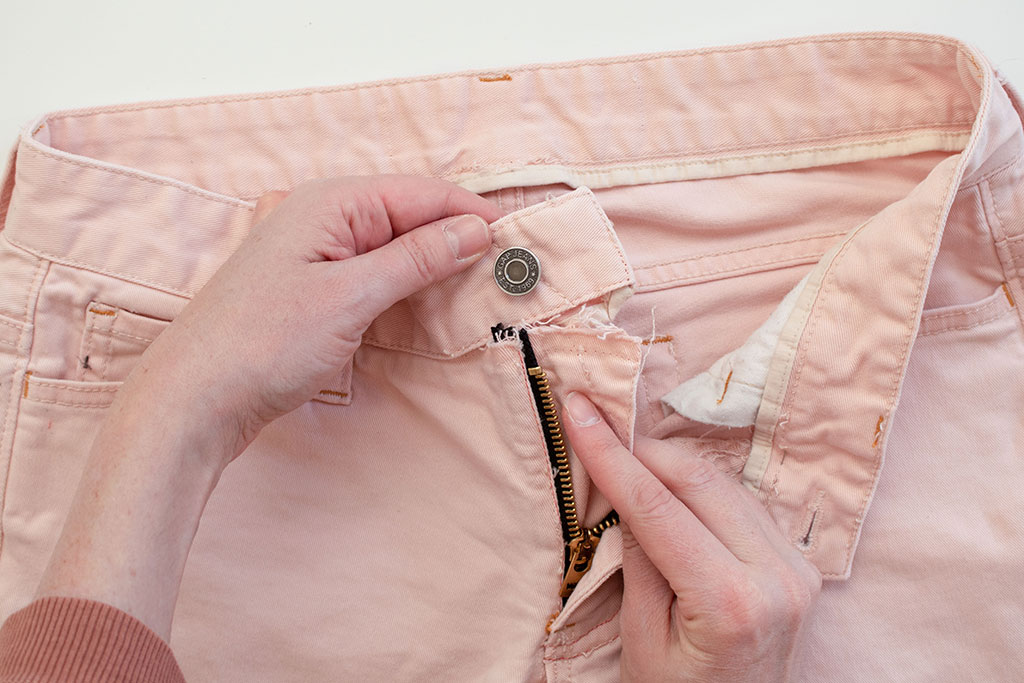
Before you rip out any seams, study your zipper. Identify the parts, look at how the seams attach and snap some pictures for reference. The goal is to unsew and then sew on a fresh zipper following the same stitch lines.
Replacing the zipper
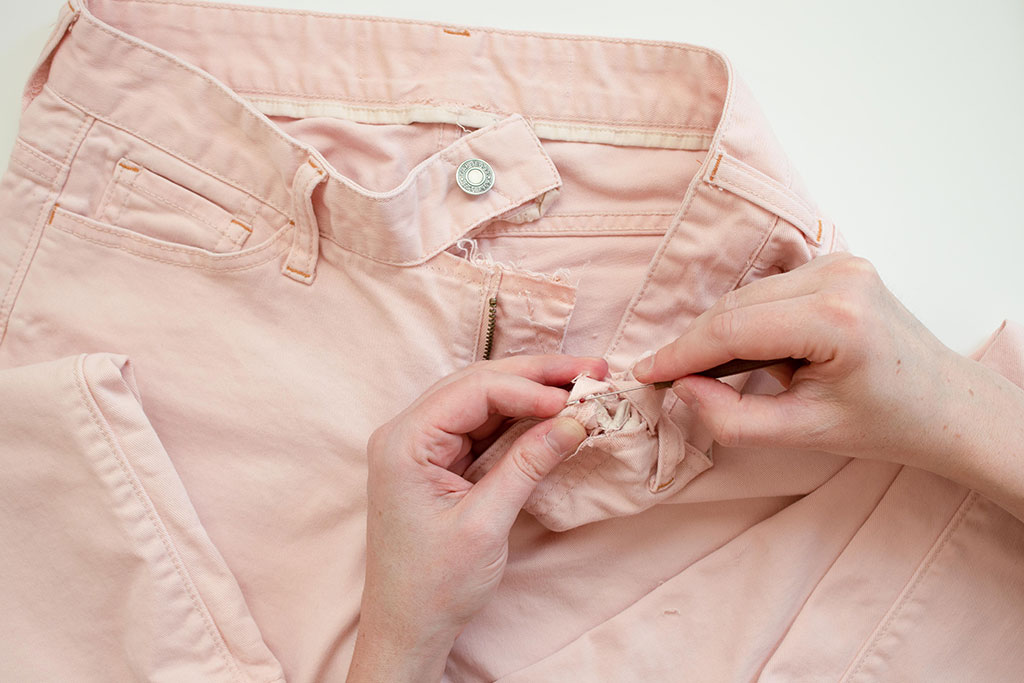
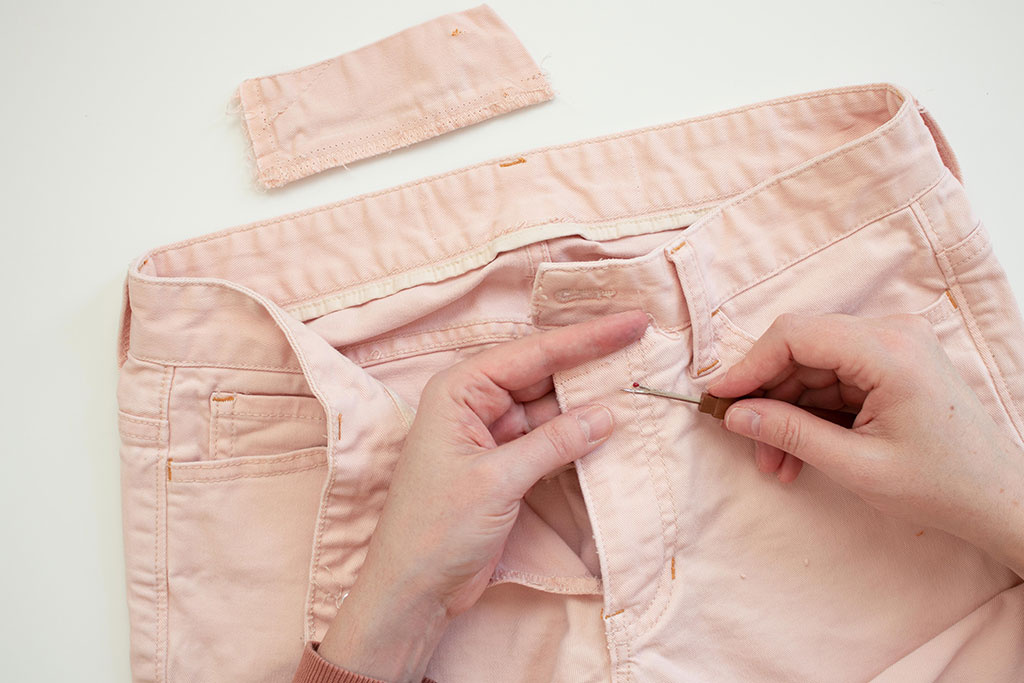
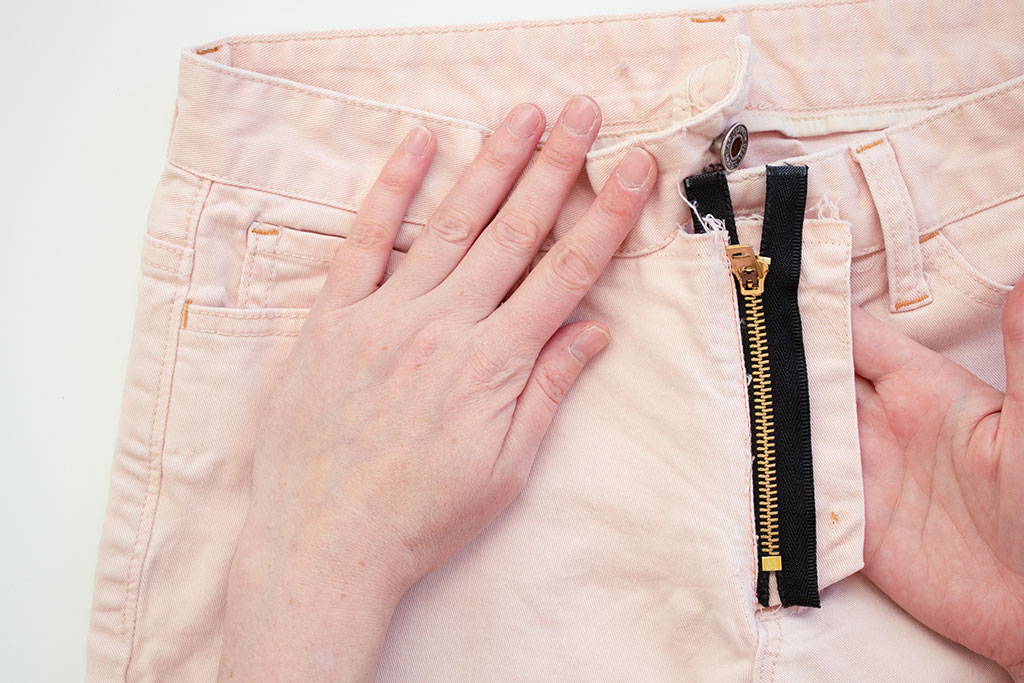
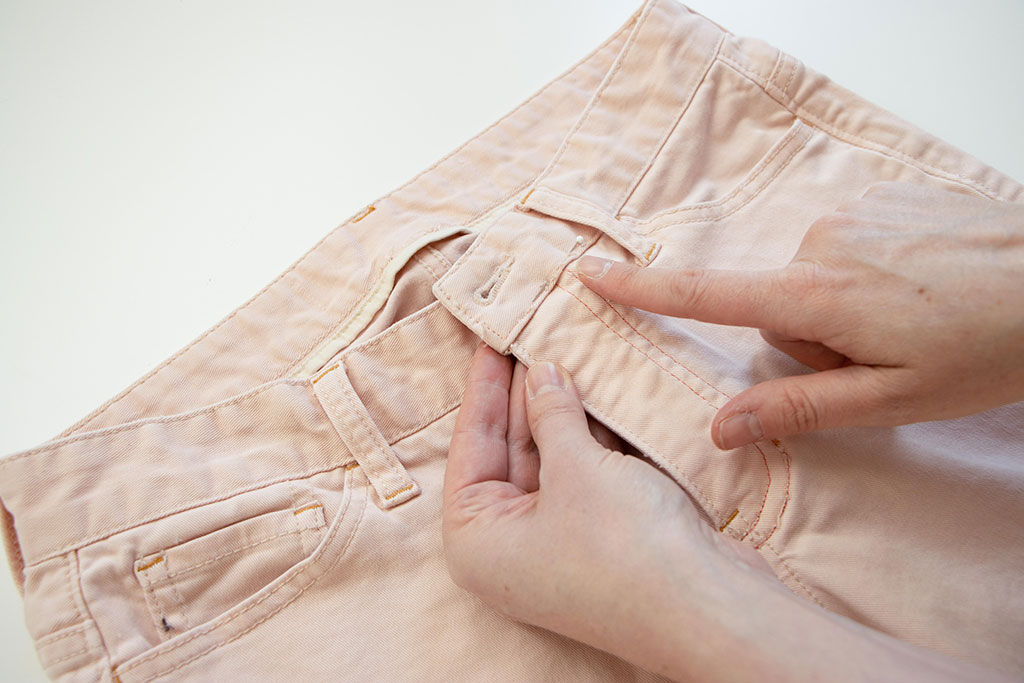
I usually start by unstitching the waistband, if there is one, where it meets the body of the garment and freeing the top of the dead zipper.
Unpick the waistband for several inches so you have some room to wiggle the pants under your machine.
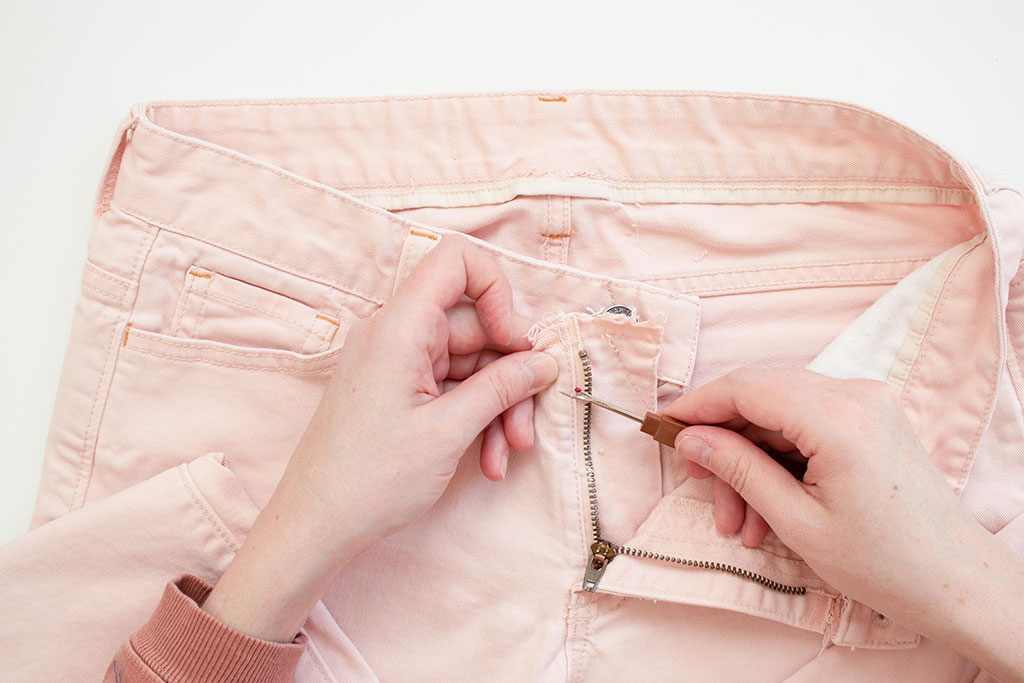
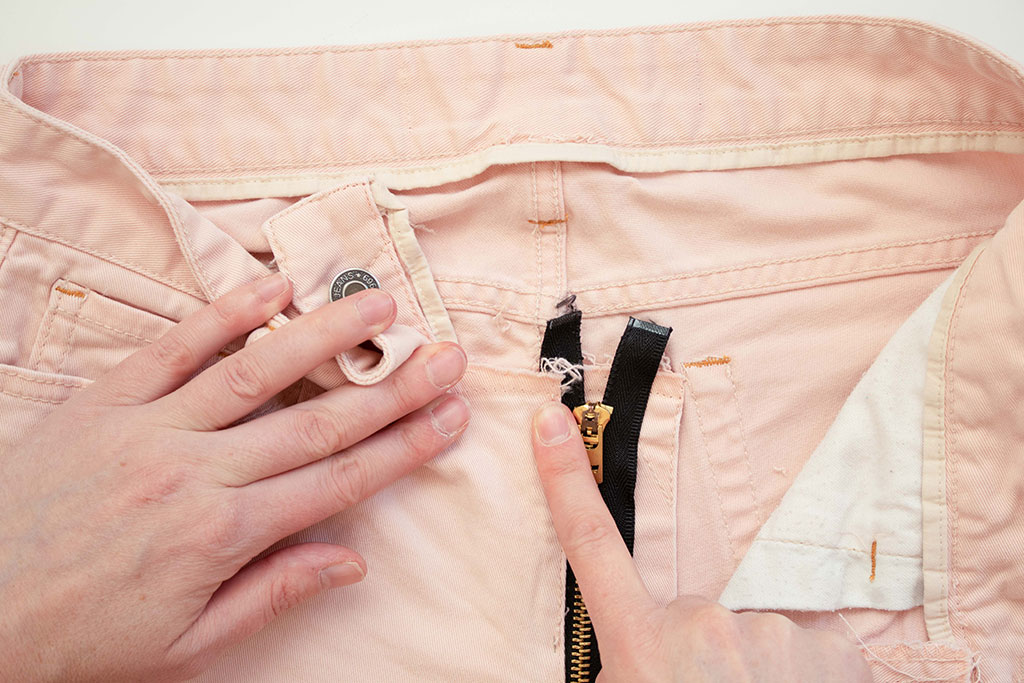
Next, open the zipper and unstitch the topstitching on the unlapped side, where the fly guard is.
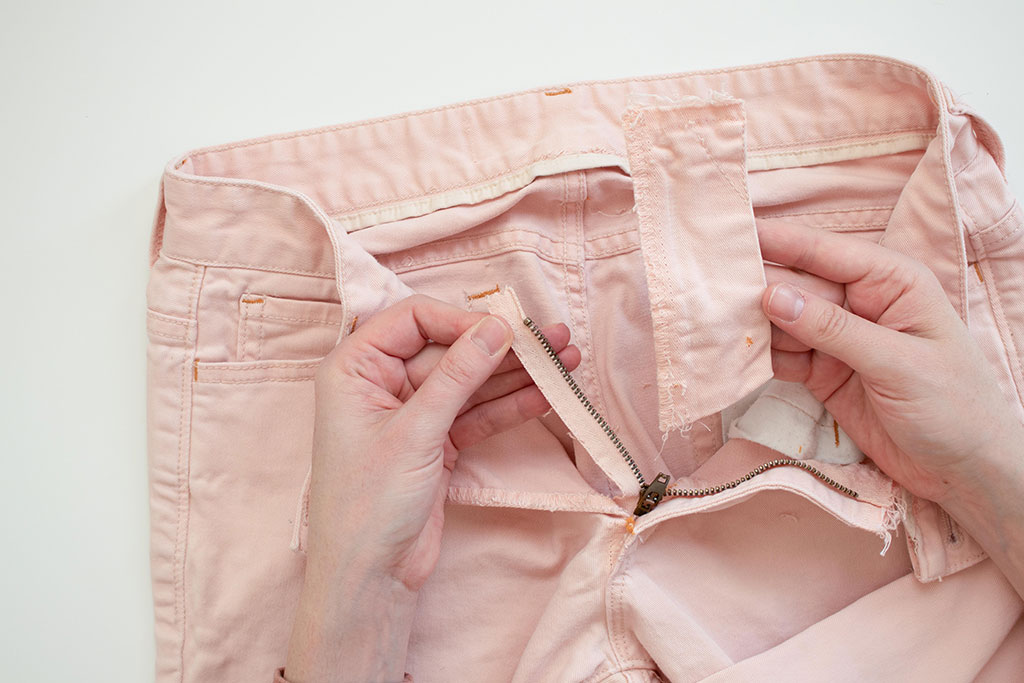
Depending on how your pants were originally constructed, you may need to remove the fly guard completely because the zipper tape is often sandwiched between the guard and the garment.
Then, unstitch the fly topstitching and remove the zipper on the lapped side. Depending on how your pants were constructed, you might be able to keep the fly attached and just remove the zipper tape from the fly.
If you’re replacing a center-lapped zipper, such as the one on the back of a dress, undo the facings, then unsew the zipper.
Once the old zipper is out, you can use your favorite technique to install the new zipper, such as the one featured in this Seamwork video, Our Favorite Way to Sew a Zipper Fly, or check out this tutorial on centered zippers.
You can skip the bits about sewing the seam under the zipper because, well, that’s already done. If you’re working on a jeans zipper, you can get topstitching thread from your local sewing store. You’ll want to match the original thread as closely as possible, but you may not get an exact match. It’s the best you can do, and that is usually enough. I abide by the three-foot rule. If it looks good from three feet away, that’s good enough for me. If anyone is closer than three feet to me, we’d better be on the kind of terms that they’re not going to complain about my topstitching.

Start by reattaching the fly guard. Use the original stitch lines to make sure the fly guard is installed in the same position.
Then, sandwich the zipper, right side up, between the garment and the guard.
It can help to pin along the previous stitch line and then hand or machine baste in place.
Stitch close to the teeth on the unlapped side.
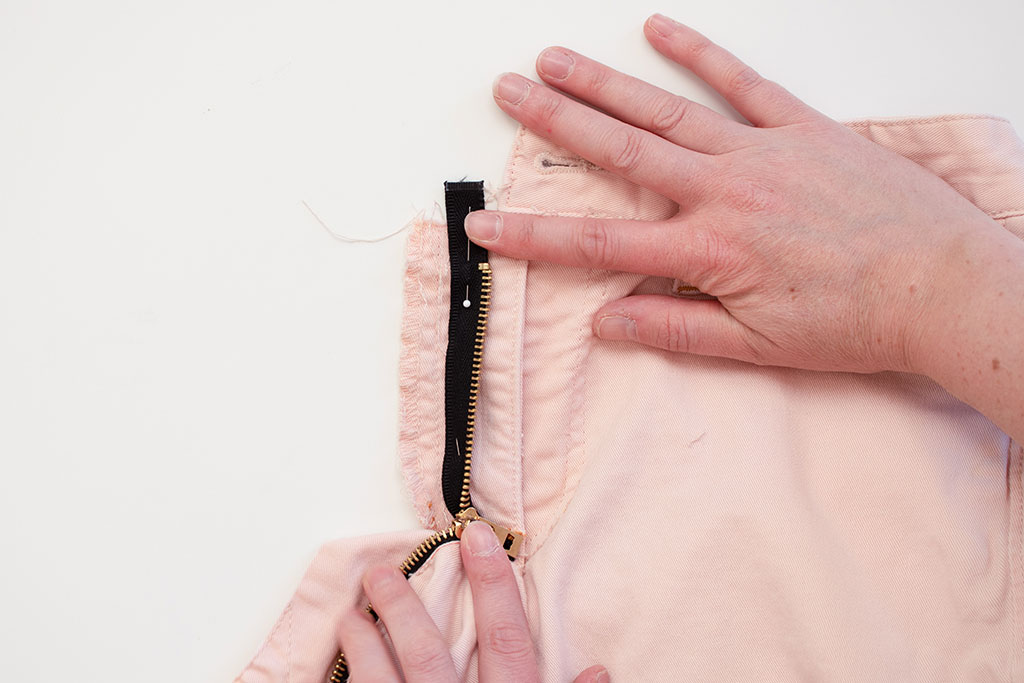
Next, you will sew the other side of the zipper tape to the fly. Unzip the zipper, and place the zipper tape along the previous stitch line. Try to keep the amount of tape extended at the waistline consistent on both sides. Pin and baste in place.
Double-check that your zipper will close and lay flat. Then, close the zipper, smooth the body of the garment away from the fly, and stitch the other side of the zipper tape to the fly. Topstitch the fly in place and bartack along the bottom or original bartacks.
If you had to unpick the topstitching at the rise, you could redo that now.
On a centered application, baste the seam closed, mark your stitching lines on the outside of the garment, close, pin, and baste the zipper in place, then topstitch.
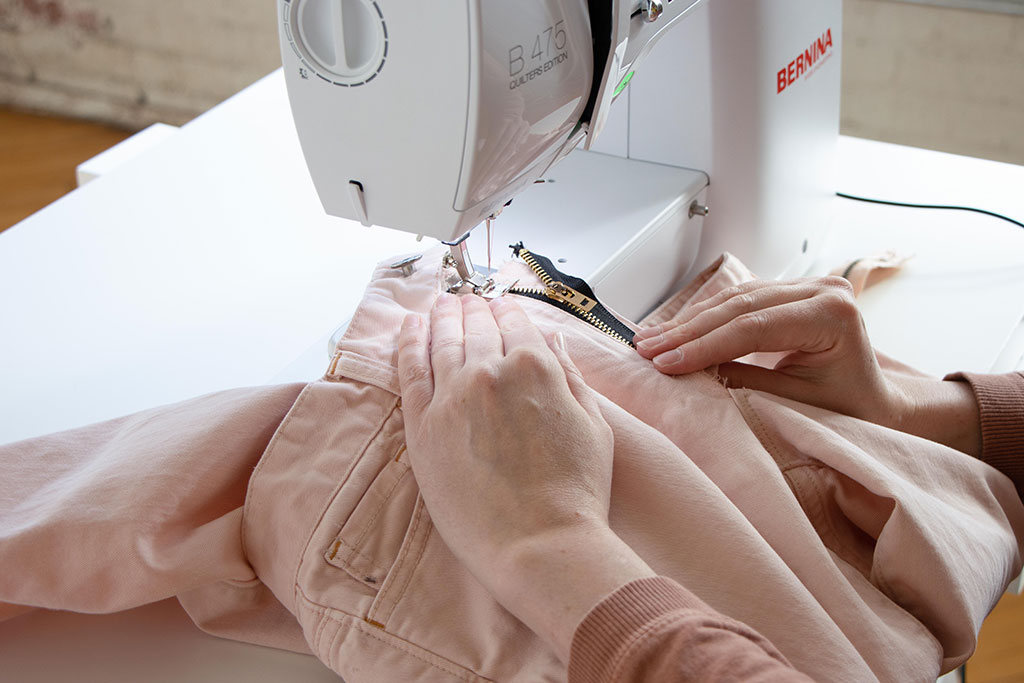
Once the zipper is sewn, insert the top of the pants back into the waistband. It helps to use pins to keep everything secure.
Topstitch the waistband down, and your new zipper is in!
Now that everything is repaired, you can unpick the loose stitches you used as breadcrumbs to install your new zipper—and that’s the last of the unsewing for this project.
That wasn’t so bad, was it? Whether you get an installed zipper functional again or replace it entirely, thinking about fixing zippers is scarier than actually fixing them—except for the unsewing, which really isn’t that fun.
Love the article? Pin it for later.

Anne Louise Bannon
Contributing Writer
Anne Louise Bannon began stitching and writing novels in her teens, and hasn't really stopped doing either. She is the author of the Old Los Angeles series of historical mysteries and the Operation Quickline series of romances with espionage intrusions, featuring Lisa Wycherly, who also makes her own clothes. Anne also coordinates a team of stitchers for the Pasadena Repair Cafe. She and her husband live in nearby Altadena, where they make the things most sane people buy.


