Sign In

Alright, so I’m no poet. You know what I am good at? Getting really inspired at the first wave of warm summer air and being obsessed with making All. The. Things.
Camisoles? Check.
Shorts? Check.
Light, summer dresses? Swimsuits? Check and check.
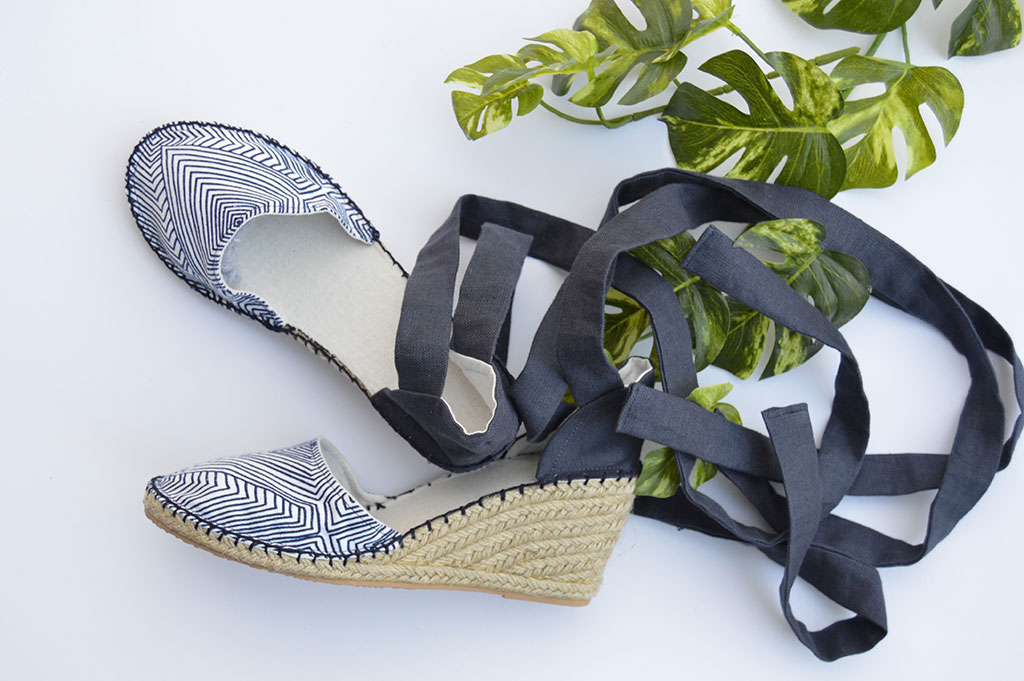
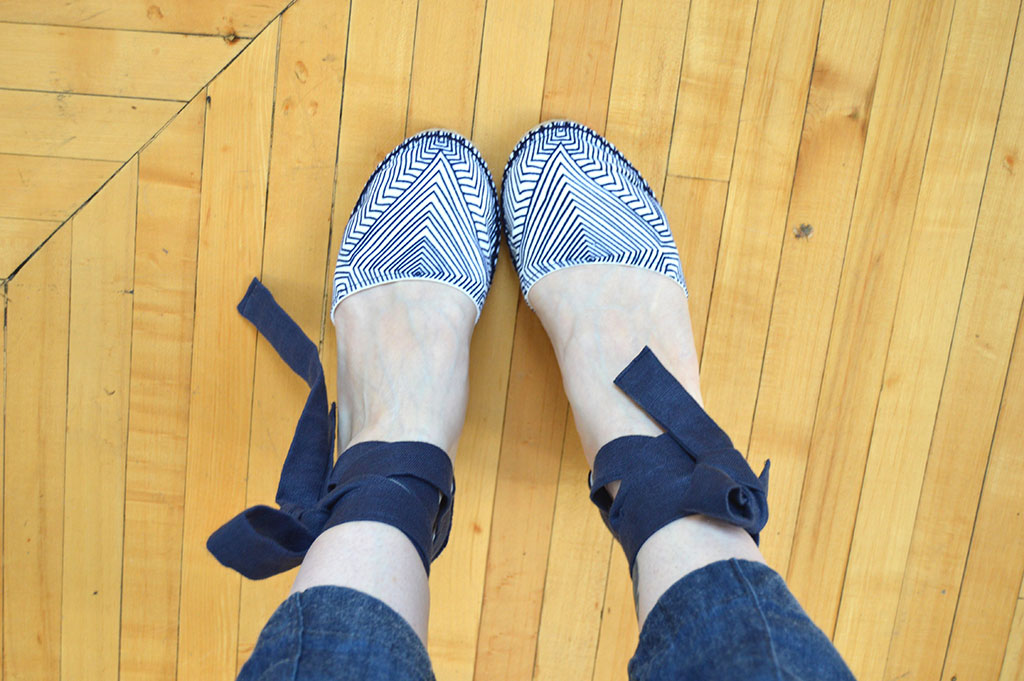
Espadrilles? Wait…shoes? I can make shoes? Yes, actually I can. And you can too.
Making your own espadrilles is remarkably straightforward and oh so much fun! The supplies are easy to find and inexpensive—you probably have some of them in your supply box. It’s a great and unexpected scrap buster too.
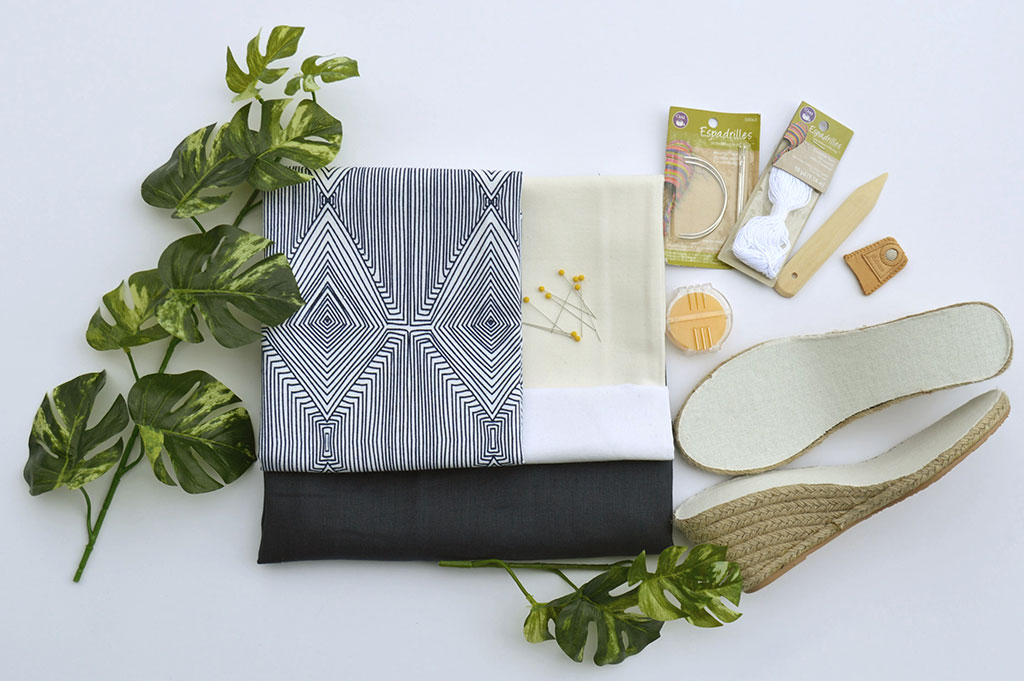
Here is what you’ll need:
- 1 pair of espadrille soles, wedges or flats (includes pattern). I bought Dritz jute wedges from Amazon, but you can find them on Etsy and in some sewing and craft shops online. I am a solid 8.5; I sized down to an 8, and they fit just right.
- 1/4 yard shell fabric—canvas works great
- 1/4 yard lining
- 1/4 yard interfacing
- Heavy duty or curved needles
- Beeswax
- Espadrille, sashiko, embroidery, or some other heavy cotton thread
- Thimble or needle puller
- Point turner
- Pins
- Iron
- Sewing machine
- Optional: Grosgrain ribbon or twill tape for the straps
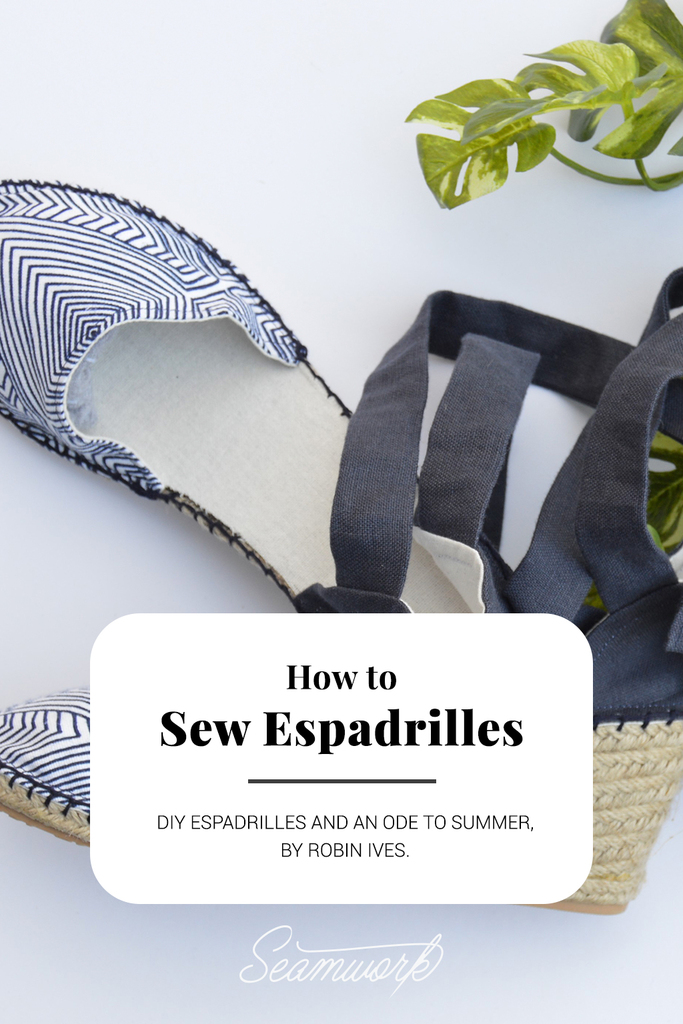
How to Sew Espadrilles
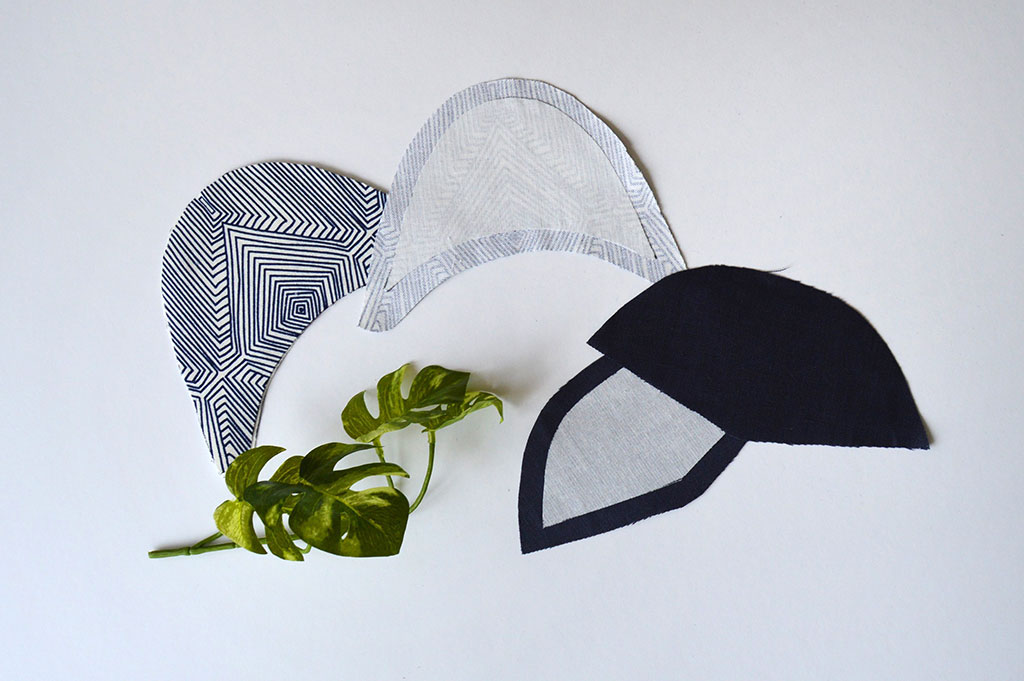
Step 01: Cut Pieces
Use the pattern provided with the espadrille soles to cut the toe and heel pieces out of your chosen fabric, lining, and interfacing. If you choose a print, move the pattern around in a few places until you find the portion of the print you like best. Transfer pattern markings and use a small piece of masking tape or a safety pin to differentiate left and right.
If you choose to use fabric to make straps, cut them out now. I made a 1” on-fold strap that was 2 1/2” total—2” for the on-fold strap plus 1/4” seam allowance on each side. I wrapped my measuring tape around my ankle to help me decide how long to make the straps.
Step 02: Interfacing
Apply interfacing or stabilizer per the pattern and manufacturer’s instructions.
Step 03: Straps
If you are making straps out of your fabric, do this now. Fold each strap piece in half, right sides together, and stitch the long edges at 1/4”. Turn right side out and press flat. Turn one short end 1/2” in to the inside of the strap, hiding the raw edges, and topstitch closed at 1/8”.
Step 04: Heel
Stitch the darts on the heels, trim and press open.
Place the straps at the designated markings on the outer heel fabric, and baste in place. Pin the outer heel pieces to the heel lining pieces, right sides together, keeping the straps tucked in between the layers and hanging out at the bottom of the heel where the dart is. Sew around the heel with 3/8” seam allowance, leaving a 2” opening centered around the bottom of the dart. Be careful not to stitch through the straps when sewing around the heel piece.
Trim seam allowance to 1/8” except where the opening is. Turn right side out and use your point turner to gently push out corners and shape the pieces.
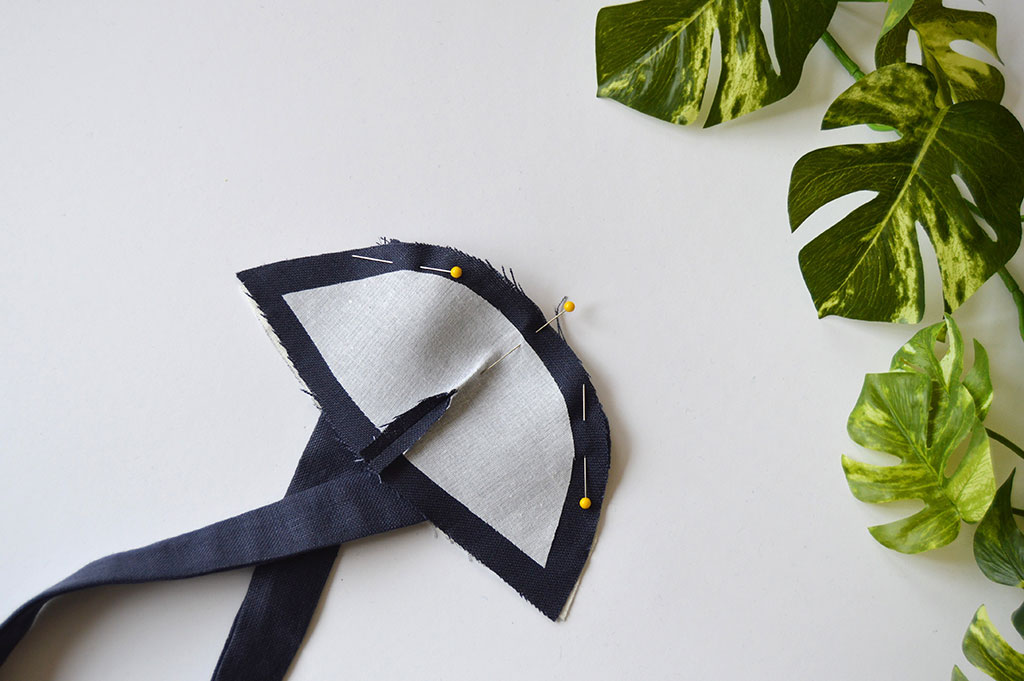
Step 05: Toe
Place the outer toe fabric and the toe lining fabric right sides together, pin. Stitch around the toe, leaving a 2” opening on one side. Be sure that the opening is at least 1 to 1 1/2” from the point, otherwise, you will not be able to get a nice point when you turn it right side out.
Trim seam allowance to 1/8”, except where the opening is. Turn right side out and use your point turner to gently push out corners and shape the pieces.
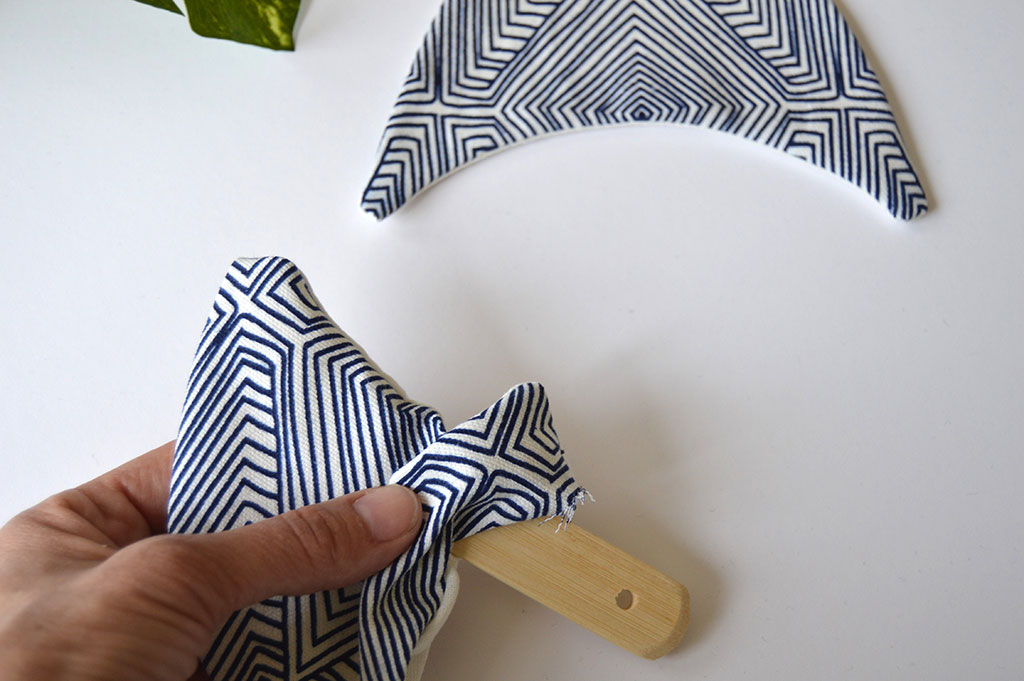
Step 06: Press and Topstitch
Press both heel and toe pieces, folding the opening seam allowance to the inside. Topstitch around all pieces at 1/4”.
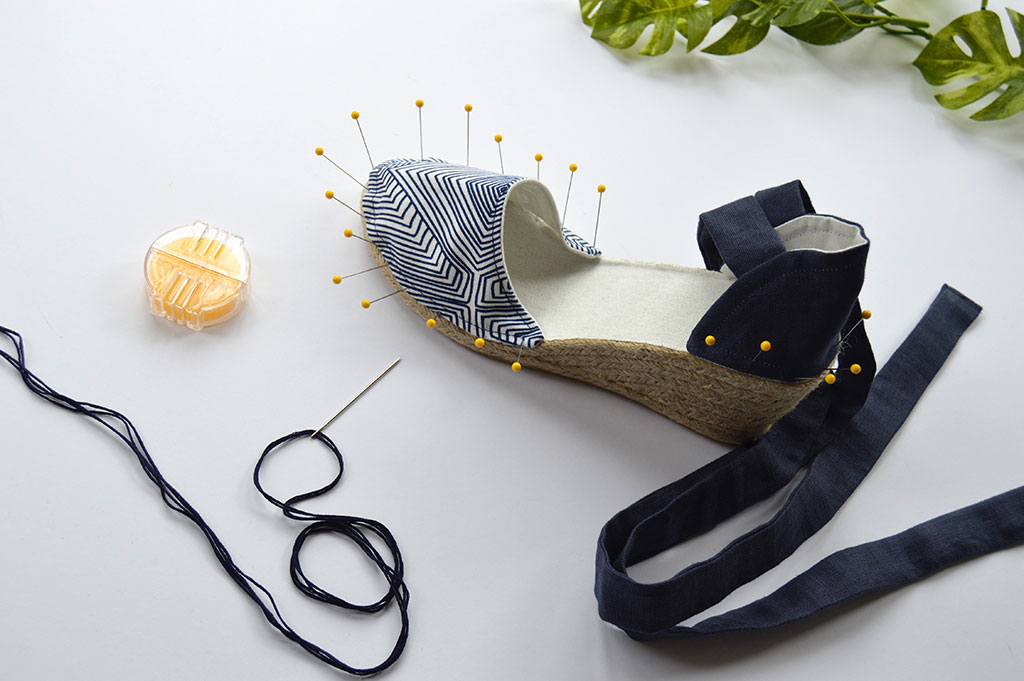
Step 07: Attach Fabric to Sole
Place your left and right soles on a flat surface, and match your left and right heels and toes to the corresponding soles.
Position heels and toes as per the instructions that came with the soles—this will differ depending on whether you chose wedges or flats.
Pin through both the fabric and sole, pushing the pin about 1/4” into the sole.
Step 08: Blanket Stitching
Cut 3 yards of espadrille yarn. I used embroidery thread and doubled it up for extra stability. You do not need to double it if you choose a yarn specifically for espadrilles or something suitably heavy.
Pull the yarn through your beeswax several times. Thread the needle and knot one end of the yarn. I bought the Dritz pack of needles meant for espadrilles, and it came with both straight and curved needles. After trying both, I found I liked the straight ones better. I encourage you to try both if you have them and use the ones that feel more intuitive to you.
A thimble will help you to push the needle through the jute. You can also use a needle puller to help on the especially thick areas, like the points of the toe fabric where there are many layers to go through.
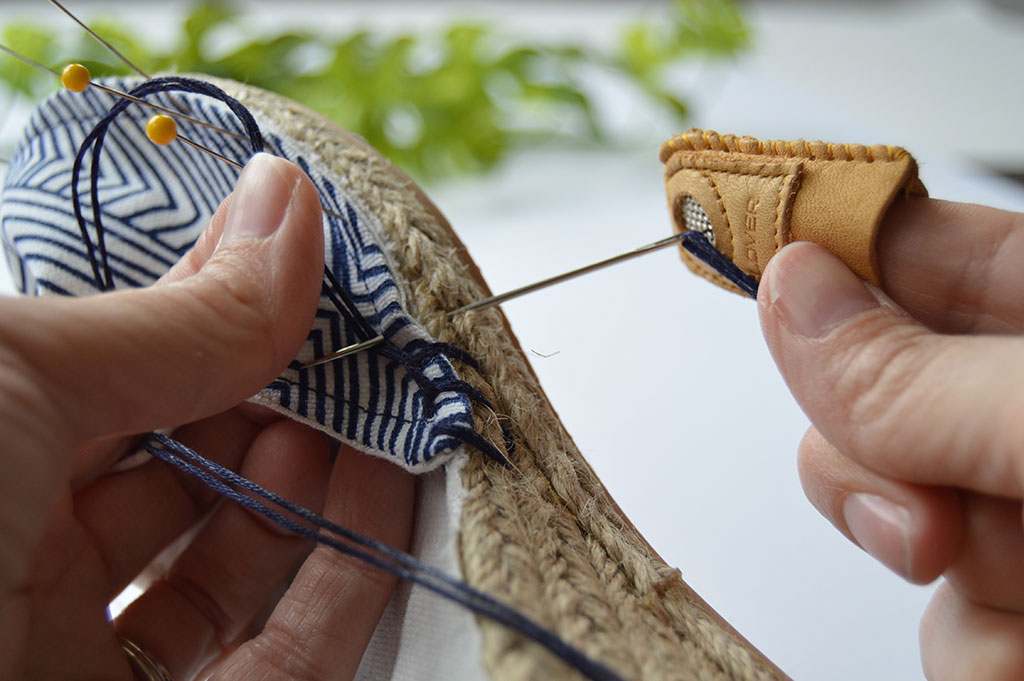
Start stitching where the package instructions indicate. For the wedges, the instructions state to start at the inside of the shoe, in the middle where there is no fabric. I wasn’t sure whether I wanted to stitch completely around the shoe or just over the fabric, so I started at the fabric point. I did end up choosing to stitch all the way around, so for my next pair, I will start where the instructions indicate.
Insert your needle about 1/4” down from the edge through the sole to 1/4” from the edge on the inside. Pull the thread through tightly so that the knot nestles itself snuggly in the jute. Trim the yarn tails close to the knot.
Hold the yarn taut and to the left, in the direction of the stitching. Start your second stitch 1/4” away from the first, bringing your needle up in front of the tail of the yarn that you are holding, through the loop you created.
TIP: It is helpful to watch some online videos for hand-sewing a blanket stitch as you get started. The Colette Blog has a great tutorial here.
I admittedly messed my stitch up nearly every time and ended up threading my needle through the loop after bringing it through the sole. If you pull it through slowly, you will easily see when you need to do this to fix the stitch.
Once you have the stitch correct, it is imperative to pull it nice and tight to secure the stitch. This is super important as it needs to be strong to hold the fabric on while you walk.
Continue to stitch around the espadrille, and run an extra stitch at the corners of both the heels and toes to reinforce. When you come to the beginning again, insert your last stitch very close to the beginning knot and come up in the same place as the first stitch. Insert your needle down through the top and come out diagonally in the adjacent stitch. Make a small stitch around the blanket stitch, pull tight, and insert through the jute, coming either out the top or through the layers of jute, clip close to the sole.
The Dritz soles come with excellent instructions, complete with illustrations for each step, so don’t worry if it’s hard to envision the finishing steps.
Repeat for your other shoe, then slide them on and take a spin around the block!
More Summer Project Ideas
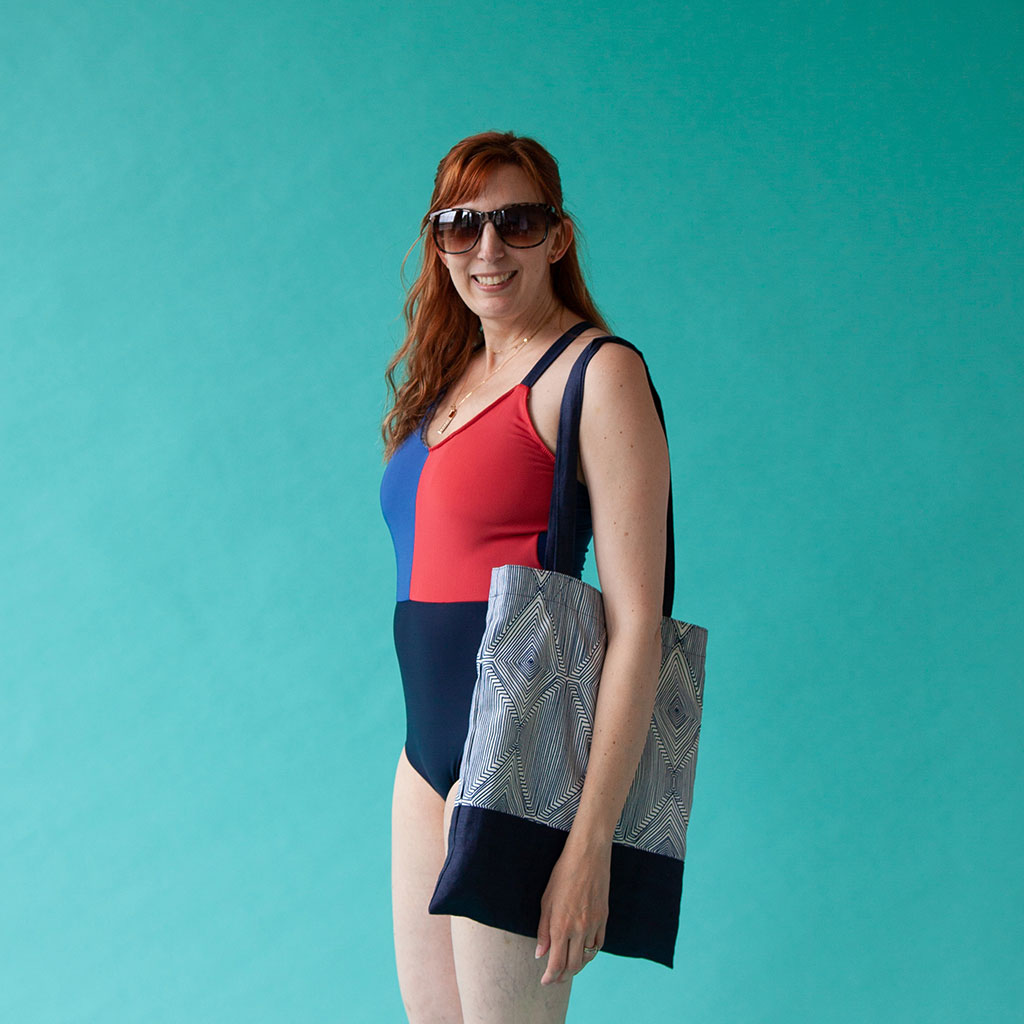
- If you buy extra yardage for your espadrilles, you can sew a quick bag to match your new shoes, like the Madrid tote, the Valencia clutch, or the beach-friendly Seabrook bag.
- If you can’t find a fabric you like, try block printing some neutral-colored canvas, using this tutorial.
- For some summertime styling inspiration, don’t miss this month’s Staff Makes and the Seamwork team will share their favorite handmade outfits for the beach.
- If you can sew a pair of espadrilles, you can definitely sew a swimsuit. There’s a list of our favorite swimsuit patterns from other independent pattern companies in this month’s Discoveries.

About the Author
Robin dreams in patterns. When awake, she leads the Pattern Development Team here at Seamwork and is passionate about the importance of failing on a regular basis, sustainability, and having a well-stocked candy drawer.