
 Sign In
What scares you the most about sewing?
If you peek behind any sewing fear, you’ll most often find a fear of failure. And it might not be failure with a capital F, but failure with a small f. If you mess up the button placket on your shirt, it's not hurting anyone, but it still doesn't feel good. So when you go to sew a button placket, you might feel a spark of fear.
Many things are scary about sewing, like all the machinery and textiles and thousands of techniques you need to turn a piece of fabric into clothing. It’s a fear of facing your own limitations in a way. The good thing is that facing your limitations is the way to defeat any sewing fear.
Below are 5 of the most common sewing monsters and plenty of tips for taming them and conquering your sewing fears.
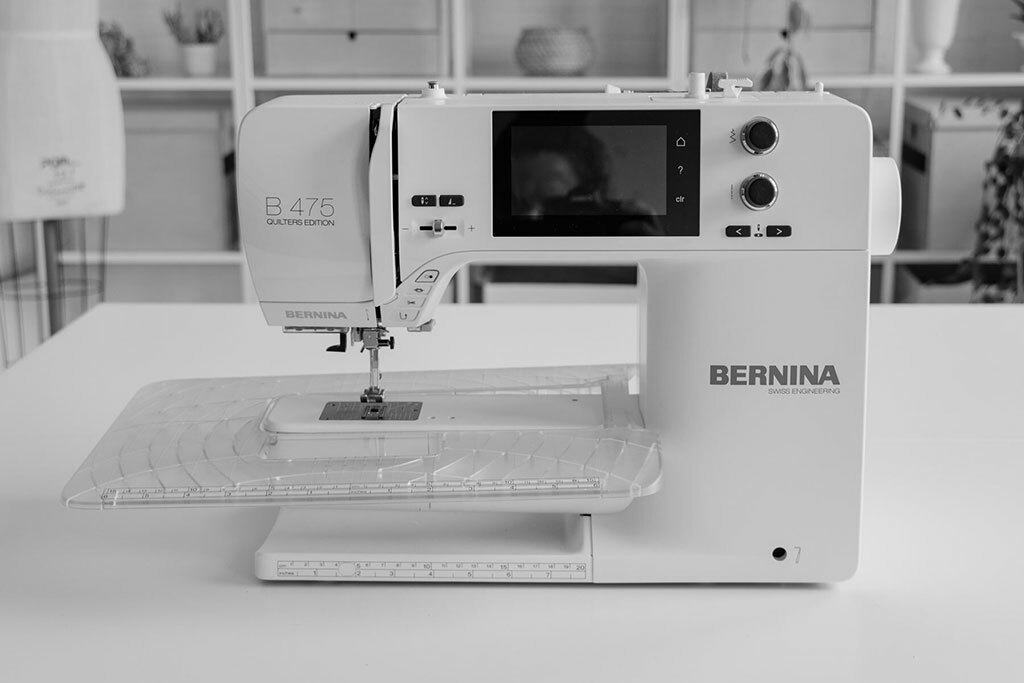
Monster #1. The Sewing Machine
Sewing machines (and all their feet) are intimidating. It’s one of the most common sewing fears we hear about from beginners, and it’s the biggest hurdle for many people who are learning how to sew.
So how can you tame your machine? Here’s how to get over a fear of your sewing machine and learn how to thread it and troubleshoot it like a pro.
- Find a video on your specific model. Many machine dealers have YouTube channels with informational videos.
- Photograph each step of your threading process, or take a video of yourself threading your machine.
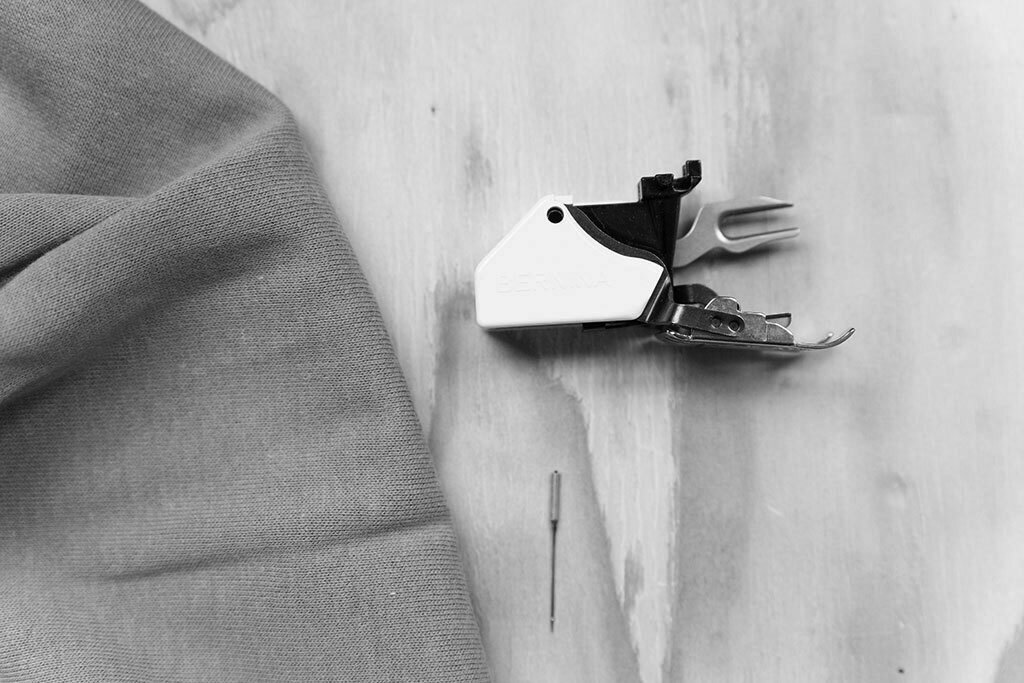
- Make a list of 5 things you want to learn how to do on your machine. Focus on one at a time until you complete your list. It will give you confidence! This is especially helpful for new sewing feet. Spend 10 minutes or so with each of them until you know exactly how to use them.
Monster #2: Knits
Knits can be really scary for a lot of people if they haven't used them before. But, just like learning how to use your machine, once you practice sewing with knits, you can sew a T-shirt in an hour.
Here’s how to conquer this fear:
- Start with non-sneaky knits. Look for stable, thicker knits that behave more like wovens. French terry, ponte, and double knits are good examples.
- Get a feel for recovery. Recovery refers to how well the fabric snaps back into place after you stretch it out. Knits that have good recovery are easier to sew, because they are less likely to stretch as they go through your machine. Get some scraps and tug on them to learn how different fabrics behave. The more lycra or spandex fabric has, the more recovery it will likely have.
- Practice with mini-samples. Try hemming a piece of fabric or sewing a tiny mock neckline so you can practice sewing curves.
- Sew a low-stakes pattern. Many pattern companies have simple T-shirts you can try as your first knit project. For example, try the Jane or Ryan tee from Seamwork. They don’t require a lot of yardage, and you’ll learn a bunch of skills for working with knits. If you keep your expectations low for your first project, you really don't have to worry about what it looks like. Use a cute fabric, and keep the tee for pajamas.
- Join a sewalong. We have a step-by-step sewalong for the Orlando tee, with tips for working with knits (and sewing knits without a serger).
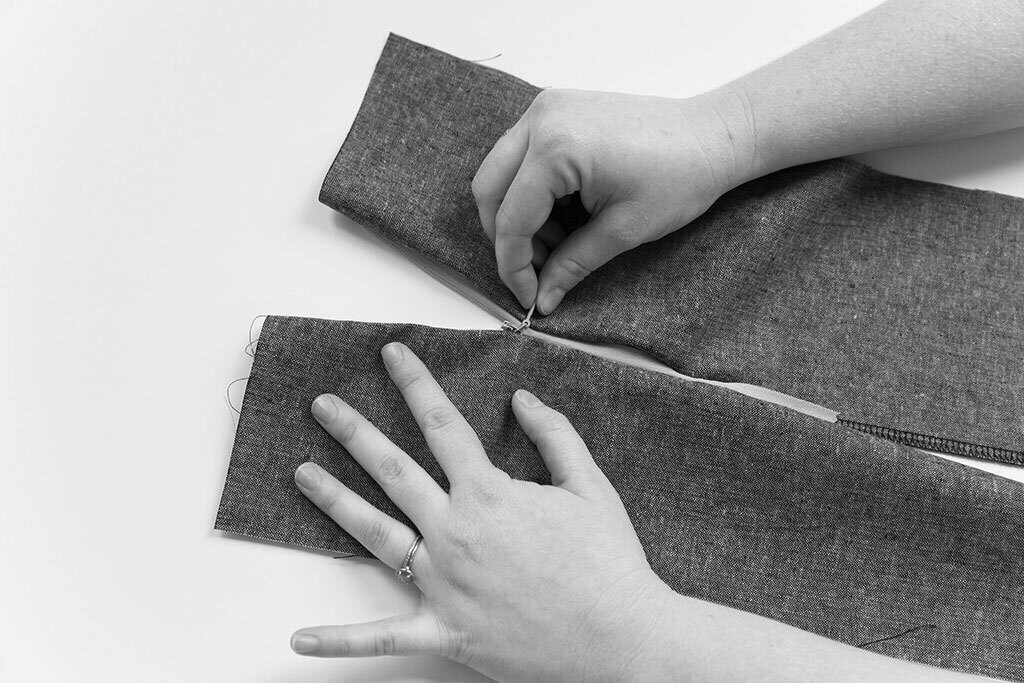
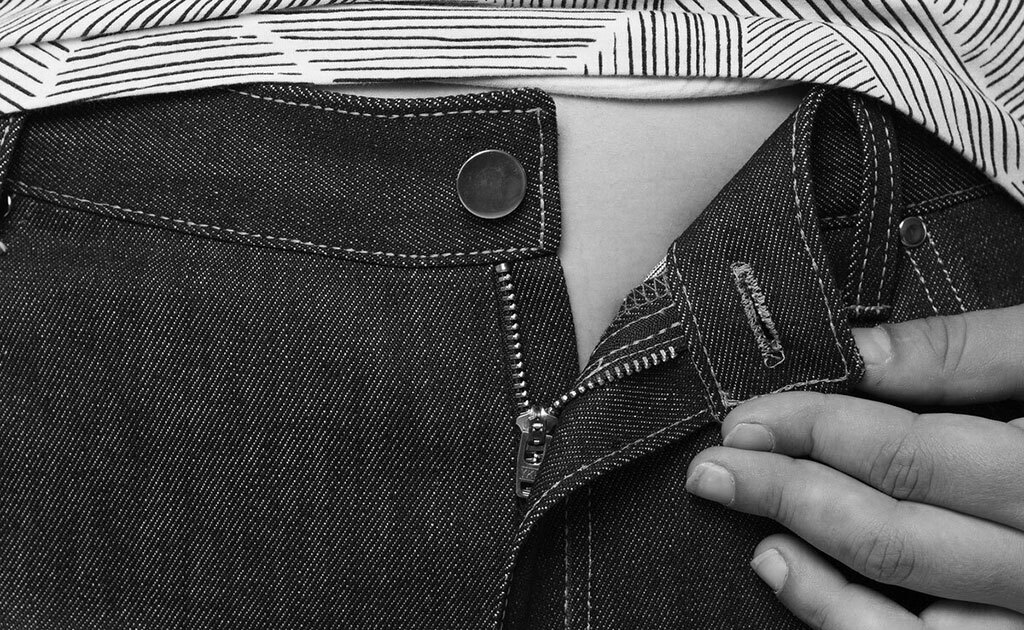
Monster #3: Zippers
Do you envy the makers on Project Runway who can quickly pop in a zipper without their hands trembling? Zippers are one of the most common sewing fears, but if you aren’t sensing a theme here yet, the best way to get over them is to practice.
How to overcome zipper hesitancy:
- Go to the store and buy a 9” coil zipper and a 9” invisible zipper. Make sure you have a zipper foot, an invisible zipper foot if you need one, and some muslin fabric. Look up a tutorial and write down all the steps. Then practice sewing each kind of zipper three times. You can seam rip after each try, so you only need to buy one zipper. There are tons of YouTube tutorials for sewing zippers, so you can find one you like. Or just use ours! We have one for sewing a centered zipper and another one for sewing an invisible zipper.
- Use Wonder Tape. It holds your zipper in place so you can sew it easily.
- Once you have practiced sample zippers on scrap fabric until you are totally bored with them, try a simple project like a zippered pouch or a pillow. The project will boost your confidence and further dispel your fear of zippers!
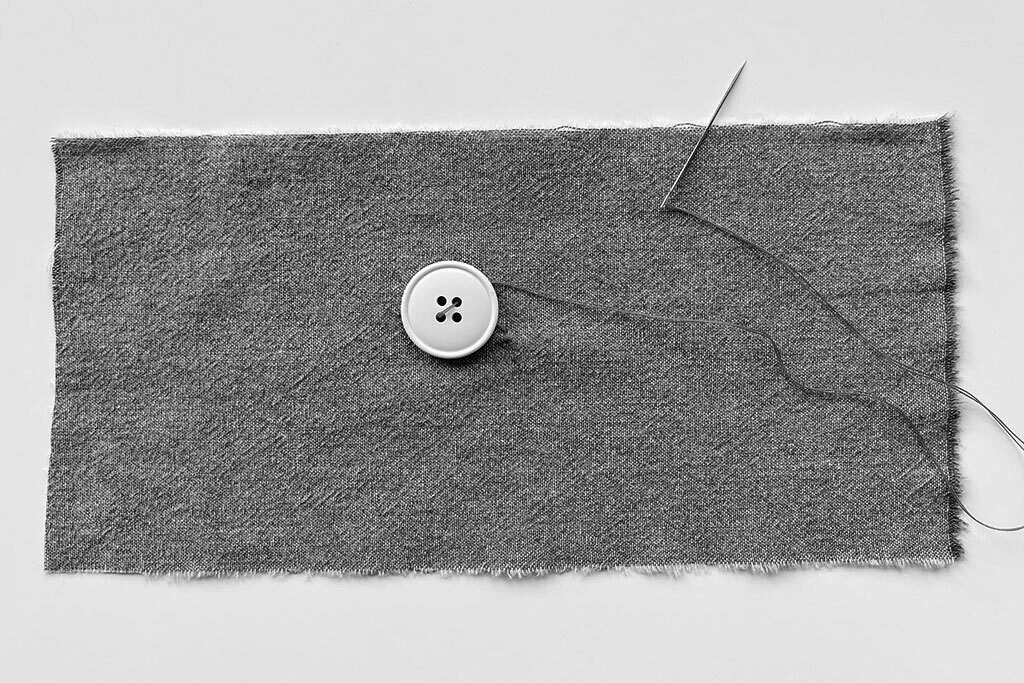
Monster #4: Buttons and Buttonholes
It only takes about 30 seconds to sew a buttonhole, but it's a tense 30 seconds. So, just like with your machine, knits, and zippers, exposure is the best way to combat this monster.
Here’s how to overcome this fear:
- Start with your sewing machine manual and follow those steps. Each machine can be different. If you can find a YouTube tutorial for your specific machine, that helps. Write down all the steps for reference. Sometimes just writing it down in your own words lets you ease into the concept.
- Make a ton of buttonholes. Sew them until you are bored to death. Get used to how you can adjust your machine to different button widths, practice spacing them as you would on a button-up shirt, and practice cutting them open.
- Once you have the settings you like, jot them down for the future.
- When you’ve grown bored of creating buttonholes, read this article: The Best Way to Sew a Button. You’ll learn how to sew on a button by hand or machine.
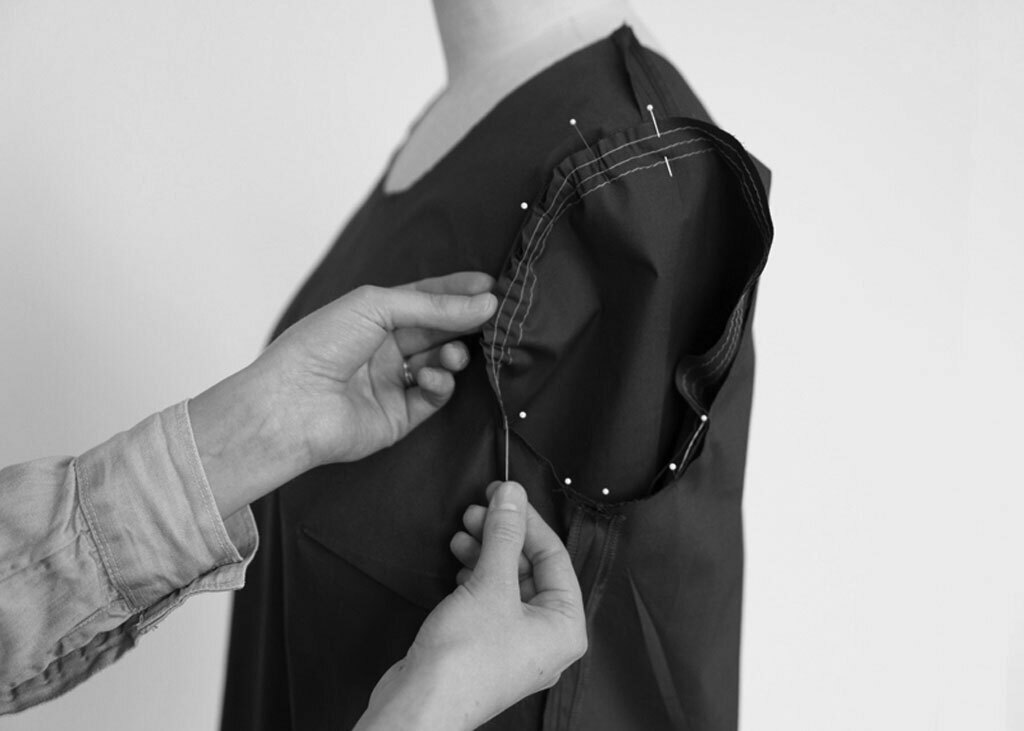
Monster #5: Sleeves
Sleeves aren’t more difficult than any other sewing technique, but the fear feels very real if your body goes tense whenever you get to the page that tells you to insert the sleeves. The big difference between a fear of sleeves and a fear of the techniques above is that sleeves require a little bit of awkward mental work. Until you understand how sleeves and armholes go together, it feels scary. That’s why this fear is such a monster!
Here’s how to overcome a fear of sleeves:
- Start by learning why sleeves and armholes are the way they are. Here is a brief overview: The sleeve cap is curved at the top, and this curve is what fits around the curve of your shoulder. The convex curve at the middle and top of your sleeve gives your arm mobility. The more fitted a sleeve is, the higher the cap will be, and the curvier your sleeve piece will be. You will ease the convex curve on your sleeve piece to the concave curve on the bodice’s armhole. The higher the sleeve cap, the more easing you’ll have to do.
- Start with a shallow sleeve cap. Anything with a slightly shallower sleeve cap will be simpler for you to sew because the curve is not as intense, and you will do less easing. So you can select a project with a bit of a drop shoulder when you first learn.
- Or, start with a gathered sleeve cap. When something has gathers, you're not having to worry so much about easing perfectly and getting puckers. It is a lot easier to sew.
- Don’t be lazy with your markings. Make sure all your circles are marked (that big circle at the top goes with your shoulder seam) and that the single notches and double notches are clearly marked, so you know which side is the front and the back.
- Go wild with pins. Use as many pins as possible to help you maintain control of the curves as you sew them.
- Sew with the sleeve side up. This way, you can see what you are doing.
- Don’t get too frustrated with puckers. You can always unpick a small portion and smooth it out. Puckers will happen at any skill level!
The best way to tackle your sewing fears
There is one surefire way to conquer any sewing fear. Practice it until you get bored. Sew zippers until you’re yawning. Create rows and rows of buttonholes, and sew every kind of sleeve cap you can find. When you’re bored, that means you're comfortable with the skill. So confront these monsters until they feel like old friends.

