Sign In
Did you see last week’s SEWdown? Sarai and Haley each pressed and folded bias tape in two different ways. You voted, and Haley’s method for using a bias tape maker reigned supreme!
But the SEWdown continues. It turns out that Sarai and Haley each cut their bias tape differently.
Haley cuts her fabric into bias strips and sews them all together to make one long piece of bias tape. Sarai does a little folding magic and cuts a continuous strip of bias tape from one piece of fabric.
Whose approach will reign this time?
That's up to you to decide! Vote in the comments on the YouTube video, or let us know below. And if you do this a totally different way, say it loud and proud! You might help someone find a better way to tackle this technique.
Let the SEWdown begin!
Sarai's Method: Continuous Bias Tape
Start with a square of fabric. 10 or 12 inches (25.4 or 30.5 cm) squared and cut it in half from one corner to another, along the bias.
With right sides together, pin the two triangles together at either of the straight sides (not the diagonal side). Leave a little bit of a lap at each end. They will kind of resemble a little pair of pants. Stitch at 1/4”.
Open up the fabric pieces and press seam the seam open. The fabric should be the shape of a parallelogram.
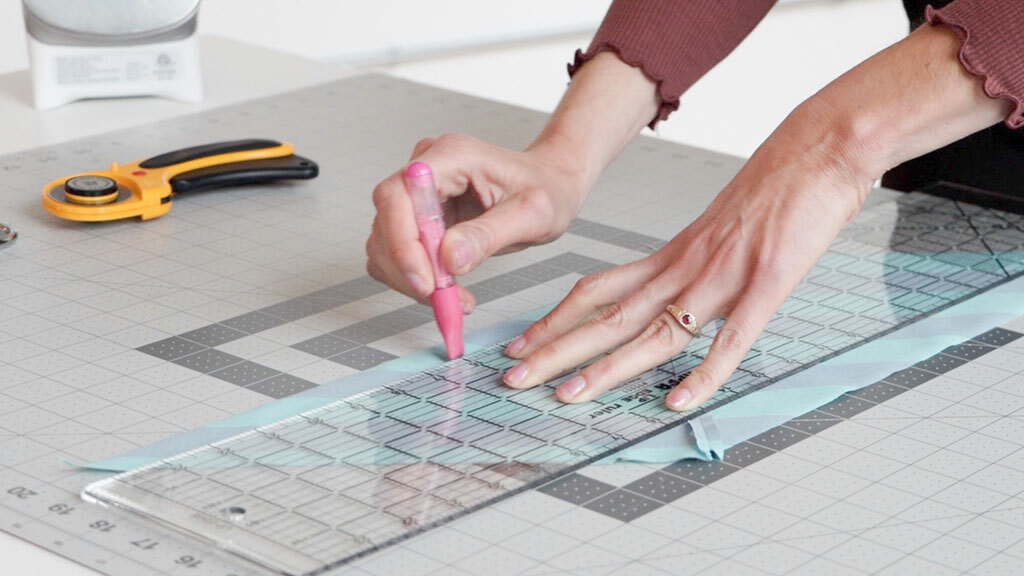
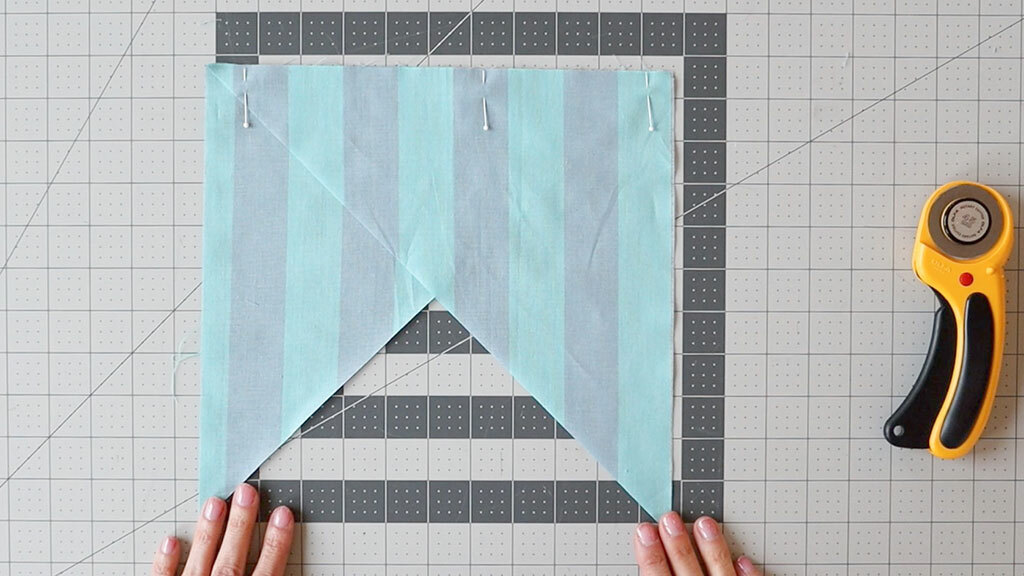
Starting at the edge, mark 1″ lines on the wrong side of the fabric. These lines will be parallel to the fabric edge. If you have one line at the end that’s kind of uneven, you can trim it off. Don’t cut along the other lines yet!
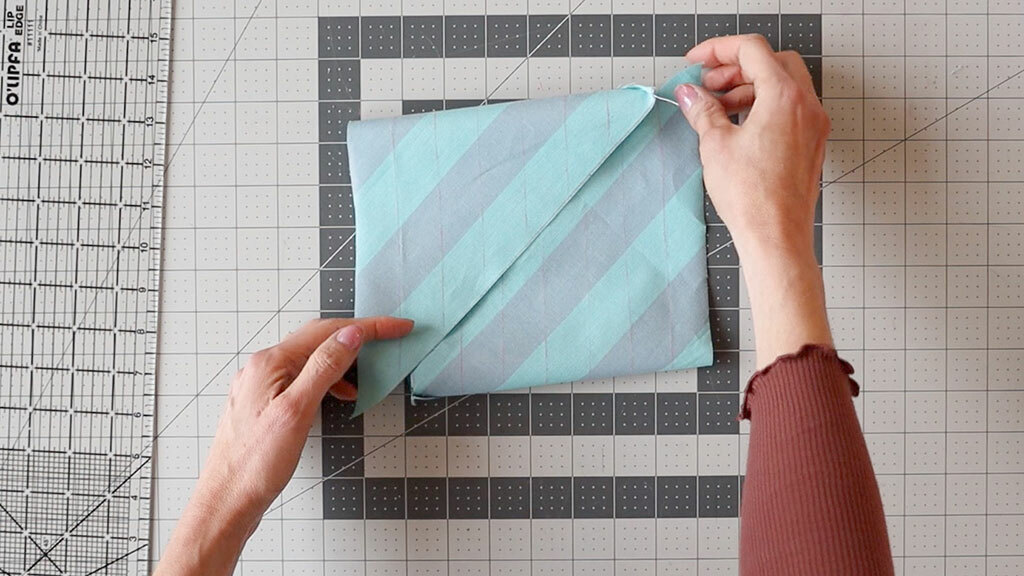
With right sides together, fold the narrow tips of your parallelogram lengthwise to make a small square. Once folded, offset the first line and pin in place. Then, match up the rest of the lines and pin in place. You will be sewing these pieces together at 1/4″, so be sure to match the lines at the seamline (1/4″ in from the edges), not at the raw edges.
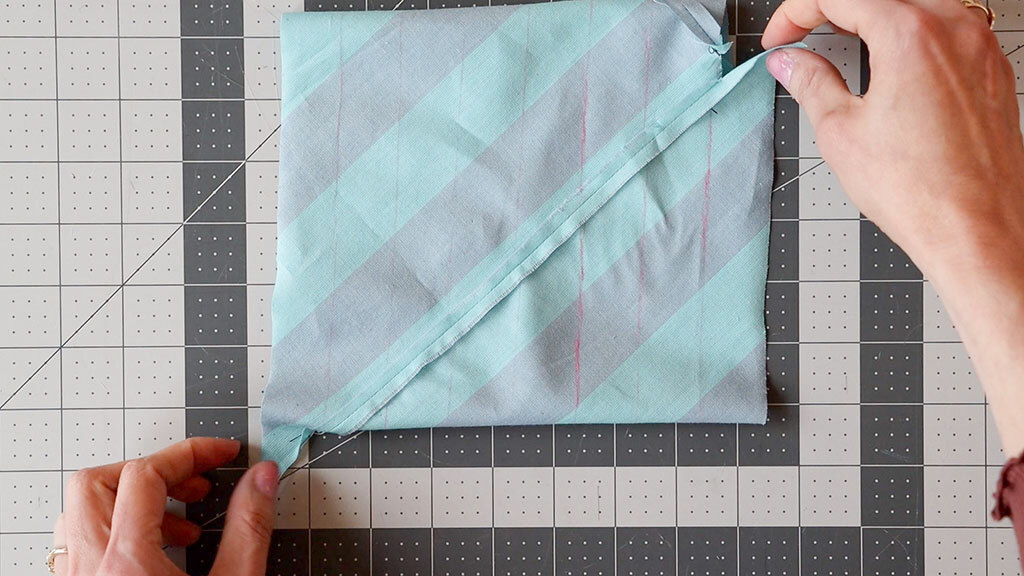
You should now have a tube-like shape with 1″ of fabric offset at each end. Sew a narrow 1/4″ seam. Press seam open.
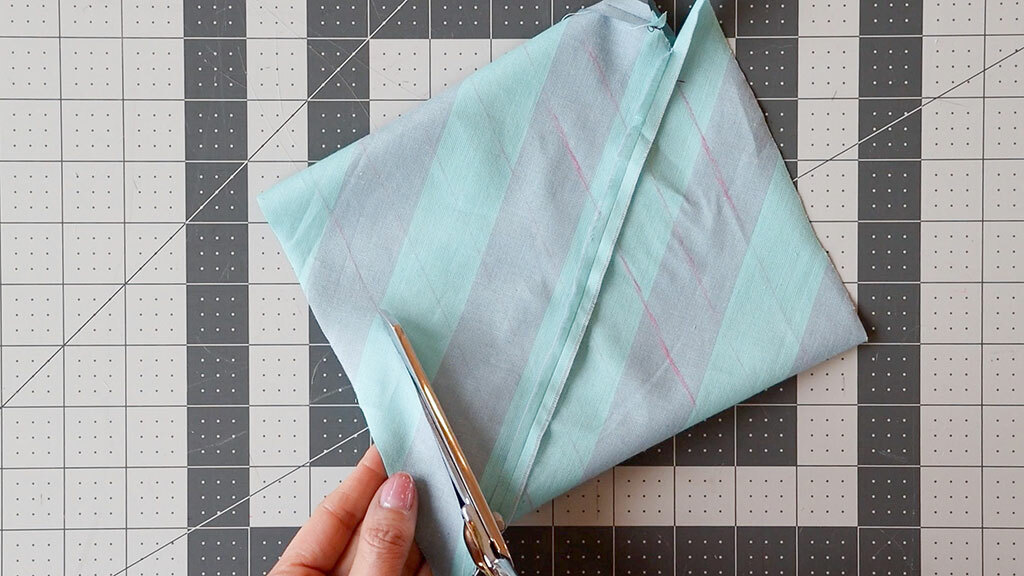
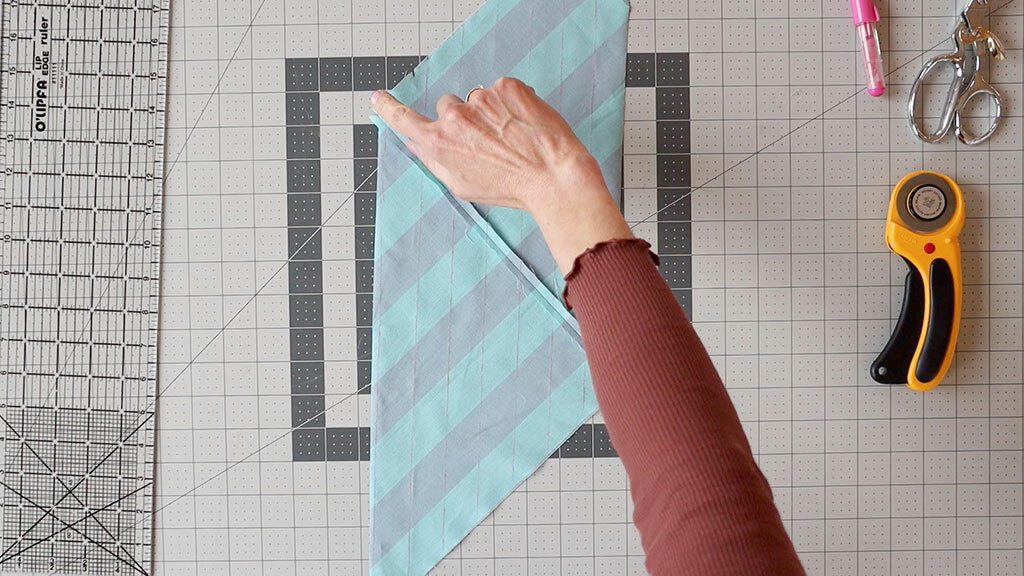
Starting at the first offset row of lines, cut until you reach the end.
And now you can unfurl your continuous piece of bias tape!
Pros:
- It’s fast.
- It feels like a magic trick! It’s really satisfying.
Cons:
- It’s a little bit fiddly on your first try.
Does this method seem a little too heady for you? Then you might appreciate Haley’s approach.
Haley’s Method: Bias Tape Strips
Cut yourself a rectangle of fabric. The larger the piece, the fewer strips you will need to sew together.
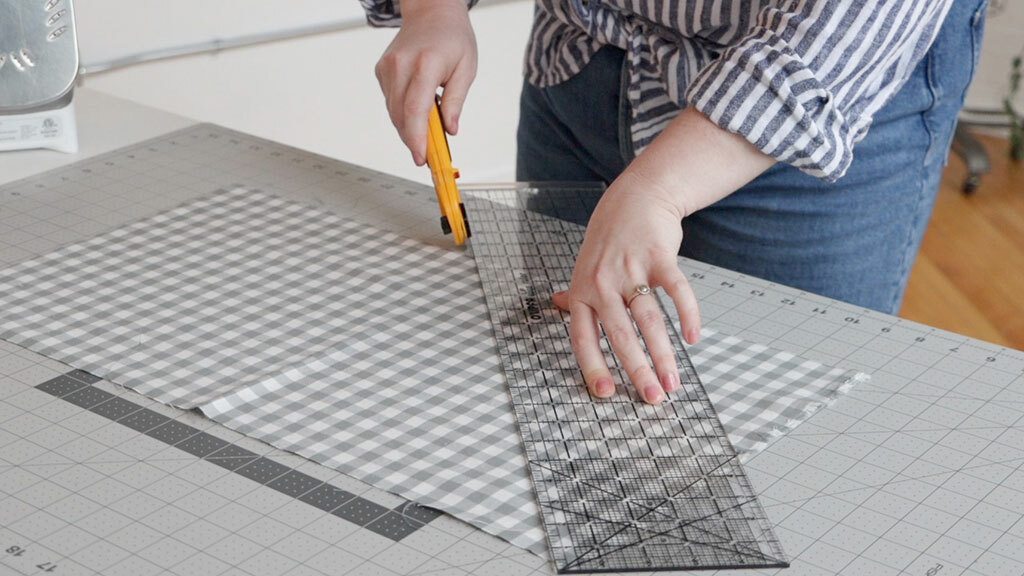
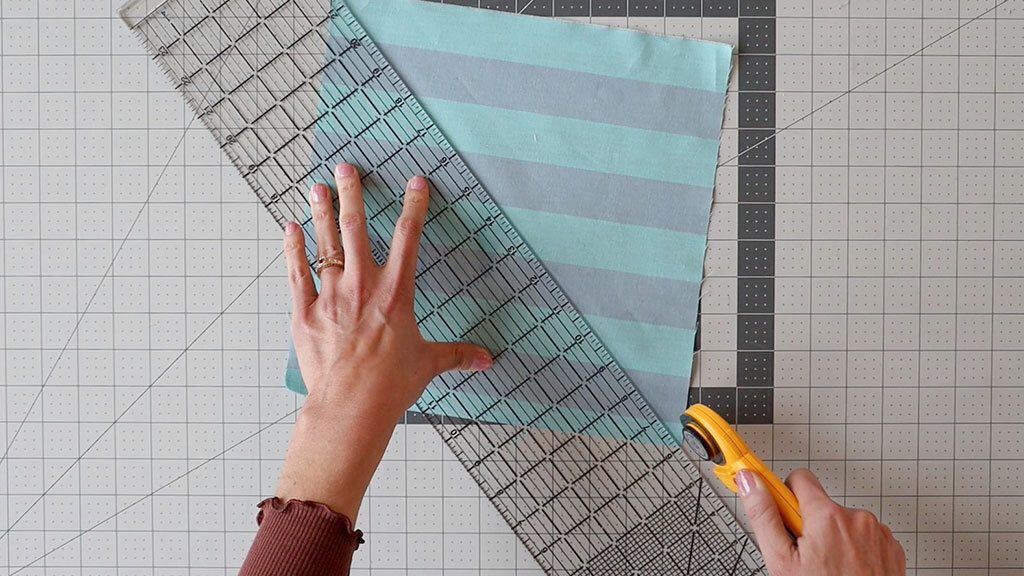
Now you need to find the bias, which is a 45-degree angle. To do this, simply fold the fabric so that the edges meet to form a triangle. You can also use a quilting ruler to help you find the bias.
Make your first cut along the bias.
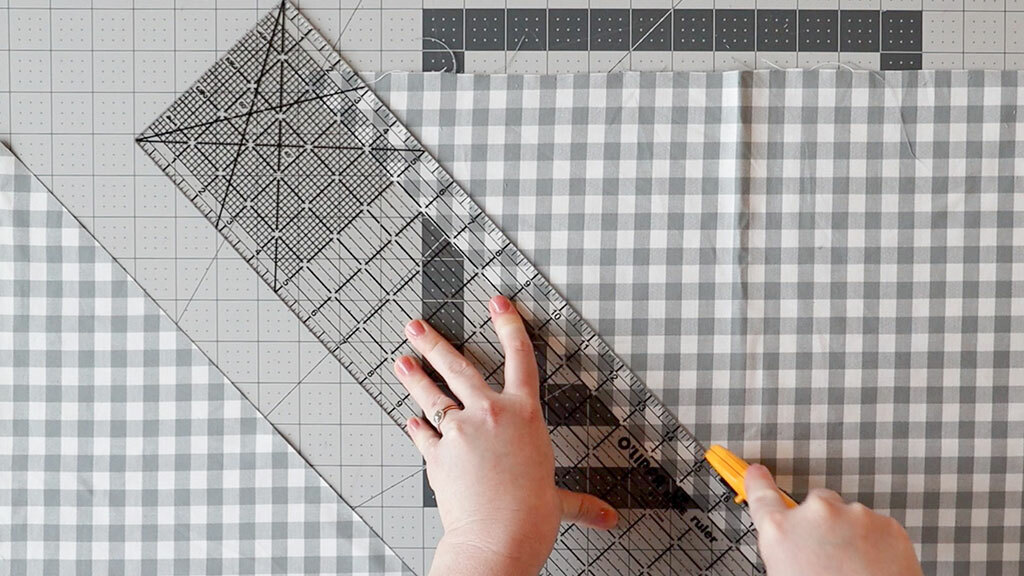
Cut off 1” strips along the bias from the first line you cut.
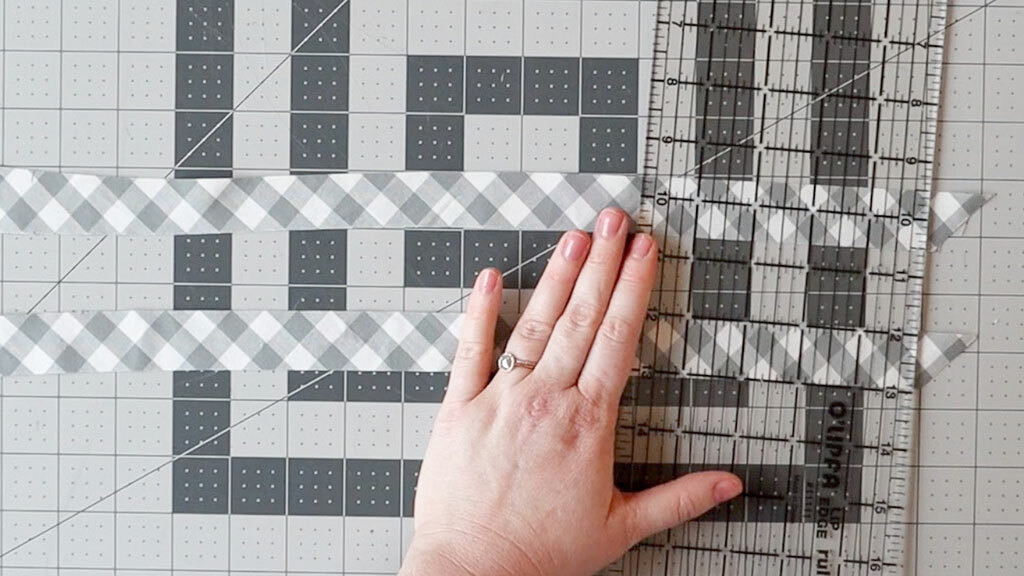
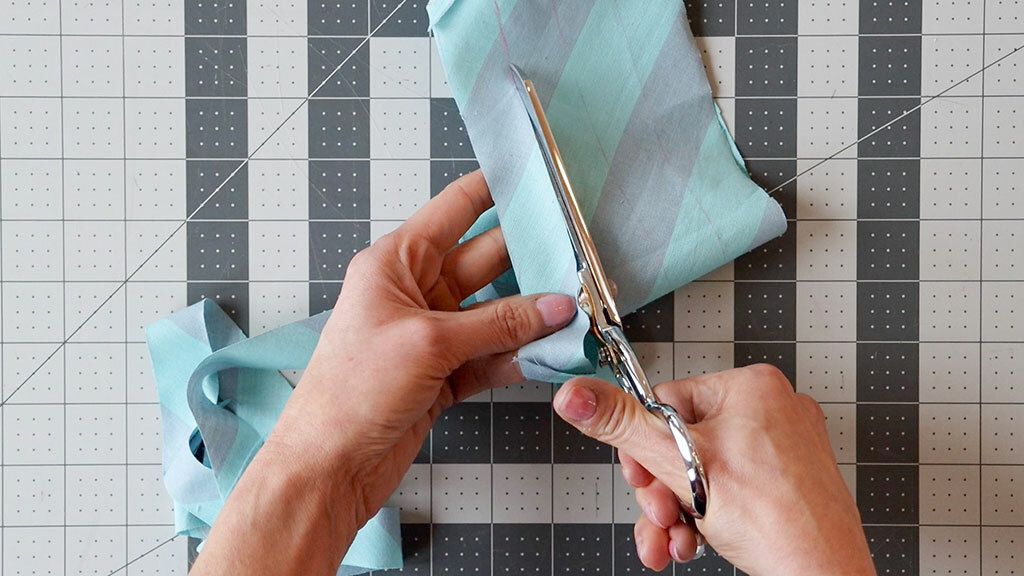
Trim the ends of the strips, so they’re flat.
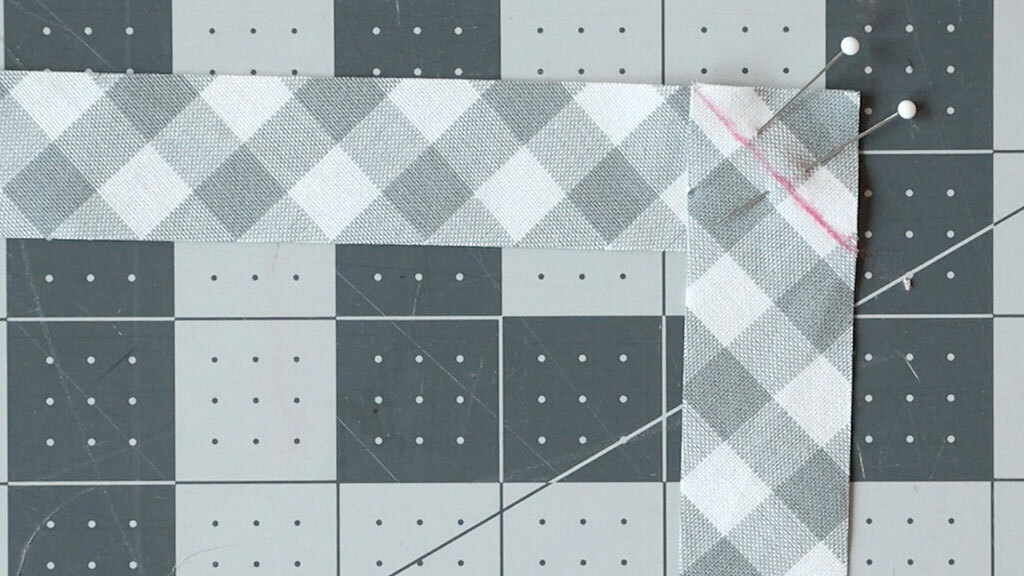
Place two strips at a 90-degree angle with the right sides together, lining up the edges. Sew diagonally across, as in the photo.
Continue sewing all the little strips to form one long strip. Sew them all the same way so all your seams go in the same direction.
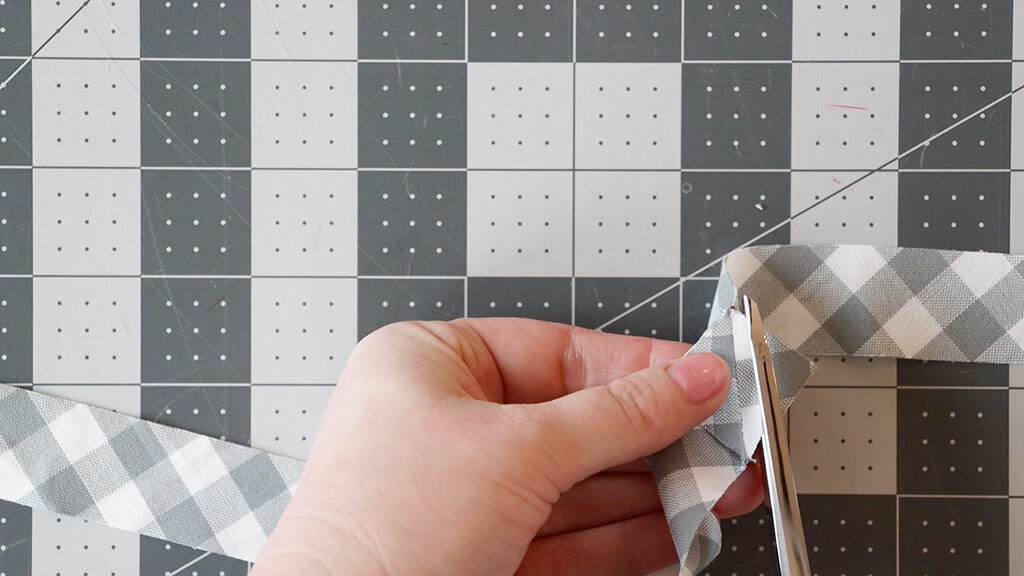
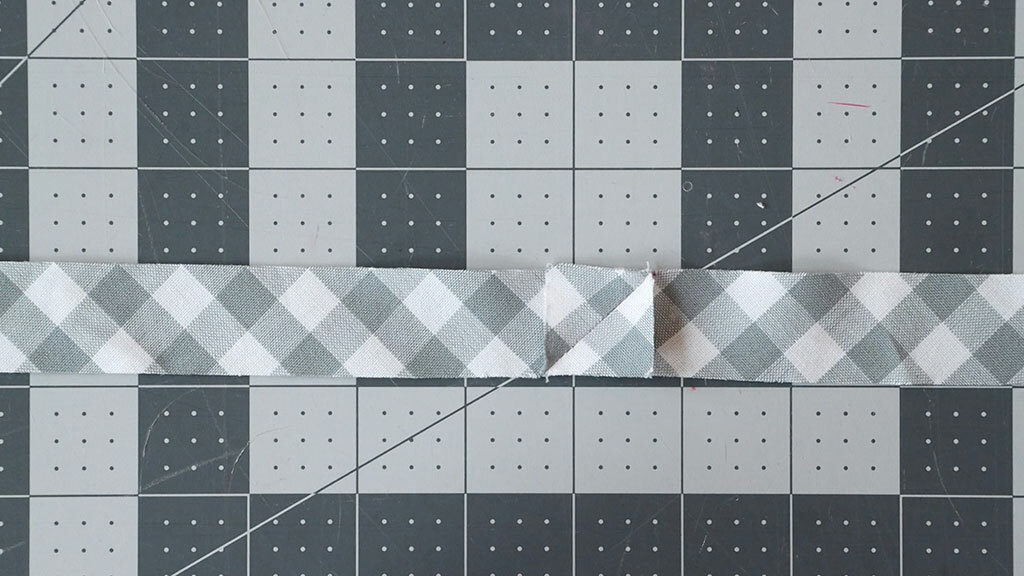
Trim the pointy little seam allowances on each seam.
And now you have a long length of bias tape!
Pros:
- It’s straightforward—no need to juggle a lot of folding and measuring.
- You can make as little or as much bias tape as you need.
Cons:
- It’s less efficient for your fabric, as you often discard the little bits at the ends of your fabric.
So which of these methods works best for you? Vote in the comments and share any other bias tape tips you have!
Love the article? Pin it for later.