

Have you ever looked at a jeans pattern and assumed you'd need an industrial sewing machine, specialty hardware, and a sewing room full of expensive tools before you could even get started?
I get it. Jeans have a reputation for being intimidating, and honestly, there are more tools involved than with a lot of other projects. The tricky part is knowing which ones actually matter.
So, let's walk through exactly which tools are essential for sewing jeans, which upgrades are worth buying once you're hooked, and which ones you can skip entirely for now. By the end of this, you'll know exactly what you need for the stage you're at right now.
First, What You Can Skip
Before we get to what you need, let me tell you what you don't, because this is where most people talk themselves out of sewing jeans before they even start.
An industrial machine is the big one. Your home machine can handle midweight denim just fine as long as you're using the right needle, and we'll get to needles in a moment.
A serger is optional too. You can absolutely use one—most ready-to-wear jeans use a mix of serged and flat-felled seams, so serging your seam allowances is a completely legitimate finish. But flat-felled seams and plain seams with topstitching enclose the raw edges as part of the construction, which means you can sew a complete pair without ever touching a serger.
And a rivet press can wait. A hammer sets hardware perfectly well, and I'll cover presses further down for when jeans become a regular habit.
Everything below this point is a tool I actually reach for when I'm sewing a pair.
The Essentials: Construction Tools
Let's start with construction—these are the tools you'll need to get your jeans sewn together in the first place.
1. A Denim Needle
Ever snapped a needle halfway through a waistband and wondered what you did wrong? It's almost always the needle size, and that's an easy fix.
Denim is thick, tightly woven, and layered at seams like the waistband, and a regular needle can deflect or snap trying to punch through all of that. A "denim needle" helps, but what actually matters is matching your needle size to your fabric weight. For lightweight denim, use a 90/14. For midweight, size up to 100/16. Heavyweight denim needs 110/18 or even 120/19—strong enough to punch through those dense layers without breaking.
2. All-Purpose Polyester Thread
Jeans go through a lot—sitting, bending, being pulled on and off—and your construction seams need thread that can hold up to that daily wear without giving out. It might be tempting to reach for cotton thread to match denim's fiber content, but cotton isn't really built for that kind of repeated stress. Polyester thread has the strength for the job, holds up well over time, and it's inexpensive and widely available. There's a good chance it's already sitting in your stash.
3. Topstitching Thread
Topstitching thread is what gives jeans that signature look—the heavier, more visible line of stitching along the seams and pockets. But that extra thickness is exactly why it only works in one spot: your needle. If you load it into your bobbin instead, you'll run into tension problems and messy stitching on the underside, even if your top side looks perfectly clean.
I learned this one the hard way. Now I always keep topstitching thread in my needle and regular thread in the bobbin, and my topstitching looks perfect every time.
4. A Topstitching Needle
Once you're using that heavier topstitching thread, you'll need a needle built to handle it. A topstitching needle has a larger eye so the thicker thread can pass through smoothly instead of fraying or shredding as it sews. You'll usually see these in a 90/14 or 100/16. If your topstitching keeps shredding or your machine skips stitches, sizing up is often the fix.
5. Lightweight Fusible Interfacing
Denim already has a bit of natural stretch built into it, thanks to the twill weave, so the specific spots that need reinforcement—the waistband, fly, and pocket facings—do best with an interfacing that has a little give too. Tricot works beautifully here. It has 2-way or 4-way stretch, and it's perfect for most projects that call for lightweight interfacing.
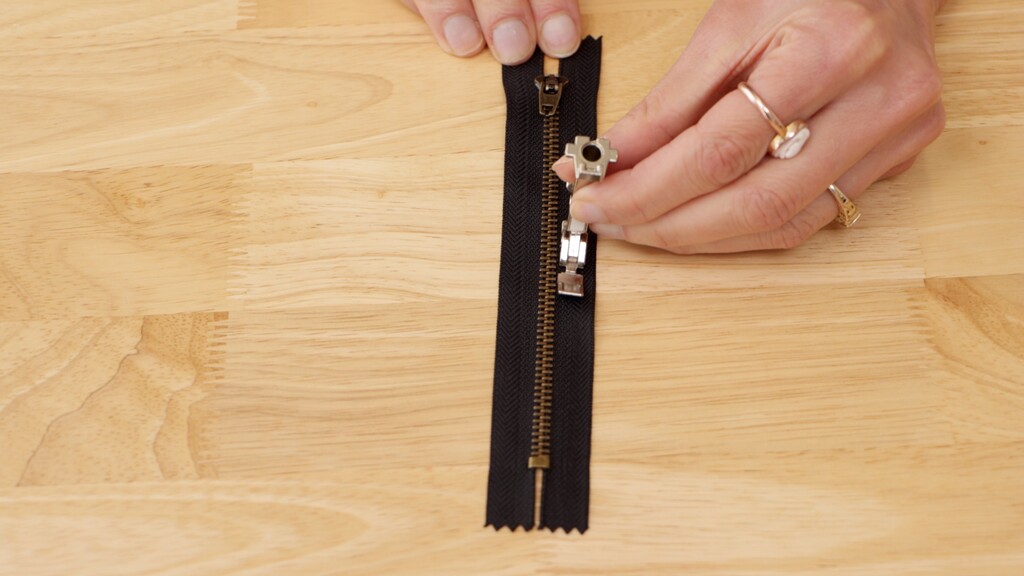
6. A Zipper Foot
If you've ever tried to install a zipper using your regular presser foot, you probably already know why this next tool is a must-have. A standard presser foot is too wide to get the needle in close to the zipper teeth, leaving you with a wobbly, uneven line of stitching and a fly that just won't lay flat. A zipper foot is narrower and lets you stitch right up against the coils for a clean, professional finish. Most machines already come with one in the accessory box you got when you bought it, so dig through that little bag of attachments before you buy anything new.
Hardware Install
This next part is all about the hardware—those finishing touches that make your jeans feel like real jeans. Your pattern's supply list will tell you exactly what notions to buy, but you'll still need a few tools to actually get that hardware installed correctly.
7. An Awl
Before you can set a rivet or a jeans button, you need to make a clean hole for the post to pass through. Awls are nice because they don't remove any fabric, which means you don't have to worry about fraying around the hardware insertion point. Many sewists already have this tool in their kit, but a seam ripper's pointed end or even a nail will work in a pinch. An awl will just give you a cleaner hole with a lot less guesswork.
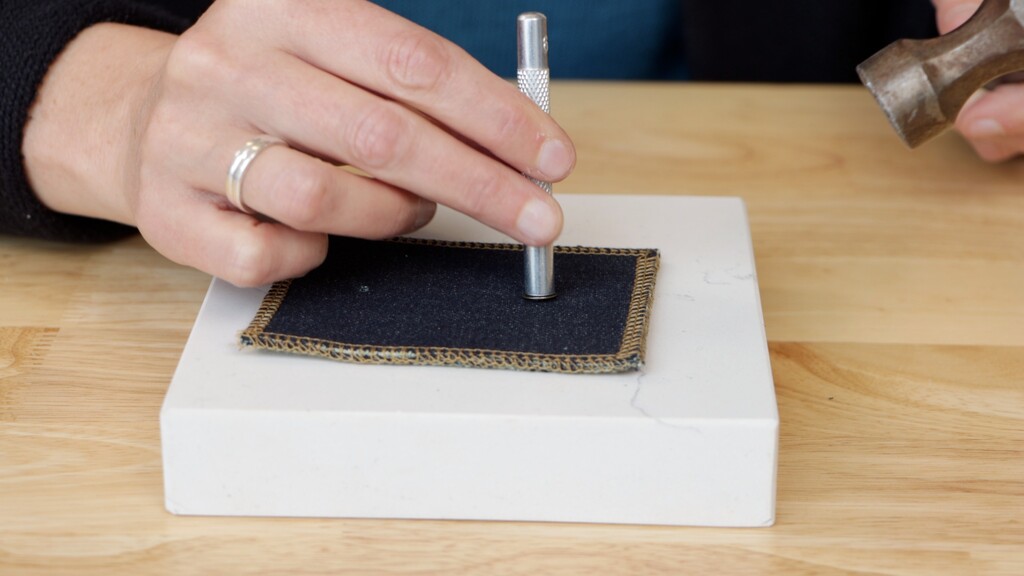
8. A Jeans Button and Rivet Setting Tool
The hardware is really what separates jeans from just being another pair of trousers, and you'll need a setting tool of some kind to actually anchor that hardware into place. When you're starting out, a handheld version is perfectly sufficient. Hardware sizing can vary, so your most foolproof approach for making sure everything actually fits together is buying your hardware and setting tool from the same manufacturer. It's also possible to find what you need in an inexpensive set of craft setting tools. These sets usually include an anvil, a hole punch or two, a setter with a slightly concave side, and a setter with a recessed opening.
9. A Hammer
A hammer supplies the striking force your setting tool needs to seat buttons and rivets firmly and evenly, and no specialty tool is needed here—a regular household hammer works just fine. The give in a rubber mallet absorbs part of the impact instead of transferring it into the hardware. That weaker strike is what leaves rivets prone to coming apart later.
And don't worry if your first few rivets come out a bit crooked. That happens to everyone starting out, and it's exactly why practicing on scraps first is worth the extra ten minutes.
Add These As You Go
After a pair or two, the basics start to feel more natural—but a few parts of the process, especially the bulky bits, still feel harder than they should. These next tools are what smooth that out.
10. A Hump Jumper
Whenever your machine hits a thick, uneven pile of fabric—like where a waistband and a seam cross—it can stall or skip stitches trying to climb over the bump. A hump jumper is a small tool that helps your presser foot "jump" over those bulky seam allowances, leveling things out so the machine keeps feeding smoothly right through. It's a nice addition once you're dealing with bulk regularly, but if you don't have one on hand, a piece of cardboard, folded-up fabric scraps, or a pad of Post-it notes works just as well in a pinch.
11. An Edgestitch Foot
Getting those parallel topstitching lines evenly spaced takes a lot of precision, and an edgestitch foot takes out all the guesswork. This foot has a vertical metal guide that runs right along your seam or fold, keeping your needle exactly the same distance from it the whole way. If your machine lets you shift the needle position left or right, you can dial in exactly how close to the edge you want those stitches to land. You can absolutely still achieve neat topstitching with a regular presser foot, but if your lines tend to wander, this is the fix.
12. Fabric Clips
If you're finding it hard to get a sewing pin all the way through multiple layers of denim, fabric clips sidestep the problem entirely. Instead of piercing through all that thickness, clips just clamp around the fabric, and they're even easier to remove as you're sewing. The clips most shops carry will handle the thickness you're working with just fine—no need to go hunting for anything specialty.
13. A Point Turner
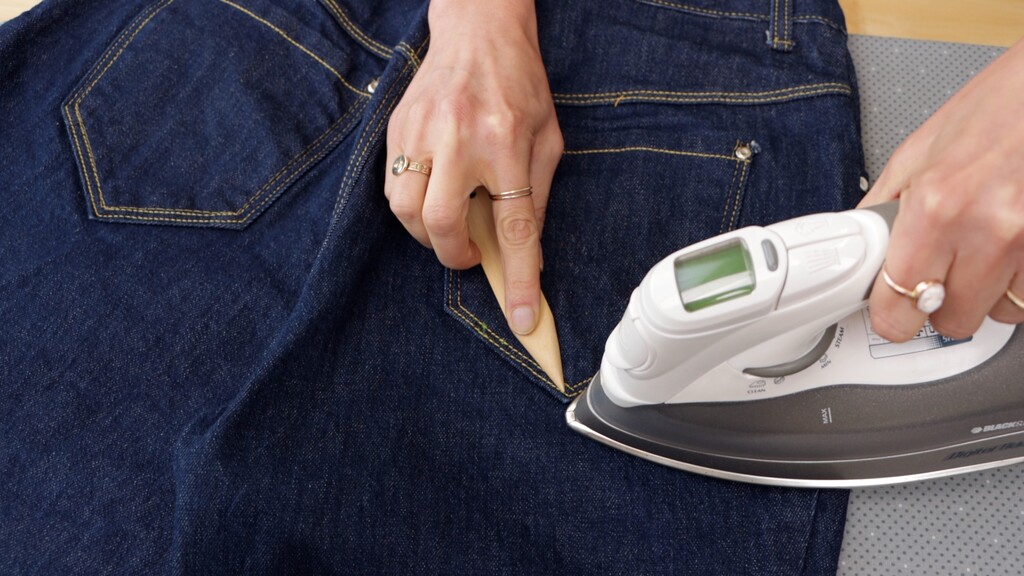
If you want really crisp pocket points and clean waistband corners, a point turner can be a nice little game changer. I always reach for a bamboo one—it's firm enough to push a corner out cleanly, but soft enough that you won't stab through your fabric doing it. Bamboo also won't melt if you need to press right over it while you're working a corner into shape. Most bamboo point turners have a blunt end as well as the pointed one, so you can use that side for finger-pressing a seam open instead of using your fingers.
14. Wash-Away Tape
You've probably heard me talk about this one before—it comes up in almost every video, because it just works. I'm talking about Wonder Tape, or wash-away fabric tape. For jeans, it's especially handy for holding a zipper in place before you sew, and it's just as useful for getting your waistband positioned exactly where you want it before stitching. Once you're done, you don't have to go back in and remove anything—it washes out completely the first time the jeans go through the laundry. The name-brand version is widely available, but generic versions work just as well.
Whether you lean on all five of these or just the one or two that solve your particular pain points comes down to personal preference. Try them and see what actually earns a spot in your kit.
Once Jeans Become a Regular Part of Your Practice
Once jeans become a regular part of your sewing rotation, a couple of bigger investments start to pay for themselves.
15. A Dedicated Hole Punch Tool
An awl gets you through for occasional pairs, but it only pushes fibers apart instead of removing material, so that hole tends to close right back up on itself, which makes it surprisingly hard to get your hardware through. A dedicated hole punch tool solves this because it actually removes a bit of fabric to create a true opening. I like using the kind that has a wheel of different-sized punches, so you can match the hole size to the size of your hardware post. This matters because going too big can weaken the fabric around the hole enough that your hardware eventually works its way loose. If you'd rather stick with an awl, a tapered one is worth seeking out—since it isn't removing material anyway, you can size it up more freely without that same weakening risk.
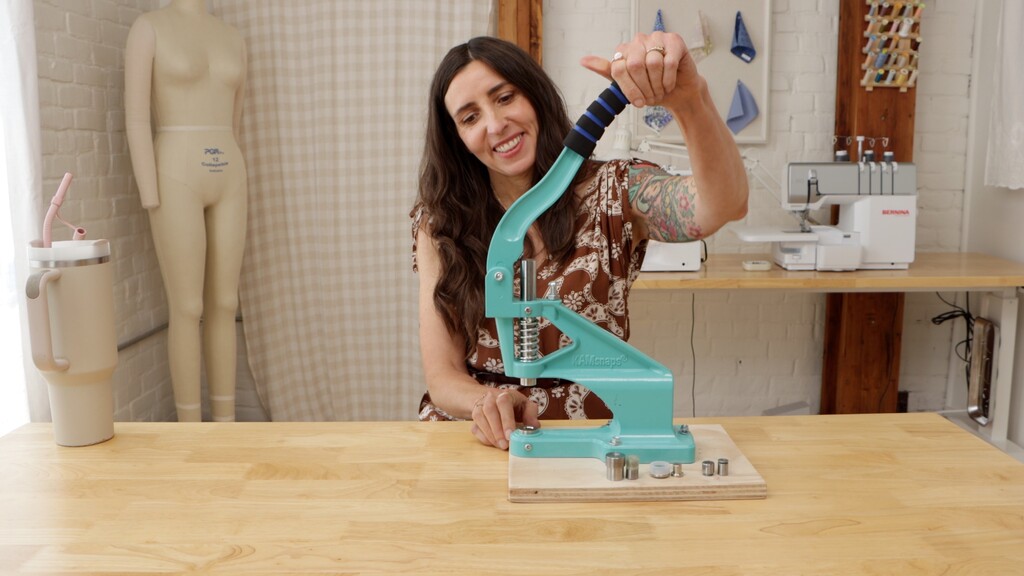
16. A Rivet Press
A hammer works, but it takes practice to get a clean, even set every time—a press takes that variability out of the equation. There are two types worth knowing. A hand press works like a heavy-duty pair of pliers, squeezing the dies together around your hardware. It's portable and less expensive, though your results are only as consistent as your grip. A tabletop press uses a lever to apply even pressure straight down, so the set is more reliable every time.
One thing to keep in mind: you'll need dies that match the size of your hardware—these are the shaped inserts that fit against the button, tack, cap, or post during setting, and using the wrong size can damage your hardware or keep it from setting correctly. So if you go this route, that's an extra expense to account for on top of the press itself.
Building Your Kit One Project at a Time
You don't need all sixteen of these tools sitting on your table before you cut into your first pair of jeans. Start with the essentials, add hardware tools when you're ready to install your first rivet, and let the rest of the list grow naturally as jeans become a regular part of your sewing life.
And if you want to go deeper on the hardware side specifically—prepping your fabric, punching clean holes, and getting a reliable set every time—we have a whole Skills Workshop that covers all this and more. Check it out here.
What's the one jeans-sewing tool you couldn't live without?
 Related Articles
 Best Articles

