Sign In
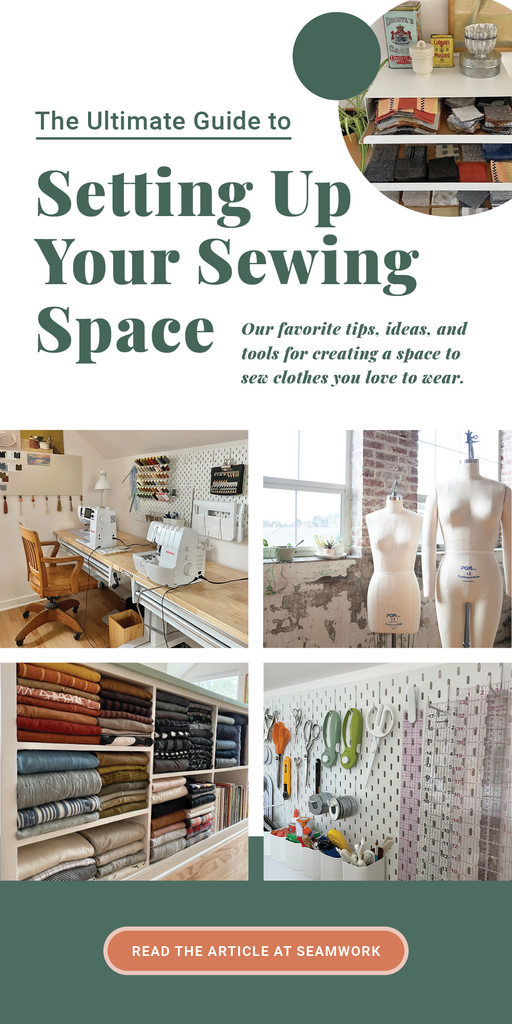
Think about the space where you sit down at your sewing machine and create the clothes you love to wear. How does it make you feel? What do you love about it? What would you change about it?
Whether you sew in a studio, spare room, or at a table in your closet, your sewing space influences what you make. After more than ten years of considering sewing spaces, moving studios, and chatting with a worldwide community of people who sew, we’ve learned many tricks for setting up a functional and inspiring sewing space.
In this guide, we’ll explore four of the most important things to consider about your sewing space:
Keep reading for tips and links to even more sewing space ideas.
1. Your Physical Space
Where will you be sewing? You might not have many options in your home, so if you are restricted to a certain space, here are some things to consider.
Size
The good news is that no space is too small—as long as you and your machine fit. If you are working in a smaller space, you need to adjust how you store and work with your projects.
If size is a limitation, start with setting up your essentials—the things you need to complete a single project, like your machine, toolkit, notions, and fabric. Then, spend time in your space before deciding how you can expand or upgrade your tools.
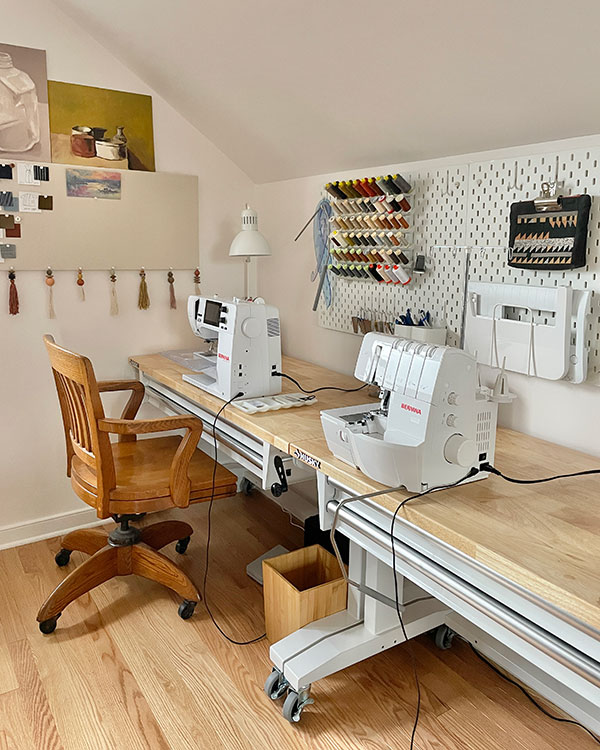
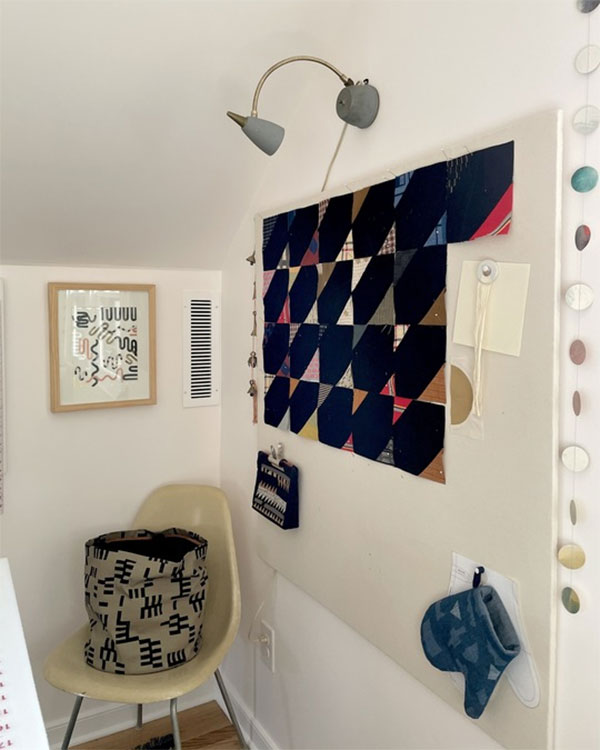
Light
Despite your machine’s best efforts, that little lightbulb isn’t enough for you to see your project. Having good lighting will make sewing easier on your eyes and prevent mistakes.
If you have access to a window, consider where you can place your machine to take full advantage of the light. If you need supplemental light, think about both overhead, desktop, and portable lamps. If you’re an avid camper, don’t be afraid to reach for a headlamp at night.
Cleanliness
How clean will you keep your space? Making clothes also makes a mess of thread, scraps, and paper. Consider how tidy you are in your space at home, and then consider how your sewing will fit into that. If you are a messy person, find a contained or easily separated space so you don't notice the mess when you aren’t sewing. If you are a fairly organized person, you can pack up your space and keep it looking nice between projects.
2. Your Budget
Your budget is a huge limiting factor, especially when first setting up your sewing space. Sewing is expensive! Luckily, if you want to sew your clothes, you’re probably creative and not afraid to do it yourself. Here are three ways to frame your approach.
DIY
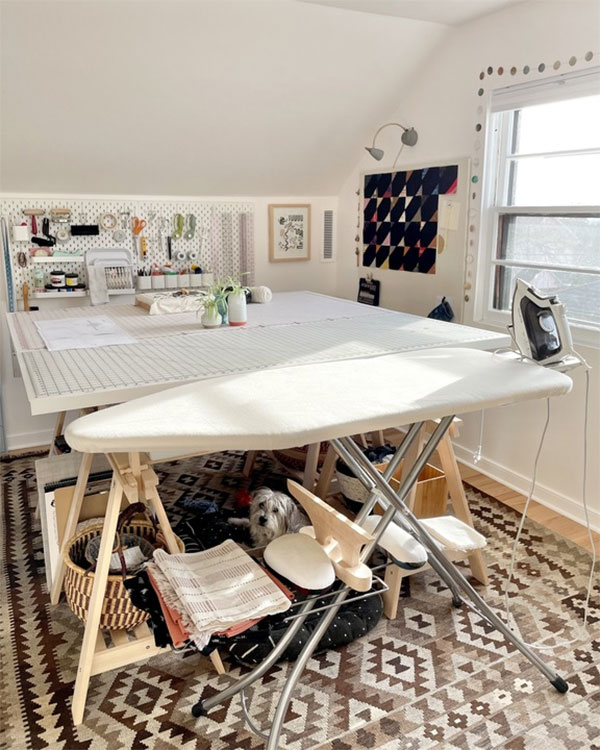
Creating furniture and storage for your sewing space is super rewarding. Start by reading Sew Like a Pro by Brooks Ann Camper. She’ll show you how to set up a professional custom ironing table and sewing room table. Search Pinterest or your favorite sewing blogs for more DIYs. IKEA has plenty of storage options, and you can search online for helpful sewing-specific furniture hacks.
Upcycle
Use what you have in your house. If you’re sewing in a spare bedroom or an office, use the desk, bookshelves, and closet to store sewing stuff. Your guests can unpack their bags next to your thread collection, it’s no big deal.
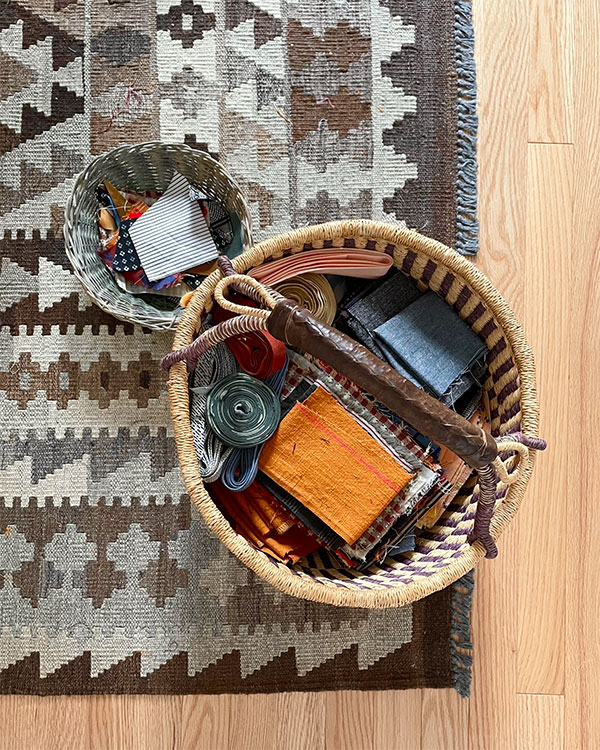
You can upcycle plenty of things into sewing storage. Use cookie tins or cute gift boxes for notions, turn that old tackle box into sewing storage, and use large ziplock bags to store in-progress projects. Use baskets—or better yet, sew your own rope basket—as catch-alls, and hide fabric in ottomans.
Furnish it from scratch
If it’s in your budget, furnishing an entire room for sewing is really fun. Look for clever storage solutions that use vertical height, insist that your cutting table has shelves for storing fabric and tools, and hang a pegboard on the wall for your tools.
Next, we’ll share all the ways you can fill your space, no matter how you decide to set it up.
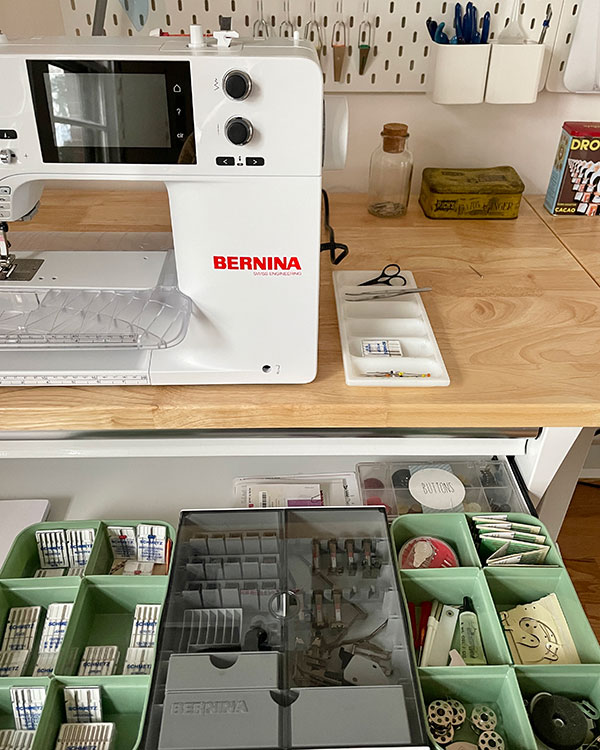
3. Your Tools
When it comes to your tools and equipment, what do you really need? Start with your budget, and then think about what you will use each time you sew—beware of all the tempting new sewing toys out there. In a blog article from the Colette archives, we shared a plan for three budget levels for your tools. It provides a framework that you can adapt to your space and your budget.
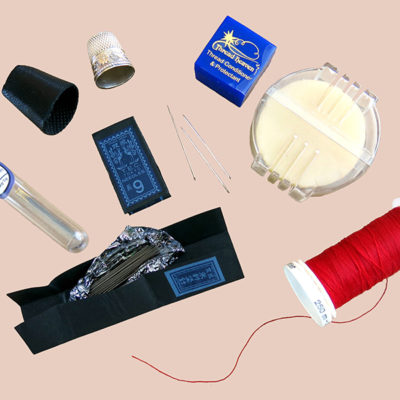
Minimalist: If you take a minimalist approach to your equipment, only buy what you need to complete your projects—a basic sewing toolkit. This kit includes your machine, cutting tools of your choice, a marking tool of your choice, a clear ruler, pins, needles, measuring tape, a pin cushion, an iron, and a seam ripper. When you break it down, those are the tools you need to complete almost any sewing project. For help setting up a toolkit, watch this video from our Learn to Sew series.
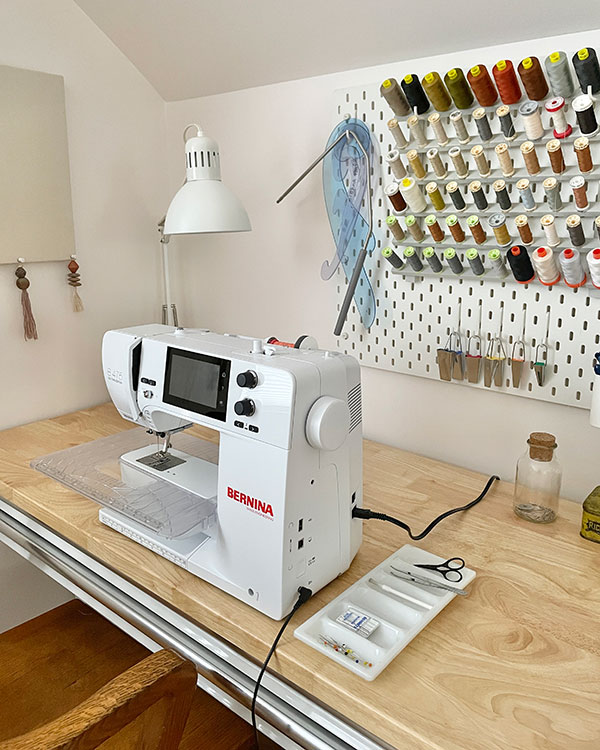
Upgraded: If you have more room in your space and a little extra budget, expand your basic sewing kit with some helpful tools. This might include storage, like some shelving, spool racks for your thread, or a cart for your tools and notions. You could also pick up a few more tools, like a tailor’s ham and a clapper to help with pressing, curved rulers, pattern weights, and a seam gauge (Read this article for tips to upgrade your pins and needles). This is also a good time to invest in a serger.
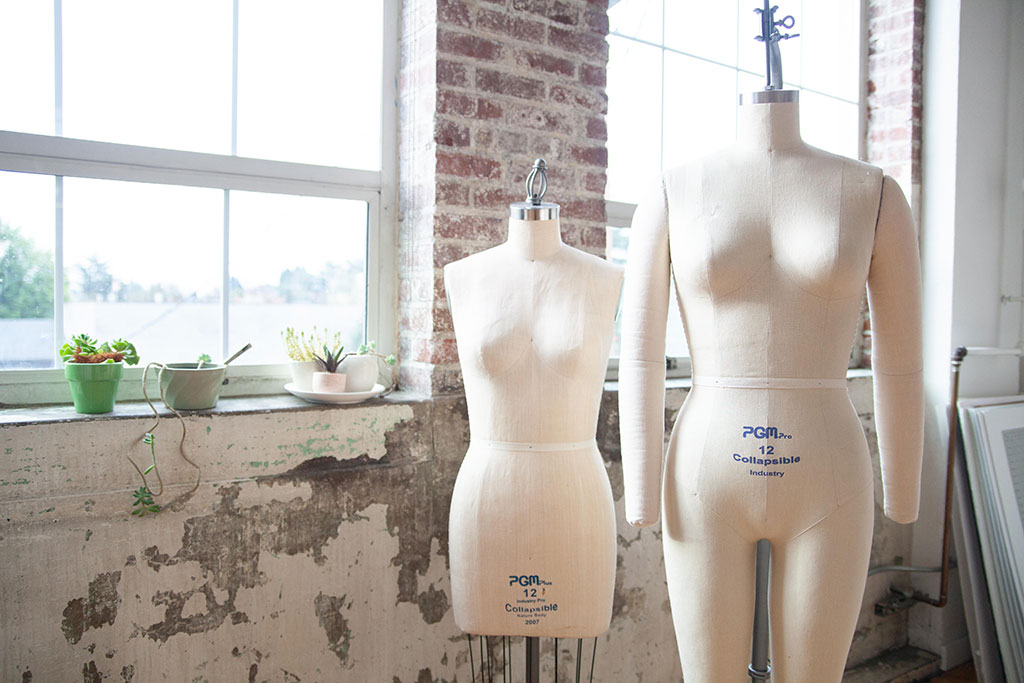
Fully Equipped: You can keep collecting tools for the rest of your life. As long as you keep your space and budget in mind, think about what tools would help make your sewing easier. This might include small tools like ergonomic thread snippers, a point turner—or our favorite, the screw punch. Larger items include a cutting table, a pressing station with all the pressing tools, a coverstitch machine if you sew a lot of knits, and a dress form.
4. Your Storage Style
We all approach storage differently. You might get excited by organized, color-coded containers and boxes, or you might want to see all of your fabric displayed on shelves. Again, there is no wrong answer—think about the storage system that works best for you.
Here are a few questions that will help you identify your storage style. Be honest when you answer these. The only right answer is what feels best to you.
Do you have to pack up your machine and tools after each use?
If you sew at the kitchen table, the reality is that you might need to unpack and pack up your machine each time you sew. Clever, organized storage will be essential for you, along with a minimalist toolkit.
Do you like to display your hobbies?
Is it inspiring to be able to see your tools, notions, and fabric at-a-glance? Or do you prefer that they be stored out-of-sight?
If you like to display your stash and all-things-sewing, consider investing in shelving, bookcases, jars, or storage that allows you to see it all. If you prefer to only look at your sewing when you are actually sewing, invest in containers, hidden storage, drawers, or carts.
Get ready—the next question is the super fun part.
What type of storage accessories excite you?
Boxes, shelves, baskets, hanging racks, what type of storage excites you? What makes you feel motivated to get into your space and start sewing? There are countless ways to store all these items, but here are some of our favorites.
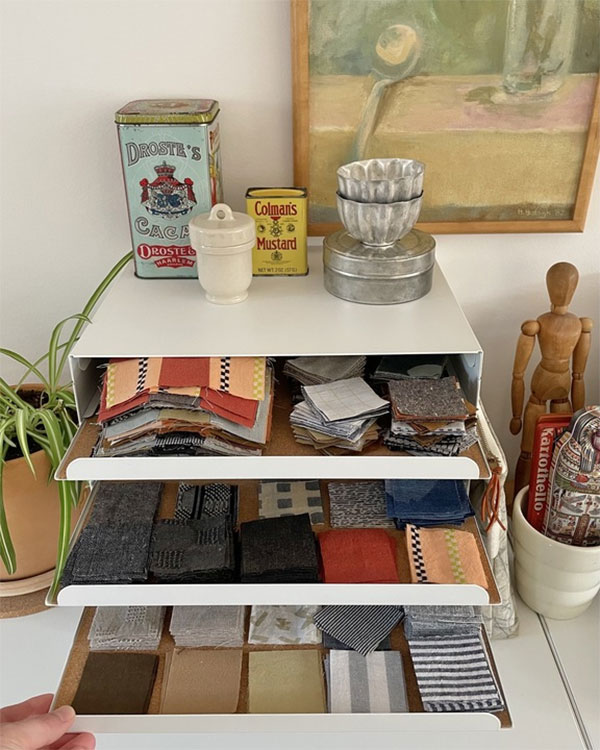
Your Fabric Stash
- Fold it. You can roll it, wrap it around cardboard like the bolts in a fabric store, or use this folding method to store it flat.
- Stash it: Store it in clear bins by fabric type, color-code it and store it displayed on bookshelves, or keep it on rolls in a basket.
- Organize it: Here is a helpful method for tracking your fabric stash, here is a guide to help you learn to love your stash, and here are pretty ways to store your stash.
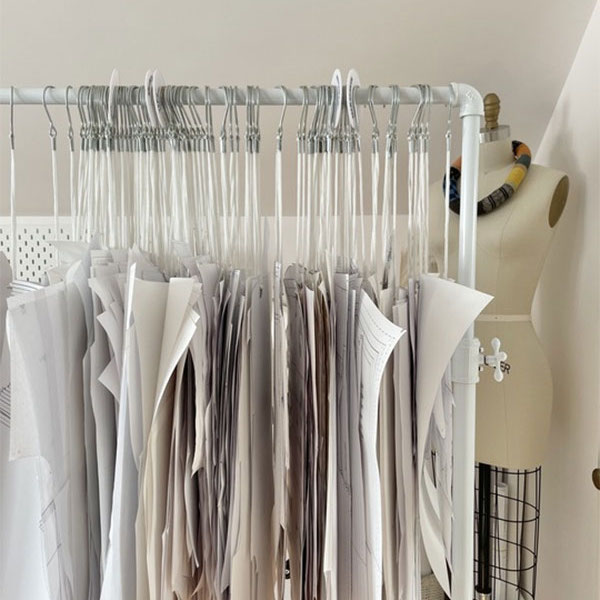
Your Pattern Collection
- Printed patterns can be stored in boxes (like this, bookshelves, or filing cabinets.
- PDF patterns need a little bit more wrangling. If you print at home, store them in plastic inserts in binders, file them in large manila envelopes, or fold them into ziplock or reusable project bags.
- If you print at a copy shop, store them rolled or hanging from pattern hooks.
Your Tools, Notions, and Machines
- Make covers for your machines to keep them clean and show off some printed fabric in your sewing space. Follow this tutorial for a really fun block-printed machine cover.
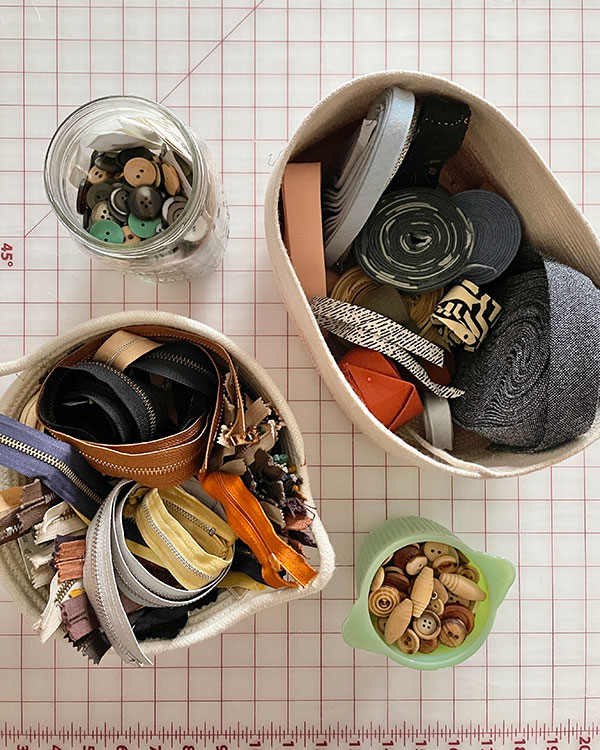
- Display notions in jars or baskets, or store them in boxes, bins, a rolling cart, or clear plastic containers that you can label. If you have a desk, store them in drawers with drawer dividers.
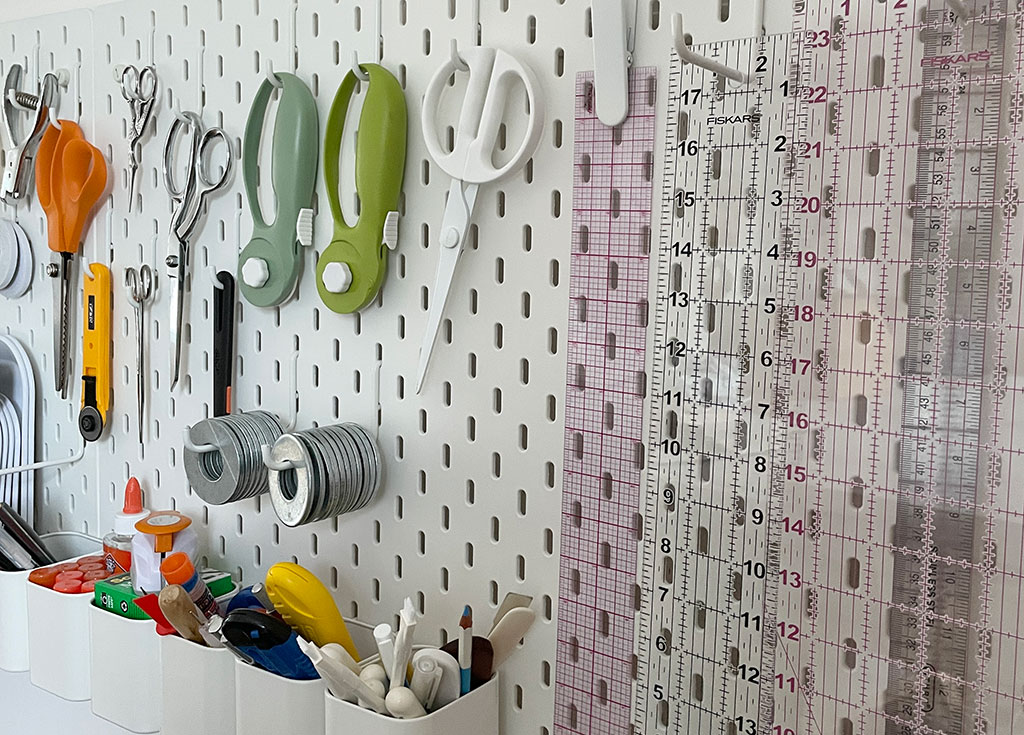
- Hang tools from your wall with a pegboard, use this IKEA set-up, or this IKEA idea.
- Keep your current sewing project in a box or a tote bag, so all your pattern pieces, instructions, and notions stay in one place.
Ready to set up your space?
Below are all of the links referenced in this guide so you can quickly find tips, tutorials, recommendations, and inspiration. When you’re done setting up your sewing space, snap a picture, and share it with us in the Seamwork Community!

Meg Stively
Managing Editor
Meg is here to help you. As the managing editor for Seamwork and the smiling face behind our social media, she loves to talk to you about how much fun it is to sew your own wardrobe.
Related Articles

Anatomy of a Small Sewing Space
Your tips and tricks for sewing in small spaces, by Robin Ives.
Sew Like a Pro
Upgrade your sewing with professional-quality tools, furnishings, and fabrics, by Brooks Ann Camper.
10 Things I Wish I Knew When I Started Sewing
Tips from the Seamwork Community to make your sewing easier, better, and more fun.