I asked the Seamwork team for their favorite sewing tips.
What I got back wasn't complicated techniques or fancy equipment. It was small, simple habits — the kind that only come from years of trial and error, hundreds of projects, and more than a few mistakes.
I'm Sarai. I've been sewing for almost 30 years and teaching you how to build a meaningful, custom wardrobe for the last 15. Today I'm sharing five tips straight from our team of sewing pros, so the next time you hit one of these snags, you'll already know exactly how to fix it.
Tip 1: Wonder Tape Is Basically Magic
This first one comes from Haley, our Pattern Designer: "Wonder tape for everything! Zippers, buttons, holding waistbands or facings in place during topstitching. Also baste and try on as you go."
Oh, I love this one — Wonder Tape is basically magic, and I use it constantly. You've probably heard me talk about this one before. It comes up in almost every video, because it just works. It's this narrow, double-sided tape that holds your fabric exactly where you want it while you sew, and then it just washes out afterward. I reach for it most on the fiddly stuff — zippers, buttons, bindings — basically anywhere I need pinpoint placement and pins would just get in the way.
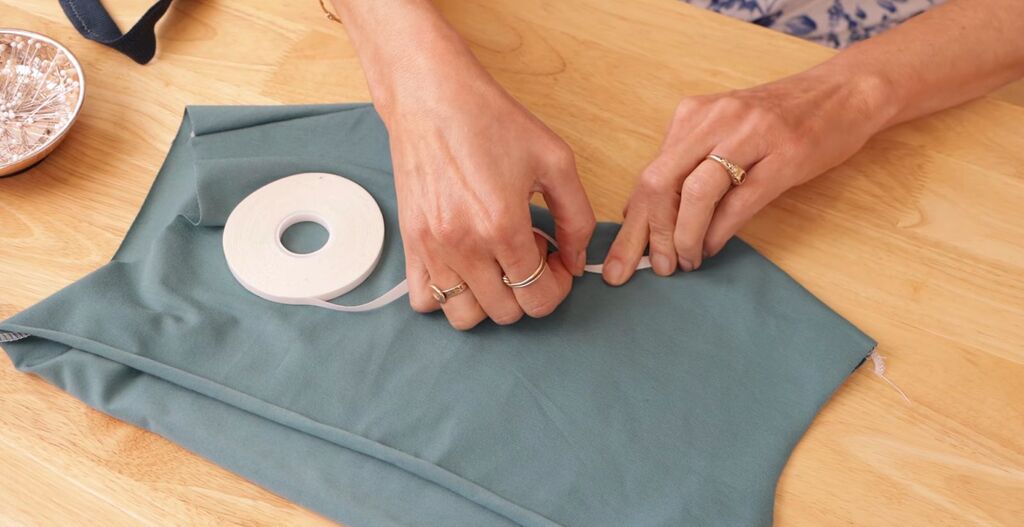
One of my favorite uses for it is actually attaching a neckband on a knit garment. You apply the tape all the way around the neckline, then stretch the band slightly and press it into place. The tape holds everything securely so nothing shifts while you're sewing — and because it's stable, it actively prevents your neckband from stretching out, which is exactly the kind of thing that ruins an otherwise great t-shirt.
If you want the name-brand version, that's easy enough to find, but the generic versions work just as well. In our studio, we actually use Wawak's Wash Away Tape.
Tip 2: Choose a Thread Color You Can Actually See
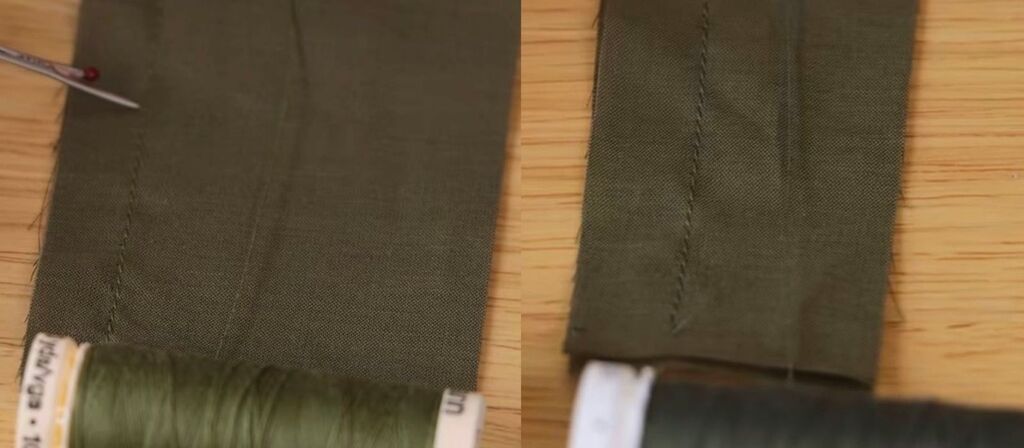
Next up is a tip from Robin, our Pattern Development Manager: "I always use a slightly lighter or darker thread color so my stitches are easier to see if I need to seam rip."
This is one of those tiny habits that saves you so much frustration later. I do the same thing when I'm sewing a muslin — I pick a thread color that stands out on purpose. Because here's the real issue: when your stitching thread blends in with the fabric's own fibers, it's genuinely hard to tell what you're grabbing when you go to unpick it. And that's exactly how you end up snagging or pulling at the fabric itself instead of just the stitches, which leaves you with little holes or tears you never meant to make.
It's really a small thing, but it's about accepting that mistakes are just part of sewing. You're never going to sew a project completely free of them, no matter how many decades you've been at this. So instead of hoping you'll get everything right the first time, it's worth setting yourself up in advance so that when something does need fixing, it's as painless as possible.
Tip 3: Make Friends With Your Seam Ripper
This next one is from Erica, our Head of Education, and it picks up right where that last point leaves off: "Make friends with your seam ripper! If you don't like how something looks, take the stitches out and redo. You'll be so glad you took the time to fix it."
This might be my favorite mindset tip on this whole list. I actually think about mistakes in three categories. Sometimes you just accept it and move on — that's fine, not everything needs fixing. Sometimes you get creative and turn it into a design choice instead of a flaw. And sometimes you rip it out and fix it properly, and that third option is real progress, not a step backward.
But knowing the right technique makes all the difference for smooth seam ripping, so that fixing things doesn't feel like such a chore.
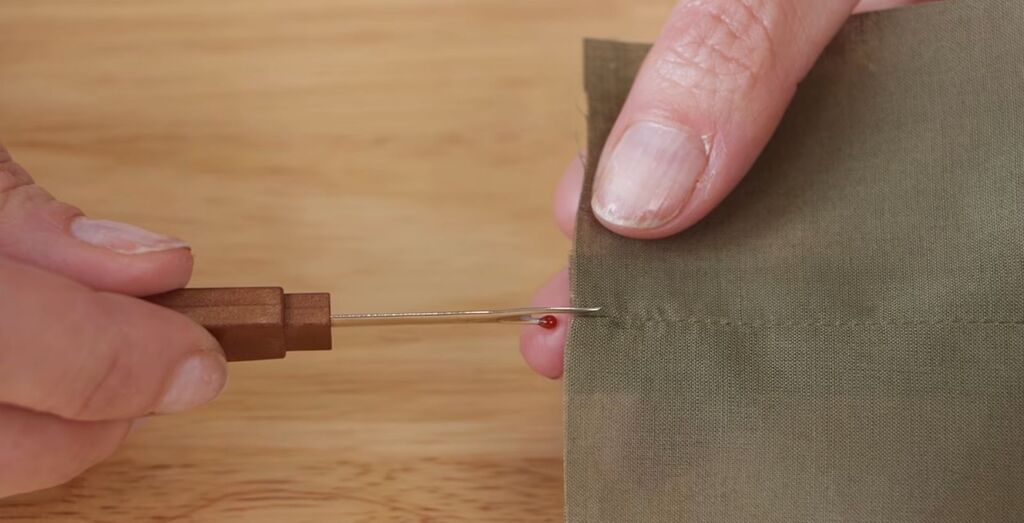
For most seams, you'll want to insert your seam ripper ball side down as you cut through the stitches. That little ball is there to protect your fabric, so keeping it against the fabric instead of the blade is what actually keeps you from slicing through something you didn't mean to.
But here's my favorite trick, and it really does feel like having a second pair of hands: for long seams, use your sewing machine's presser foot to help you. Place the seam under the foot and lower it — this lets you put real tension on the seam as you cut. It holds everything taut and steady, almost like having an assistant there with you, so you're not fighting the fabric while you're trying to be precise with the blade.
And keep that blade sharp, too. A dull seam ripper forces you to push harder to get through the stitches, which is exactly how you end up slicing into your fabric instead of just the thread.
Tip 4: Sew Waistbands From the Inside First
This next tip comes from Sienna, our Videographer and Editor: "If you're attaching a waistband where topstitching is really important, sew the waistband to the inside of the pants first. No more worrying about catching a fold you can't see."
I've been burned by this exact problem more times than I'd like to admit. The fix is really just reversing the order you're used to. Instead of sewing from the outside and hoping you caught everything underneath, sew to the inside — the side you can't see — first. Then wrap it around and stitch from the side you can see, where you have a clear line of sight the whole time. You're never guessing whether you caught the underside, because you already know you did.
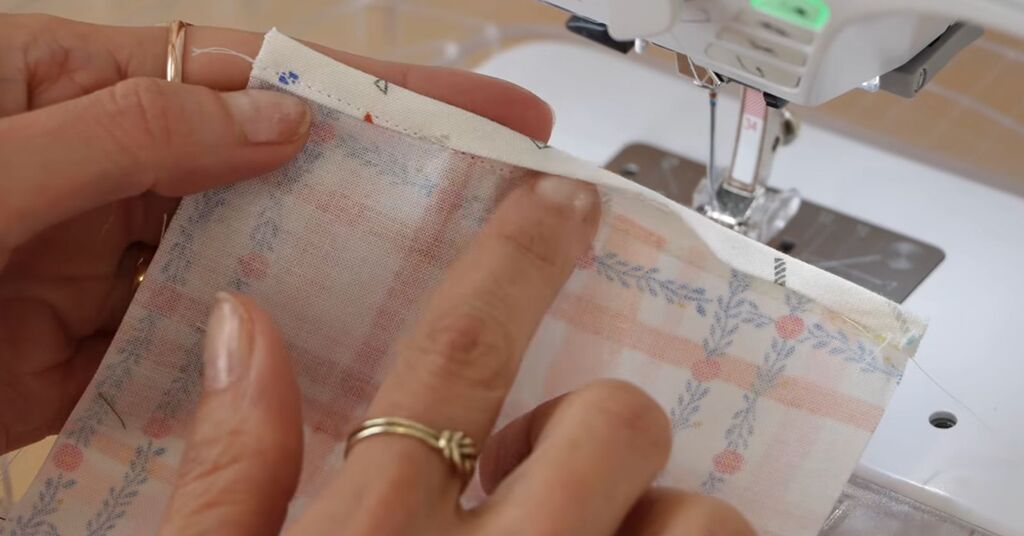
This is actually a principle I come back to a lot. Take binding, for example: you fold that edge over, and if you sew from the wrong side, you're just pinning and hoping you caught everything evenly. Flip the order, and you already know it's caught before you even start stitching. This technique can be used on waistbands and cuffs too — really any area where you need to catch two folds at once.
Tip 5: Let a Hemostat or an Awl Do the Fiddly Work
This next tip is really about tools, and how the right one can completely change your sewing experience. Everybody's got that one tool they swear by, the thing they'd never sew without. It turns out a couple of people on the team feel the exact same way about the same kind of tool, just with a different pick, so I'm sneaking in an extra one here.
This one came from Gina, our Technical Illustrator: "If you can get your hands on a hemostat they're very helpful. I've used them to turn tubes before. Anything you need tweezers for, but they clamp shut so you don't have to squeeze them."
I love that specific detail Gina mentioned, about it locking shut. You clamp it right onto the fabric, and it just pulls straight through instead of you squeezing and re-gripping the whole way. That's such a smart upgrade over tweezers, because you don't have to keep squeezing to hold your grip the whole time you're maneuvering something. If you can't get your hands on a hemostat, angled tweezers are a great thing to keep around too.
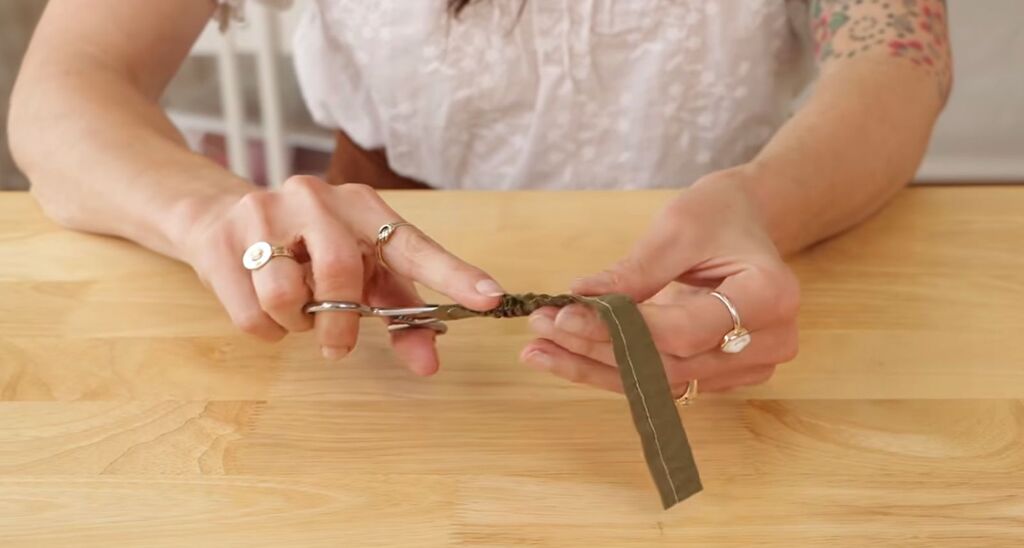
Then our sample sewer Areta shared a different tool that can be just as useful: "An awl is a great helpful tool. It's like an extension of your finger."
Yes — that's exactly how I think about it too. I use mine as an extra finger that can get right up next to the needle, somewhere I'd never actually put my real finger while the machine's running. It lets you guide the fabric exactly where you want it, especially on anything precise or curved, and if you don't have one on hand, the tip of a seam ripper works in a pinch — even a nail will do at a stretch.
Mine lives right at my machine, alongside my seam ripper and thread snips. It's not some specialty tool I dig out occasionally, it's just part of my regular kit. I also use it for marking my pattern pieces — punch a small hole right through the paper at a dart point or a notch, and then you can mark right through that hole with your fabric chalk or marking pen.
Think about it this way: there are really only two ways to solve any sewing problem — a better tool, or a better technique. You could spend hours, or even days, struggling to get something done by hand, when a ten-dollar tool could do it for you in a fraction of the time. Sure, it might take you a few minutes to learn how to use it, but the payoff is obvious.
Which of these five tips are you trying on your next project?
 Related Articles

 Best Articles