Sign In
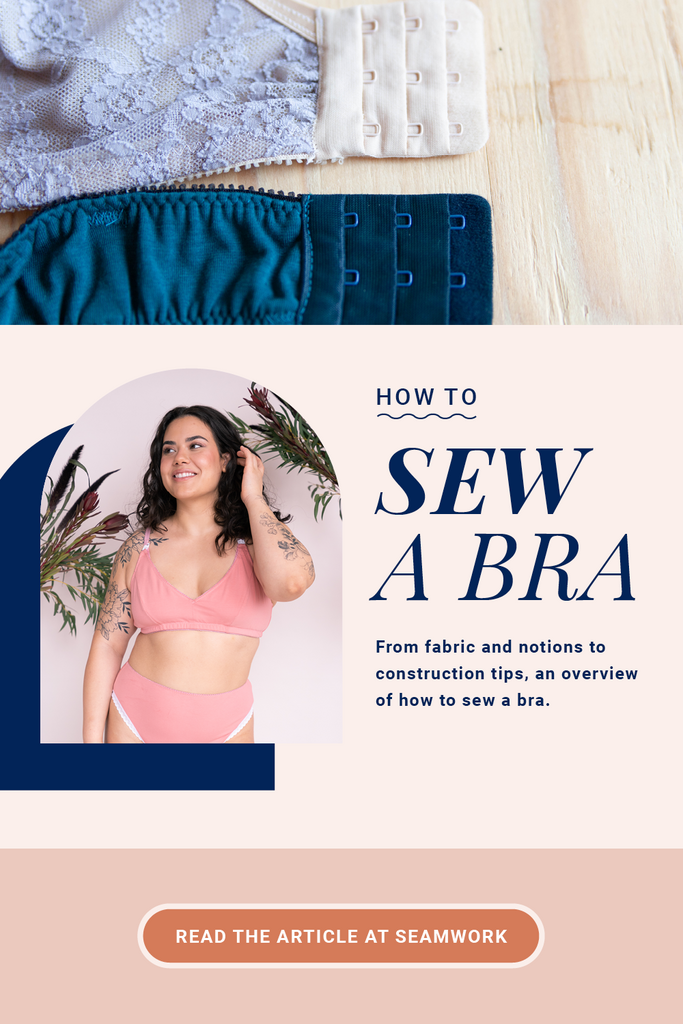
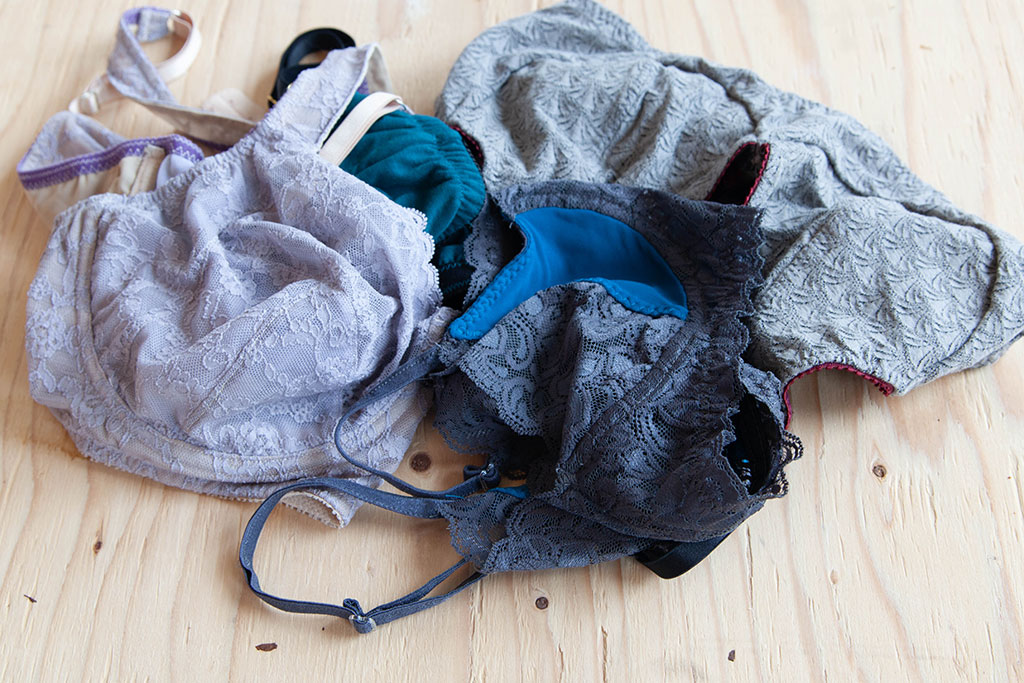
Imagine yourself standing in a lingerie store that has options for every kind of bra-wearer. Think about how many kinds of bras there would be in that store. There’s a full cup, balconette, bralette, sports, padded, strapless—there’s even a plunging T-shirt bra in there. And these bras all have different fabrics and notions. You see lacey scallops, every kind of elastic imaginable, boning, wires, hooks, power mesh, and foam cups.
So what bra do you reach for first?
You can dive deep into the world of bra-making. Almost too deep. If you’re just starting to sew bras, step back and take a bird’s-eye view of the process to make it seem less intimidating (and get a taste of what you are about to get into). Here’s an overview of the mindset, anatomy, materials, fitting tips, and construction techniques you’ll need to sew a bra.
Get in a Bra-making Mindset
All of our fitting resources here at Seamwork start with a little pep talk about mindset. We don't mean to be pedantic—your mindset is a crucial part of your creative practice. Learning a niche sewing skill like bra-making is one of the finer aspects of our craft, so here are some tips for making this whole thing feel more approachable.
For your first few bras, use fabric scraps to lower the pressure. You can even pluck used clasps and hooks from bras that no longer fit you if they are still in good condition. Get some extra notions if you can. Bra-making supplies sometimes come in packs, and having back-ups will ease your mind if you make a mistake.
Do some research. Watch a few speed sews of bras on YouTube, read a couple of articles, or visit a trusted lingerie patternmaker, like Cloth Habit, Orange Lingerie, Emerald Erin, Evie La Luve, Ohhh Lulu, or Tailor Made Shop.
Sew slowly. When you are sewing such small pattern pieces, precision makes all the difference. If your needle is off by a few clicks, it can add up.
Finally, look up each unfamiliar term or technique individually. Again, the information is all out there, so look it up in bite-sized pieces as you go.
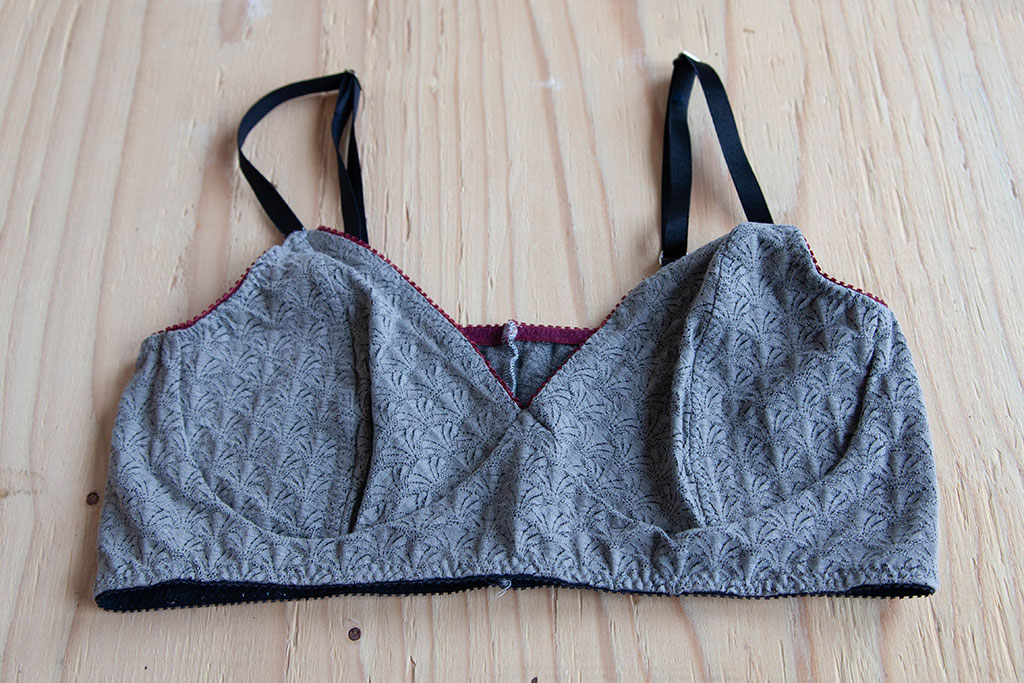
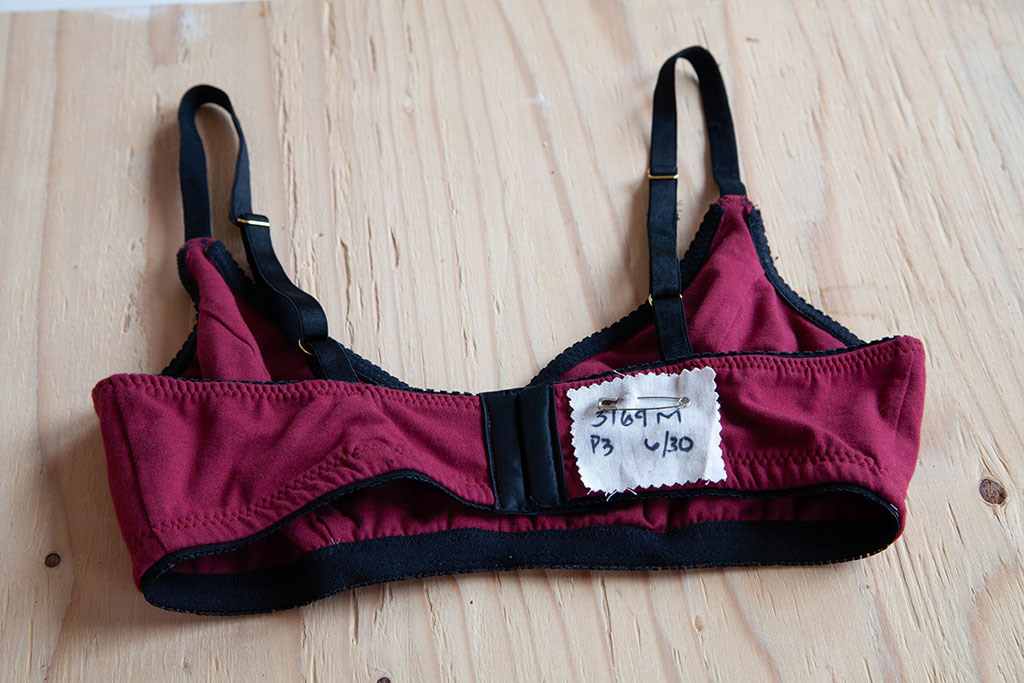
Learn Some Basic Bra Anatomy
No matter the style of bra, there are universal basic bra parts. This article is a detailed bra anatomy crash course from lingerie expert Norma Loehr, owner of Orange Lingerie, an independent lingerie sewing pattern company. Read The Anatomy of a Bra from the second issue of Seamwork.
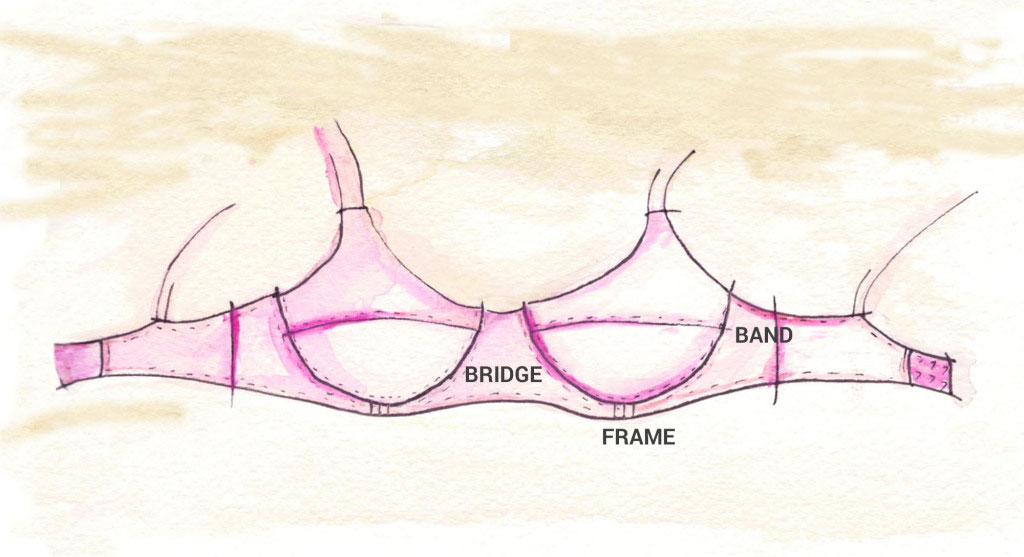
These basic bra parts make up all the different types of bras that you can buy (or make).
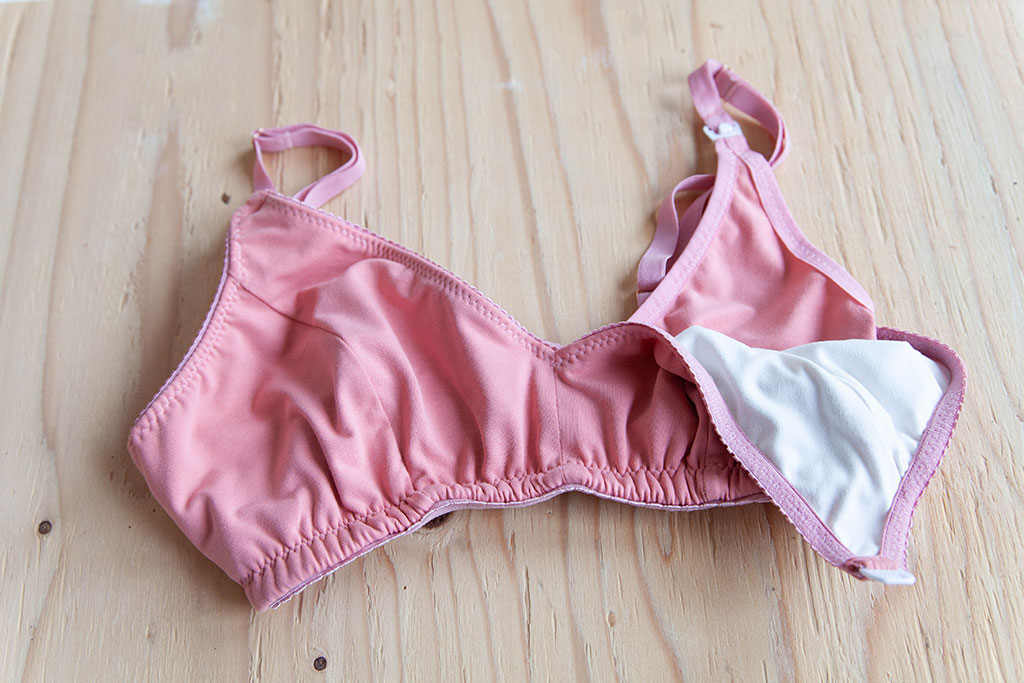
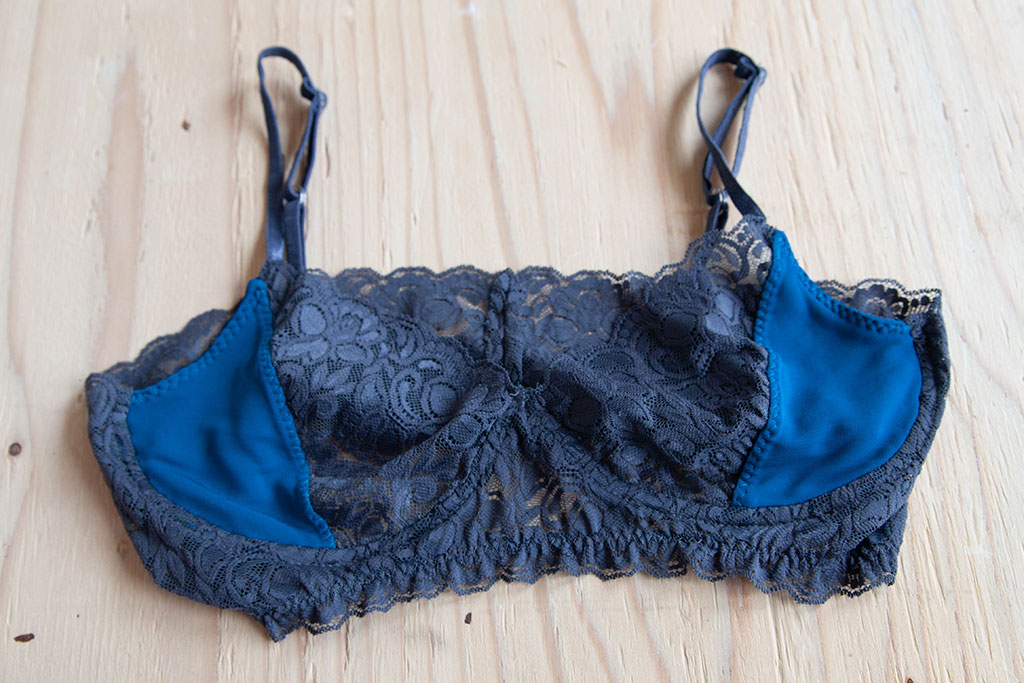
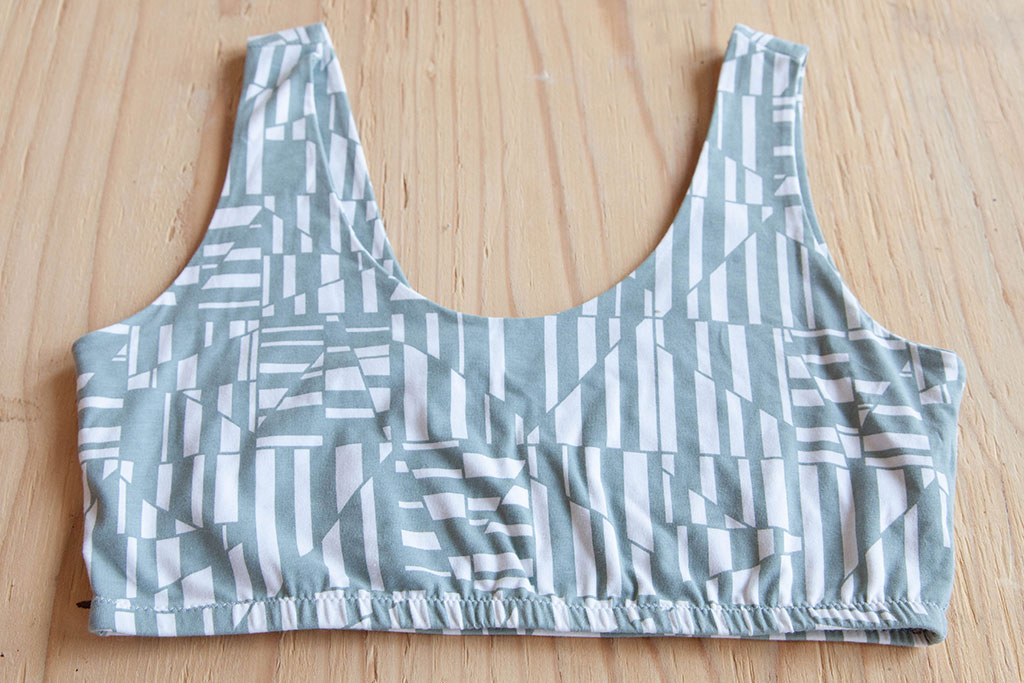
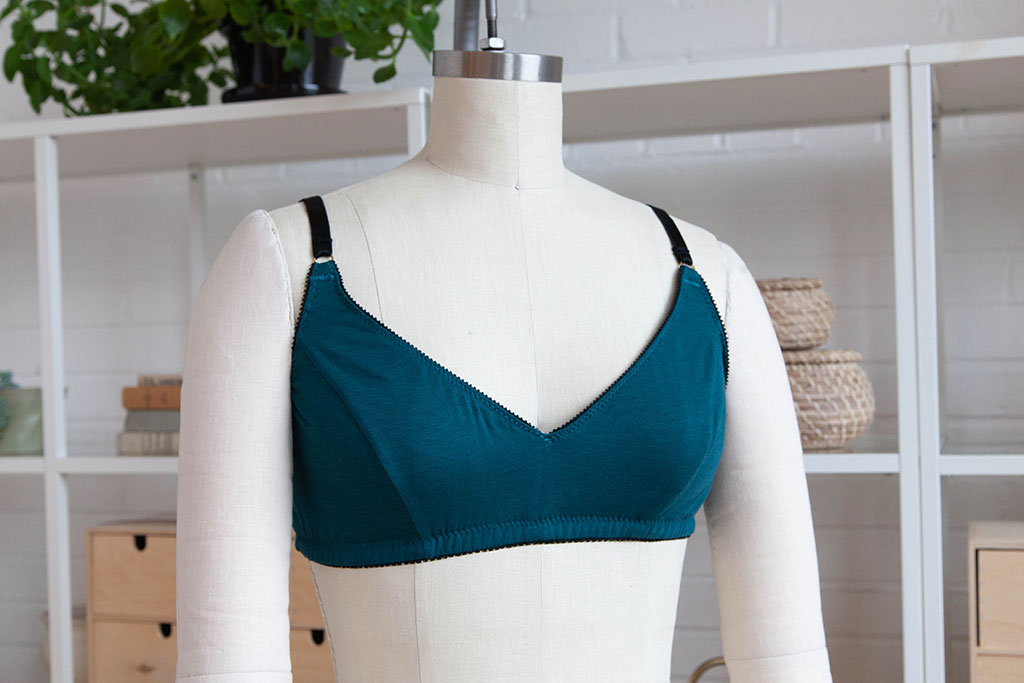
Cups: The cups of a bra hold your tissue in a way that feels right for you. You can further dissect cups into upper cups, under cups, and side cups. Overall, when picking out a pattern, think about how you want your fabric to stretch around your body to create shaping and support—and consider the overall appearance of the cups, so you feel confident wearing your bra.
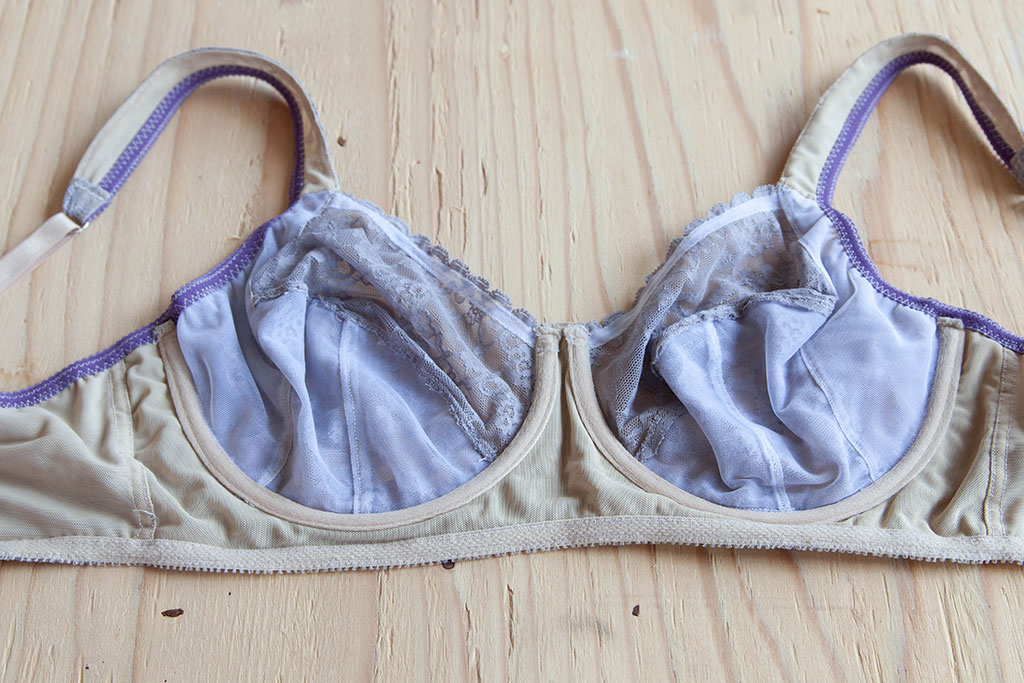
Tip: When sewing bras, keep in mind that your sewing cup size can differ from your cup size for a store-bought bra. See the measurements section below.
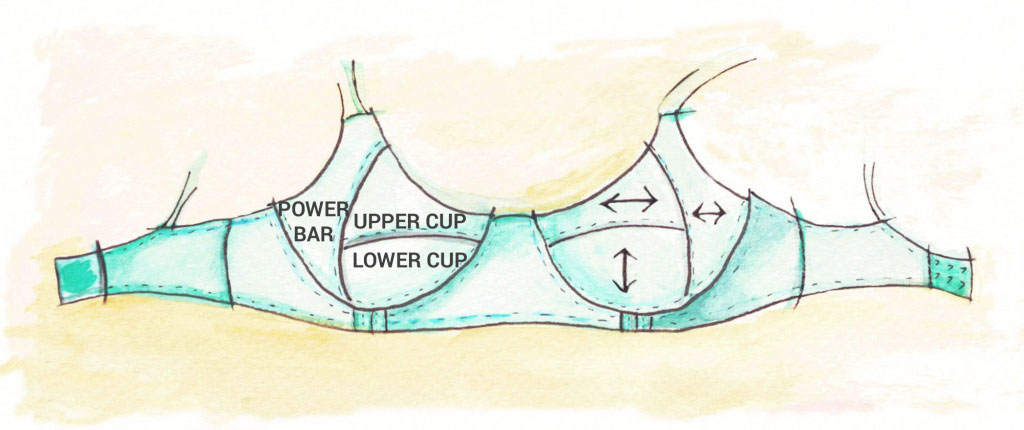
Bra band: Since we’re talking about anatomy, think of the bra band as the backbone for your bra. It works alongside your cups to provide much of the support and keep the bra in place. The band of your bra securely stretches horizontally around your body, often with a bridge that connects the cups at the center front. Depending on the style of bra, the band might include a frame around the cups as well.
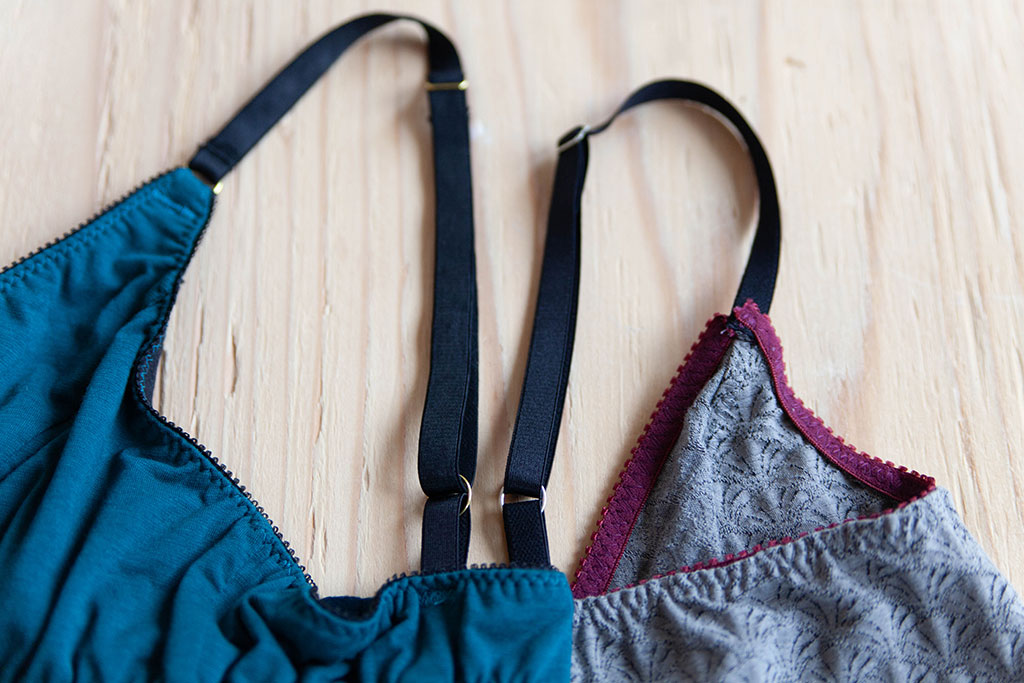
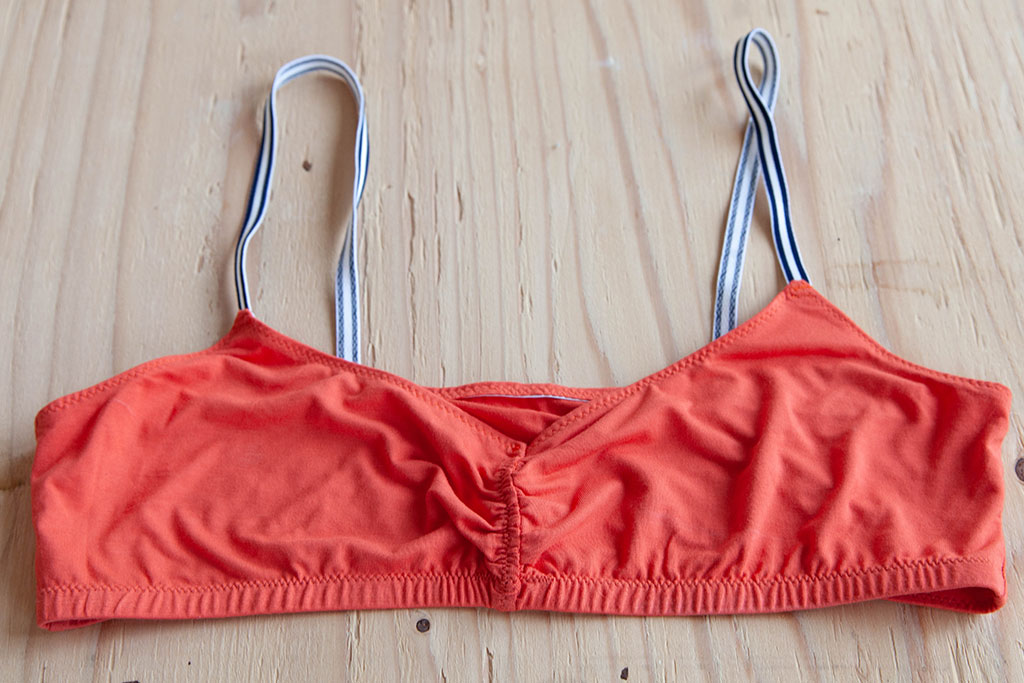
Straps: Your bra straps go over your shoulders to help keep your bra on the right spot on your body. If you use straps for support, they will dig into your shoulders—ouch!—so for a comfy fit, ensure that all support comes from the cups and band, not from the straps. Rings and sliders make straps adjustable, and you’ll find more info in the notions section below.
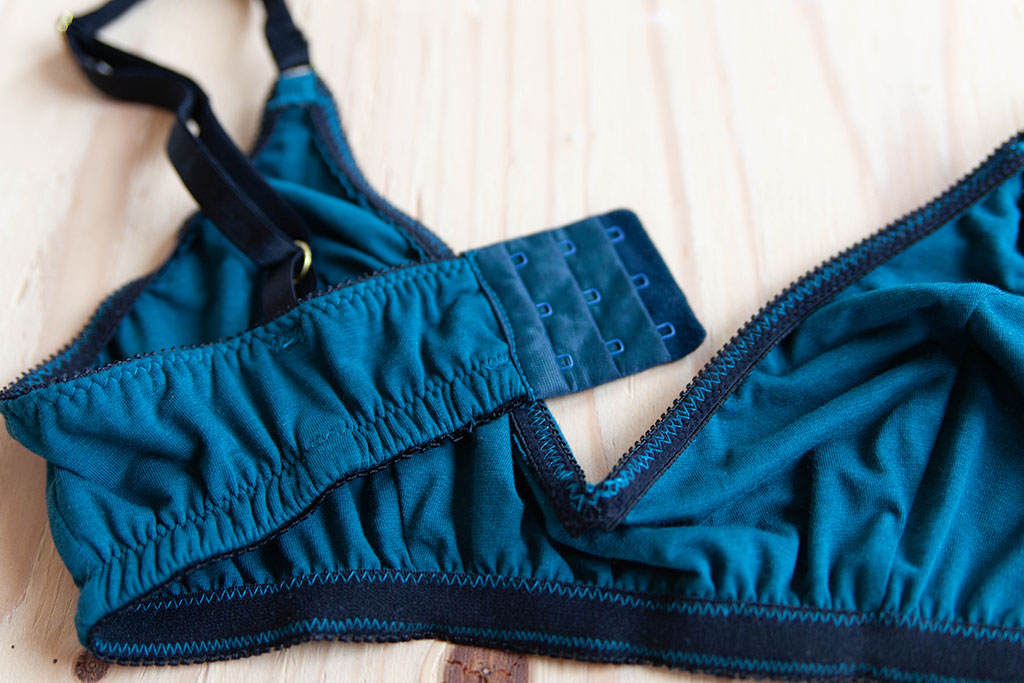
Closures: Bras can clasp at the back, center front, or they might slip over your head with no closures at all.
Buy Your Fabric
Picking out the right lingerie fabrics is fun—and we have already published the ultimate guide to shopping for lingerie fabrics. Read that article to learn all the details about the following fabrics.
Knits: Knit lingerie fabrics have different stretch percentages—our article includes a stretch calculator. Common choices include jersey, bamboo, technical knits, tricot, stretch lace, mesh, power net, nylon and spandex blends, and even stretch velvet.
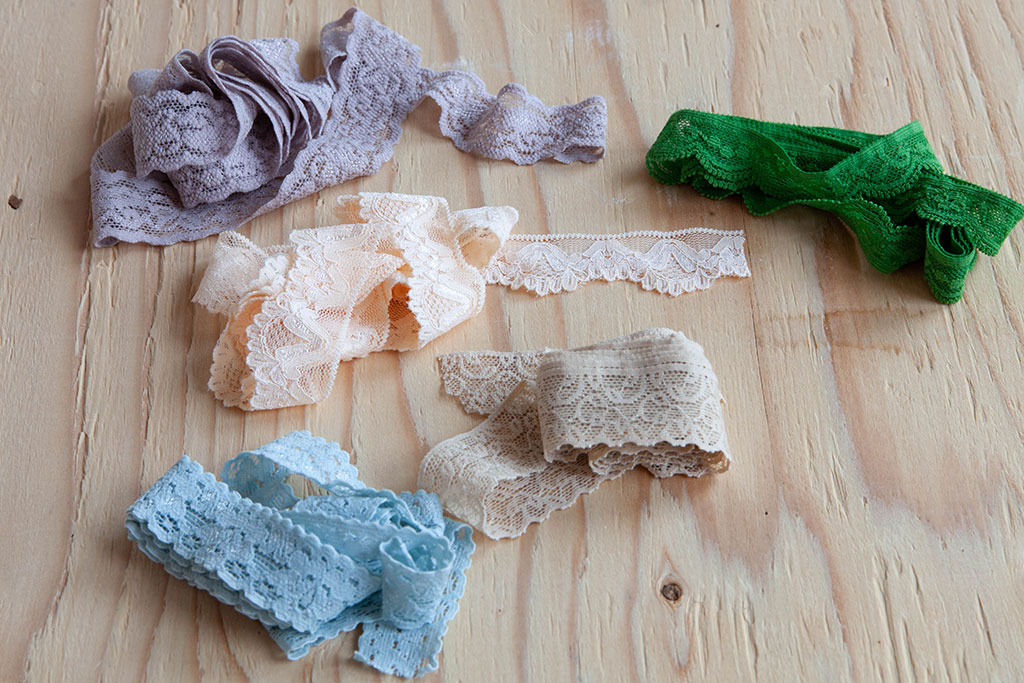
Wovens: Woven lingerie fabrics can be cut on the bias or blended with spandex to give you the stretch you need for your bra. Common choices include chiffon, georgette, organza, charmeuse, silk, crepe de chine, stretch satin, challis, batiste, voile, lawn, lace, and linen. Pay attention to your pattern to see if it allows woven fabrics as you will need to work on the bias. We have a helpful tutorial for working on the bias and a video tutorial as well.
Linings: You could line your bra with powermesh for more support, tricot for comfort, or you could use self lining to enclose raw edges.
Buy Your Notions
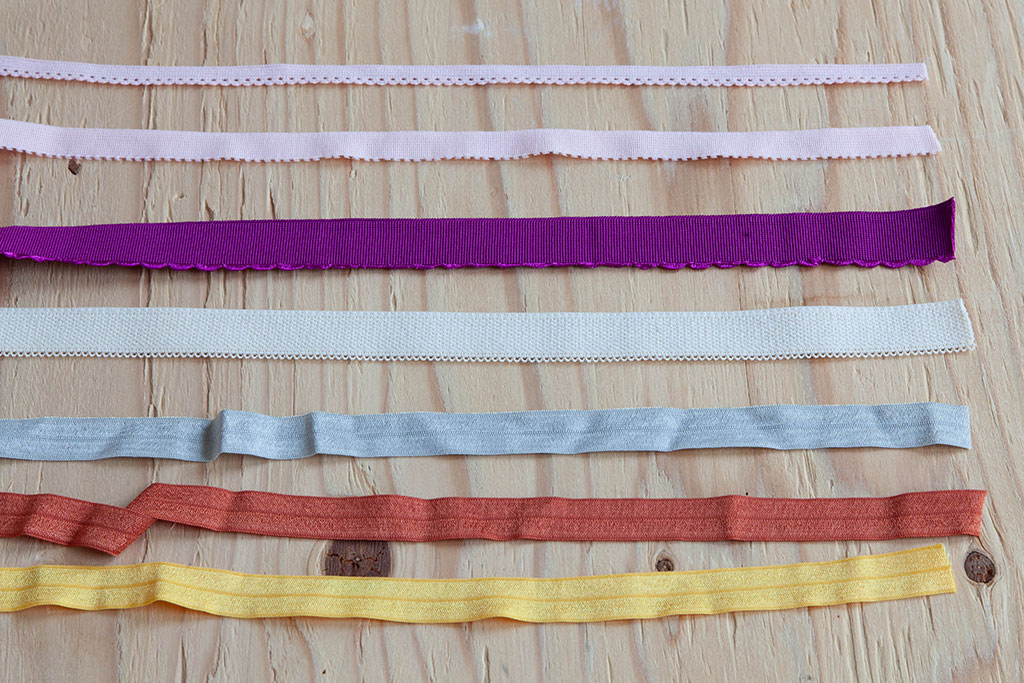
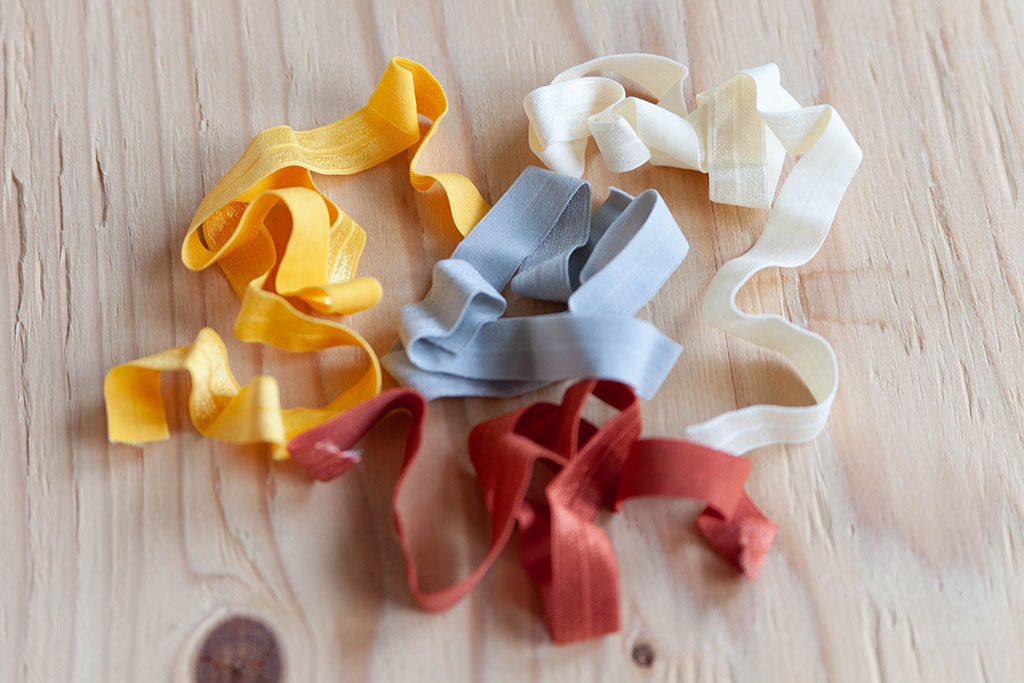
Elastic: You’ll find elastic in many places on a bra, like the straps, the finishing at the neckline, underarms, and on the band. Good news! We have the Ultimate Guide to Lingerie Elastics to help you out. This guide covers plush elastic, picot, fold-over elastic, knit, and braided—with tips for sewing them.
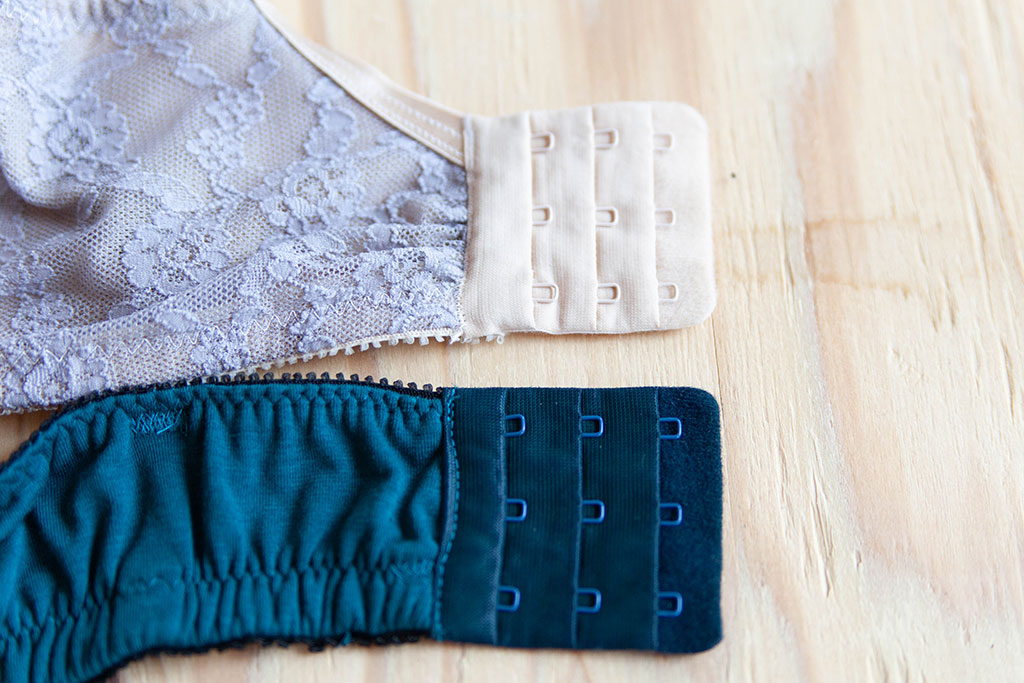
Closures: Many bras use hook and eye closures that come in different heights with rows of hooks to adjust the bra band slightly.
Rings and sliders: To make bra straps adjustable, you’ll need rings and sliders. Just make sure their widths match the width of the bra straps (or are a little wider).
Underwire and channeling : Underwires add more support to a bra. You’ll either create a channel or install pre-madev channeling along the bottom of the cups, then insert underwire directly into the channeling before sewing the channeling closed and topstitching it in place.
Tip: When buying underwire for the first time, buy a size up and down from what you think you need.

Foam cups: Add foam inserts to your bra for a push-up effect, extra coverage at your apex, or more support.
Take the Right Measurements
Forget what you think you know about your bra size. Your sewing cup size can be different than your cup size for a store-bought bra.
To calculate your bra band size: Most patterns will have you measure your underbust, which is around your ribcage right underneath your bust—or where you would wear the bra band. Pull the measuring tape taught but not too tight, and breathe normally. The band measurement will be shorter (because the band is stretchy), so consult the pattern to select a size.
To calculate your bra cup size: Measure your high bust (the part of your chest above your bust and under your armpits) and full bust (the fullest point of your bust). Subtract the high bust from the full bust, and a difference of 1” is an A cup, 2” is a B cup, 3” is a C cup, 4” is a D cup, 5” is a DD cup, etc.
Sew a Muslin and Check the Fit
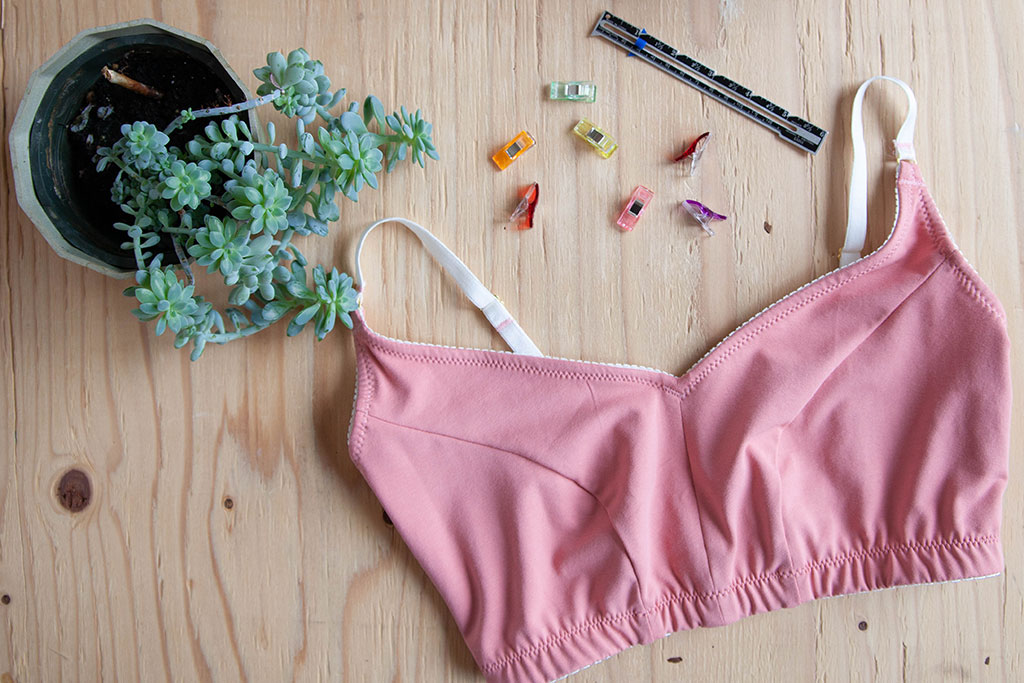
Think about how many bras you try on in a store. Has the very first bra you tried on ever fit perfectly? Probably not, which is why you should make a muslin. Remember to use scraps to lower the pressure of getting everything exactly right. If you don’t want to sew all the finishings, mock-up the cups and band to test the fit.
How to Make Sure Your Bra Fits Right
If your bra fits well, it’s comfortable. You won’t notice gaping or spilling at the cups or underarms, and your band will wrap evenly around your chest without riding up. The straps will serve to keep your bra in place, but they will not dig into your shoulders.
If any of this feels off, try to identify precisely where you’re having trouble and describe in detail exactly what kinds of issues you are seeing or feeling. Then, take your descriptions straight to Google or to your favorite fitting book. Here are some basic fitting issues.
Band: If your bra band is too tight, make it longer. If it’s too loose, make it shorter. If it’s riding up, check your strap placement and the angle of the band, which might not be drafted for your body’s shape. Consider shortening your band, so it is more secure around your body. Lastly, check your cups because your band can ride up if they do not fit well.
Cups: When you think about adjusting the cups on your bra, it might be tempting to do a full or small bust adjustment, but you are working with very small pieces of fabric that have negative ease. Bra fitting is more about analyzing your specific shape. You want to understand how your flesh is distributed across your body and how the fabric can stretch to give you the best support. So think flesh distribution and not bust adjustment. For example, if your breast tissue is bottom-heavy, you might need to shorten your cups for more support. If you have more tissue at the top, you might need to lengthen for more coverage.
Love the article? Pin it for later.

To fit, take a look at your cups' overall volume and shape, including coverage at the top, bottom, and sides. Pay attention to your apex, too. If you notice gaping, pinch out fabric (along seams when possible). If you notice spillage, add fabric to increase volume. You can play with the overall shape of your cups on all sides, pinching out a little bit of fabric or adding fabric so that it fits your unique shape. Remember, your tissue may not be symmetrical, so check the fit of each cup separately.
Underarms If there is gaping, pinch out excess fabric and remove it from the pattern piece. If there is spillage, you might need a larger cup size. If your cup fits well but your underarms are gaping or spilling, you can raise your underarms where you need additional coverage.
Bridge: If the bridge is too tight, it might pull uncomfortably at the center front. If it’s too loose, you might not have enough horizontal support. Make small adjustments to the length or width of the bridge. If your pattern does not have a bridge, adjust a small amount from the center front.
Strap width: Straps come in different widths, such as 3/8", 1/2", and 5/8”. Thicker straps will provide more support, but the placement of the straps on your bra is important, too. The placement of your straps should be comfortable. If not, measure and mark a new place to insert the straps on your pattern pieces.
Support: Think about volume. Support is a three-dimensional issue with bras. It helps to consider your preference for coverage in addition to how well the bra supports you vertically and horizontally. Try to determine exactly where and in what direction on the bra you could use more support. Pinch out excess fabric for less volume or snip into your muslin to add more volume.
Tips for Bra Construction
The best tip for sewing any part of a bra is to sew slowly, because bras have tight curves, small pieces, and slippery fabric. Here are three tips to help your sewing stay precise.
- Start sewing each step with a few cranks of the handwheel to ensure your needle is hitting the right spot.
- If you’re installing elastic, gently pull after you’re sure the first few stitches are secure.
- Continue sewing at a speed slightly slower than your typical speed. If your machine allows, turn down your stitch speed.
Then all you have to do is sew your bra together, piece by piece.
Assemble the cups: When sewing the curves of a cup, think about easing a sleeve. A walking foot can help here, especially since you might create some fun sandwiches of lining and padding. Since lingerie fabrics can be delicate, test a swatch with a press cloth and a warm iron. If it damages the fabric, finger pressing will work.
Install more support: When you assemble your cups, you might also install wiring and channeling, but sometimes you might install them after attaching the band. Check your pattern’s instructions.
Sew the straps: Decide if you want to adjust at the front or back—whichever is more comfortable for you. Your pattern should have instructions, but here is a tutorial if you want to see how to create an adjustable strap.
Sew the elastic: Your elastic will always be smaller than the pattern piece, so you’ll need to do some gentle stretching.This tutorial has our favorite method for installing both picot and fold-over elastic.
How Has Your Mindset Changed?
After reading this bird’s-eye view of the bra-making process, do you feel ready to sew handmade underthings? Sometimes approaching a new project with an understanding of the overall process can help you learn each new detail step by step. Now all you have to do is a find a pattern and start with the first step of the instructions. Pretty soon, you’ll be wearing all me-made underthings.