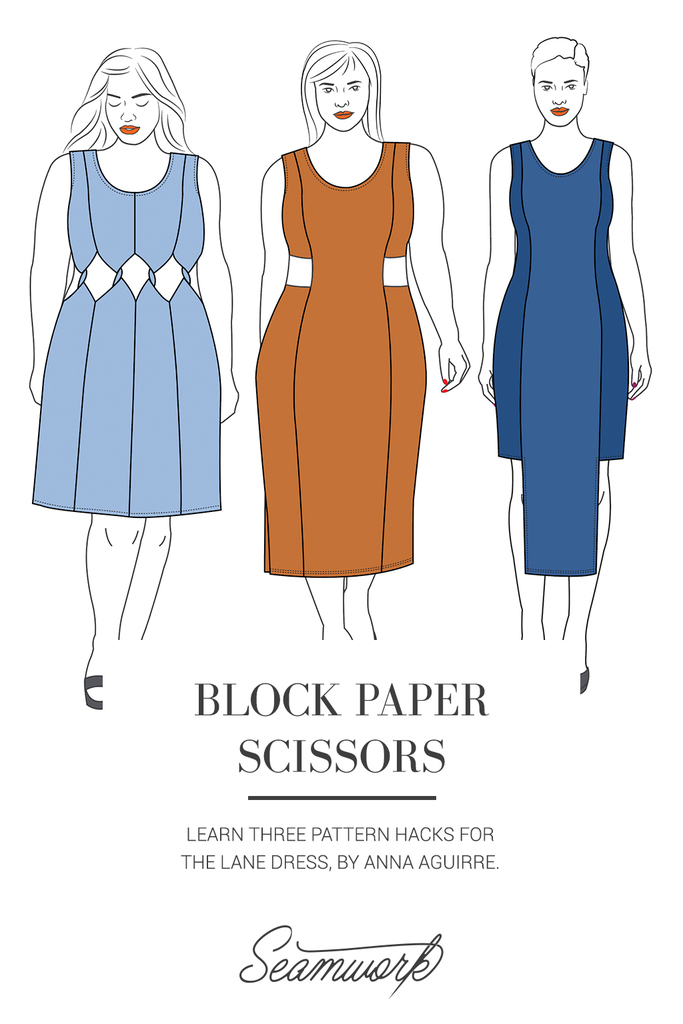
Block Paper Scissors is a monthly column that teaches pattern hacks. These hacks help you give your Seamwork patterns a custom spin—all you need is paper, a ruler, and a pencil!
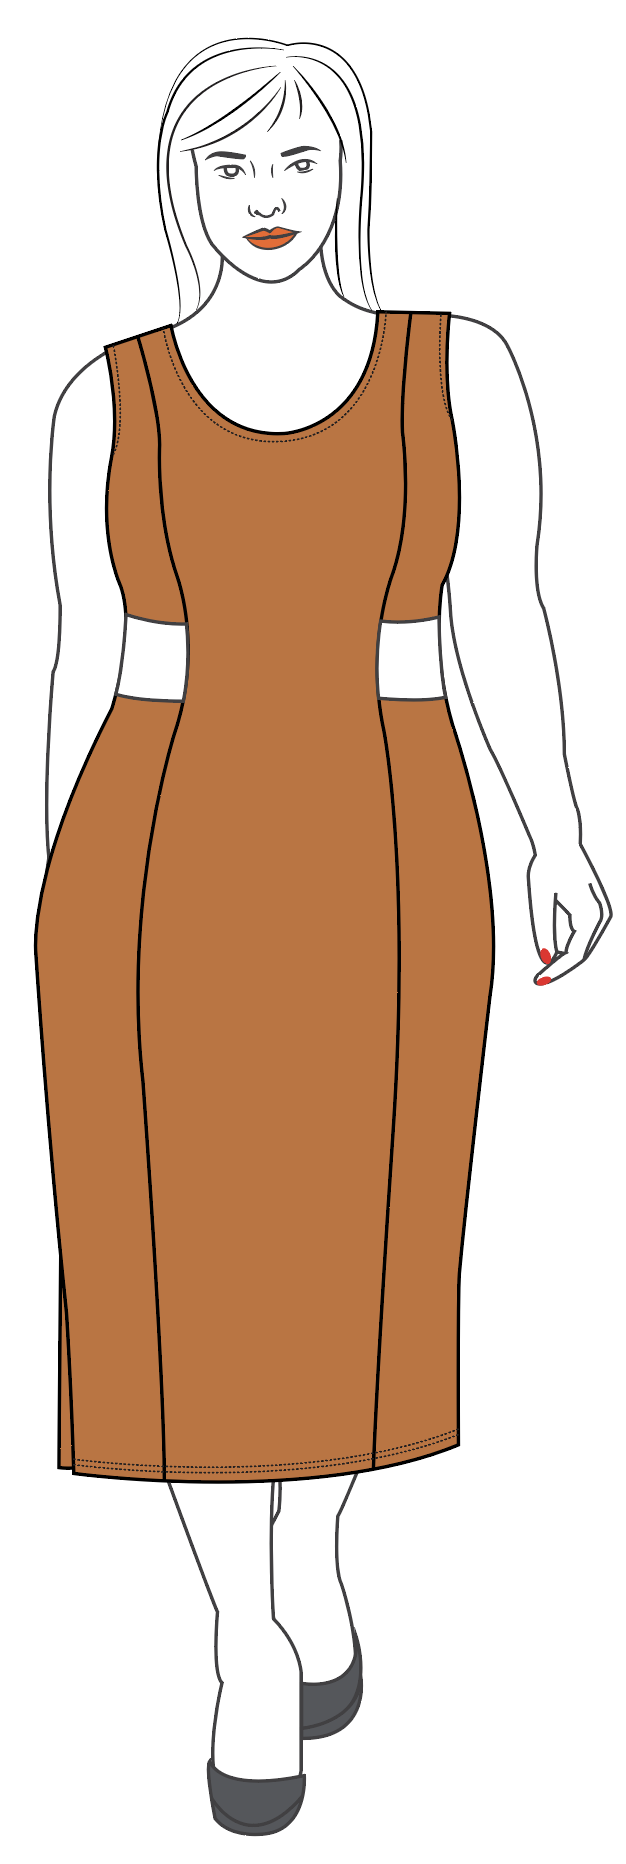
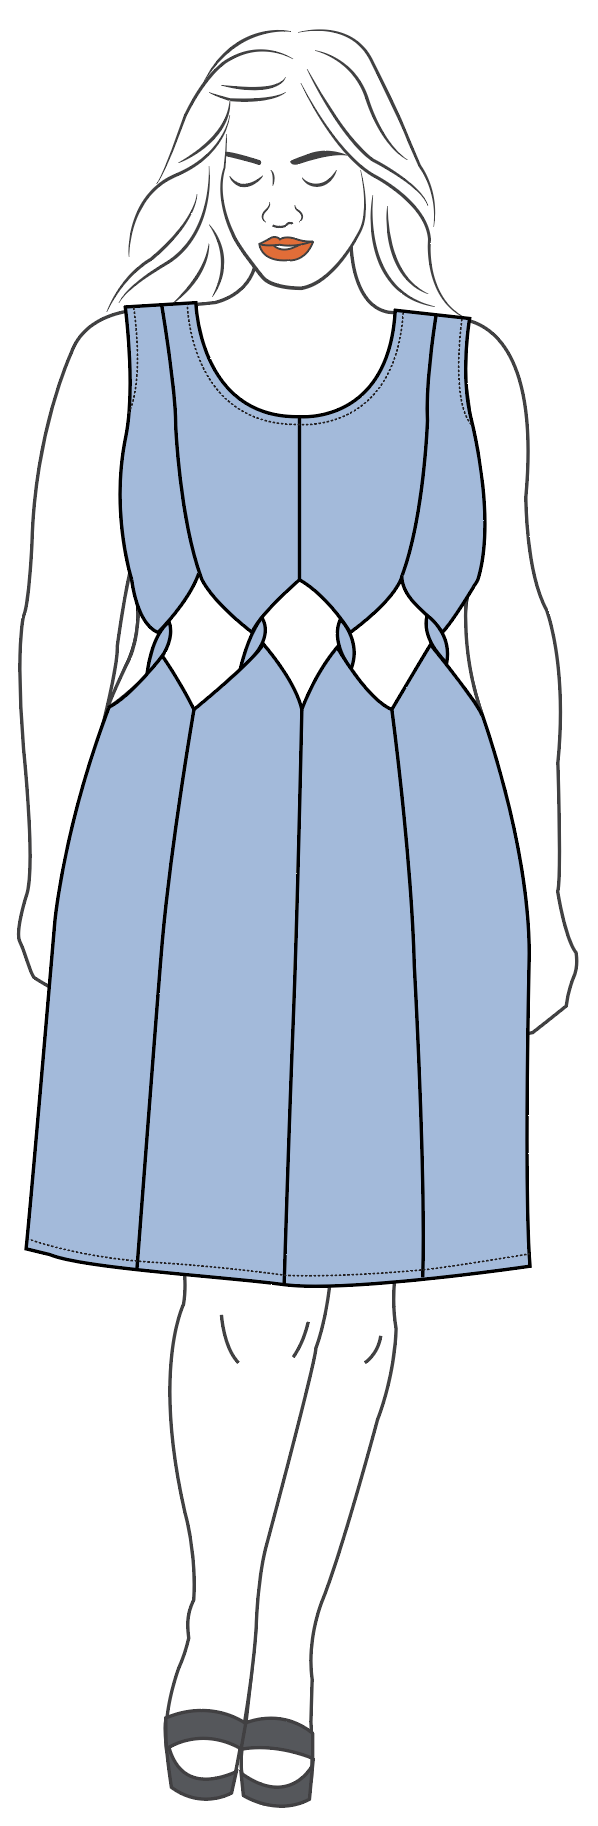
This month we walk you through three different pattern hacks for the Lane dress. Learn how to create waist cut-outs, an angular hem, and waist twists.
Note: For best results, be sure to make any necessary fit adjustments before hacking your pattern.
You'll Need:
- Lane
- Paper
- Pencil
- Scissors
- Clear ruler
- French curve
Waist Cut-outs
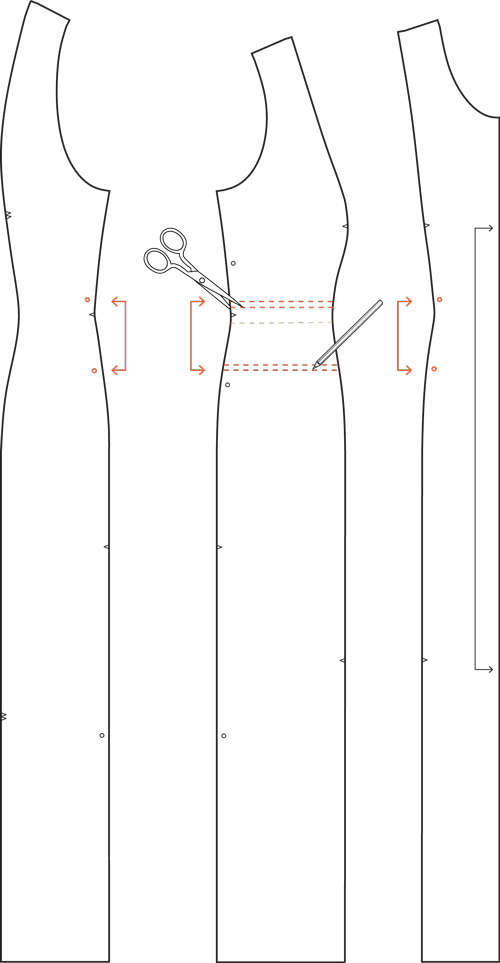
01 | For this first step, you will need the center front (A), side front (B), and side back (D) pattern pieces.
02 | On the side front piece, draw a line across the piece where your waistline would be. Measure approximately 1-2” above your waistline and draw a second line. Measure approximately 2” (or 3” if you are feeling more daring) below your waistline and draw the third line. Erase or cross off your waistline line to eliminate any confusion.
03 | On the center front and side back pattern pieces, make circles on the seam allowances, aligning with the second and third lines from step 2.
04 | On the side front pattern piece, add a 3/8” hem allowance line below the top line.
05 | Draw a 3/8” hem allowance above the bottom line.
06 | Cut along the hem allowance lines on the side front pattern piece.
07 | Label the new pattern pieces “Side Front Bodice Panel - Cut 2 self” and “Side Front Skirt Panel - Cut 2 Self.”
08 | When assembling the dress, first, hem the side front bodice panels and side front skirt panels at the waist cut-out.
09 | Match the side front bodice panel to the center front, aligning notches, and match the hem of the side front bodice panel to the circle on the center front.
10 | Repeat step 8 for the side front, center front, and side back pieces.

Angular Hem
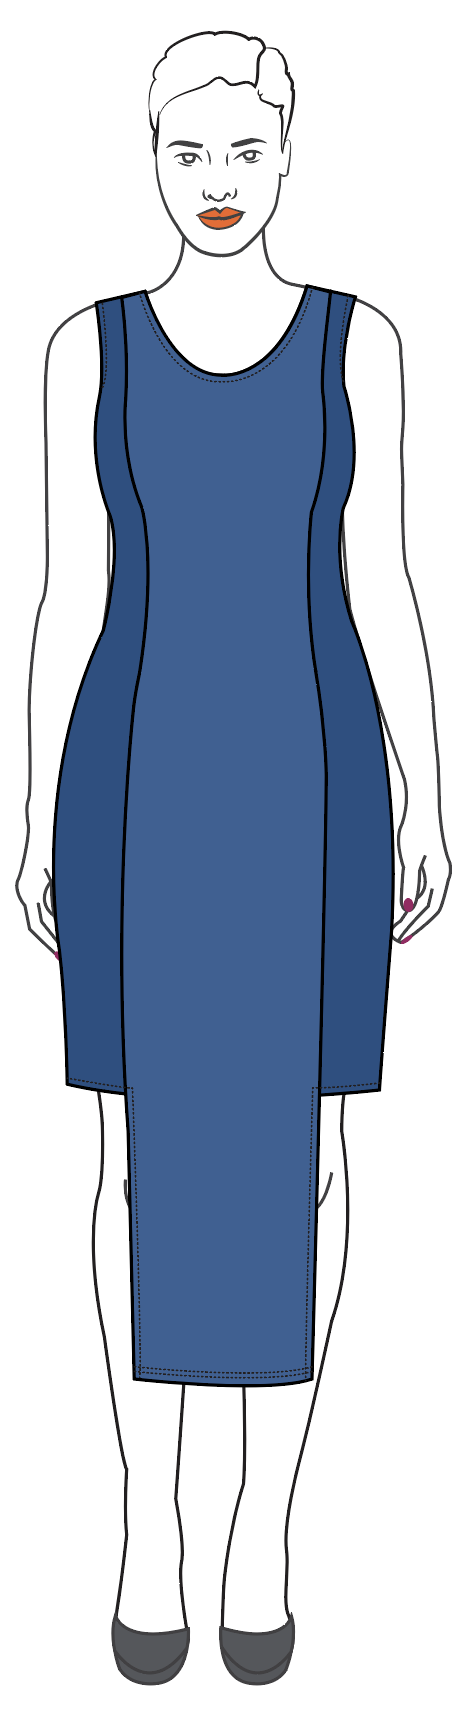
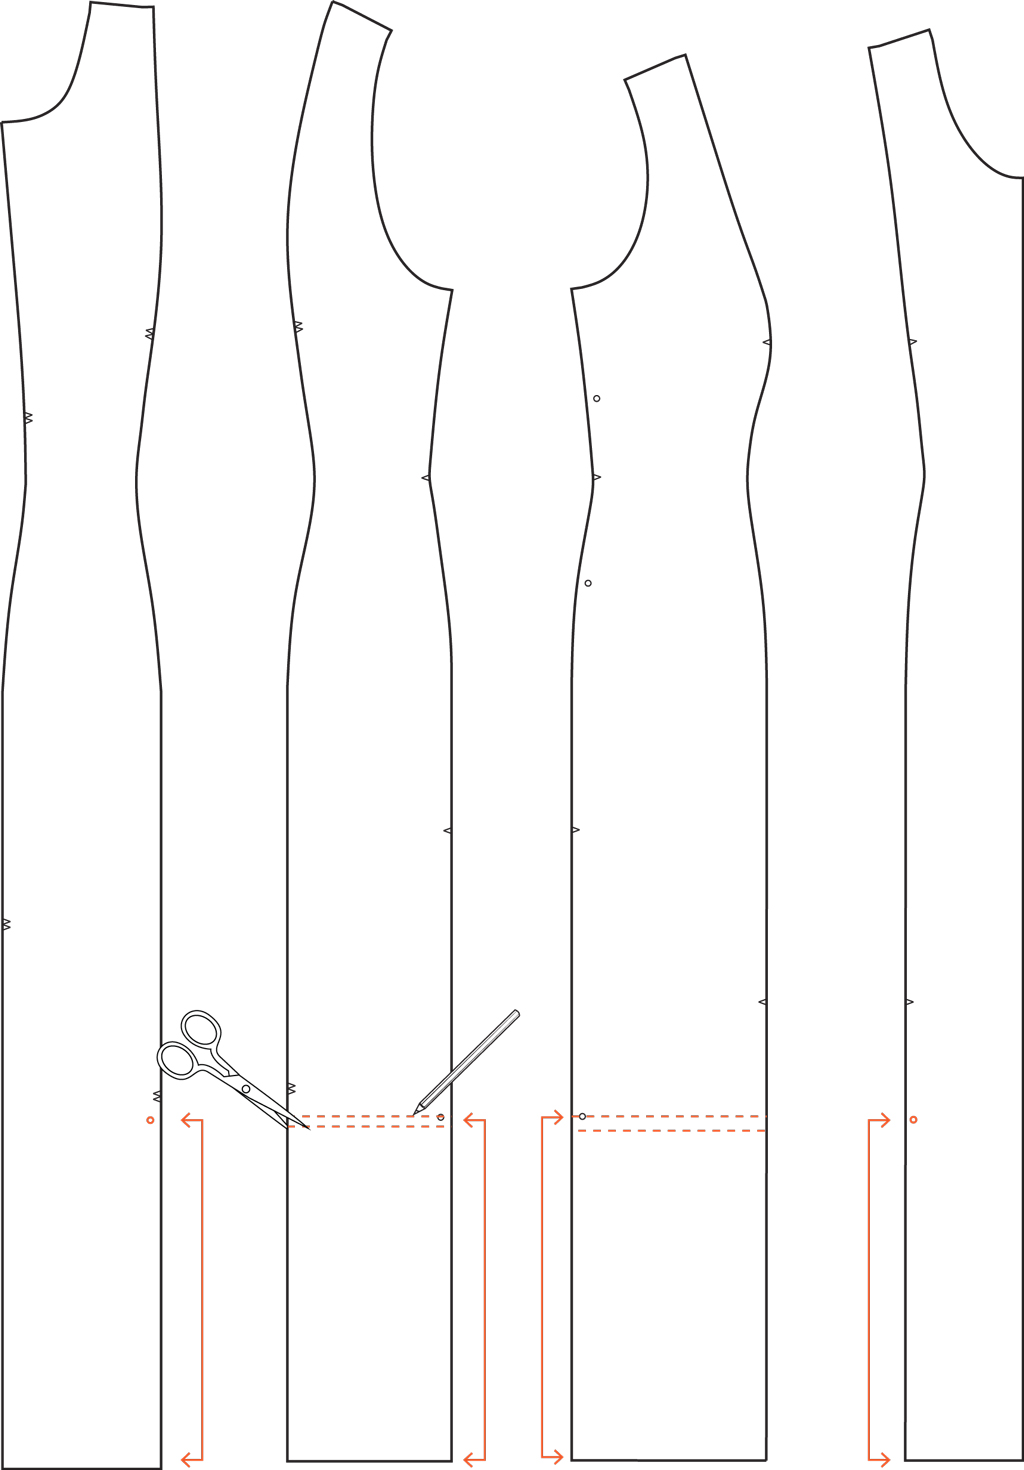
01 | On the side front (B) pattern piece draw a line across the pattern, perpendicular to the side seam, at the side slit circle.
02 | Repeat step 1 for the side back (D) pattern piece.
03 | Add a 3/8” hem allowance below the lines on the side front and side back pattern pieces.
04 | Cut along the hem allowance lines on the side front and side back pattern pieces.
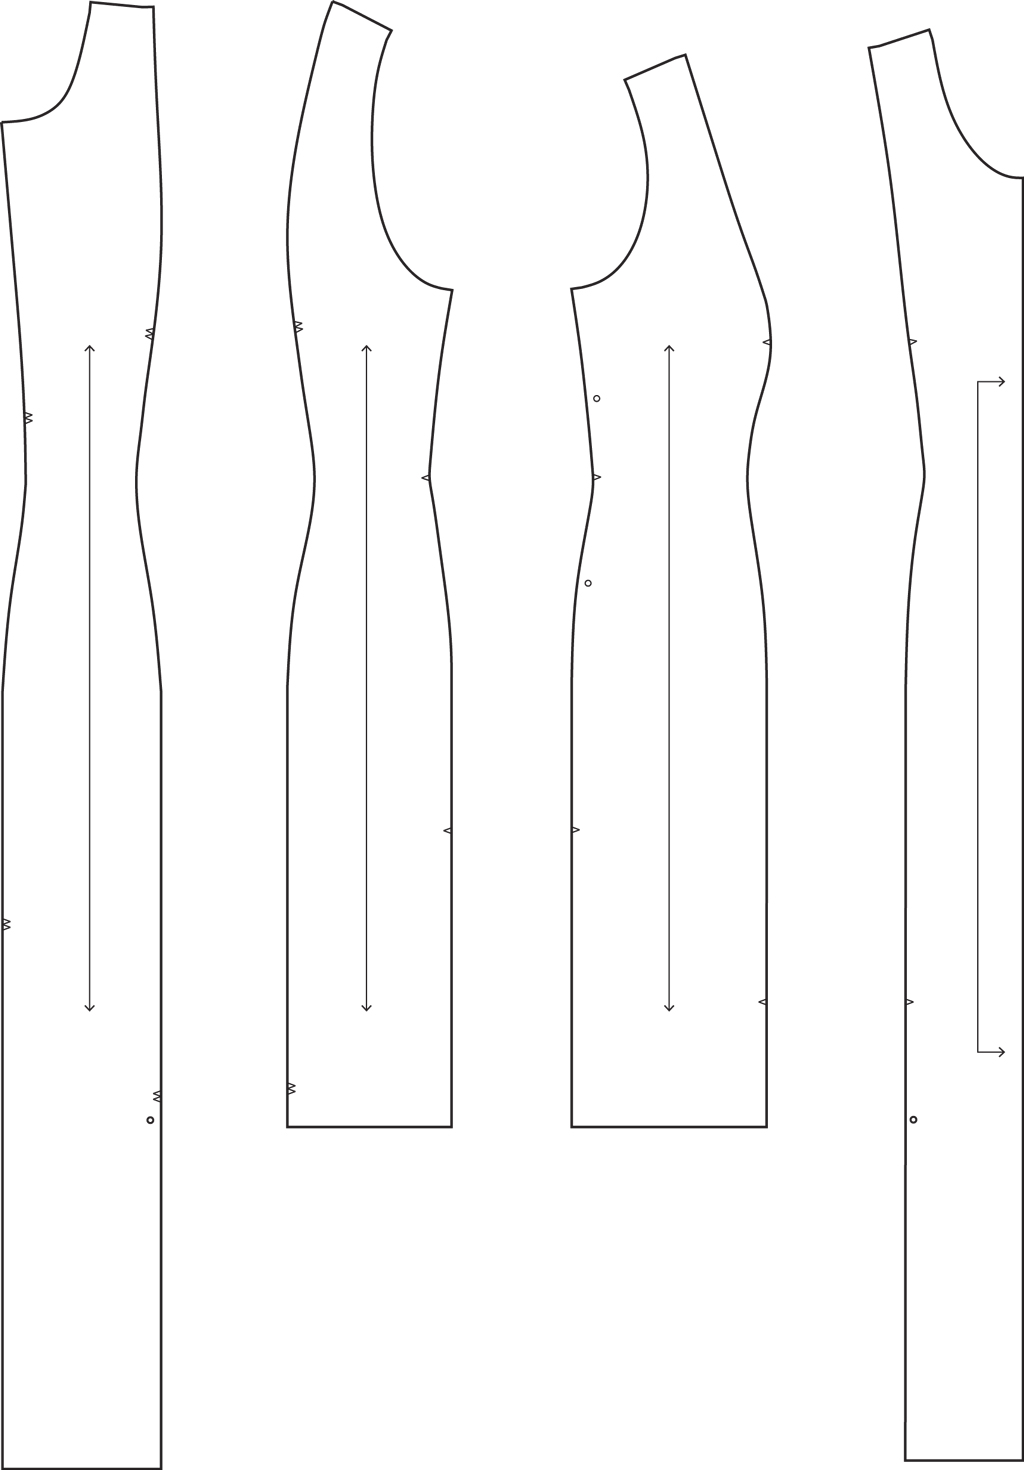
05 | On the center back (C) pattern piece, mark a circle at the princess panel seam allowance that aligns with the hemline on the side back piece.
06 | Repeat step 5 for the center front (A) pattern piece.
07 | To sew, assemble and attach waist ties at the side seams then sew the side seams with right sides together.
08 | Hem the side panel unit, and sew according to the pattern instructions.
09 | Finish the center front (A) and back (C) panels at the princess seam by turning under at 3/8” and topstitching.
Waist Twists

01 | Add a 3/8” seam allowance to the center front (A) pattern piece.
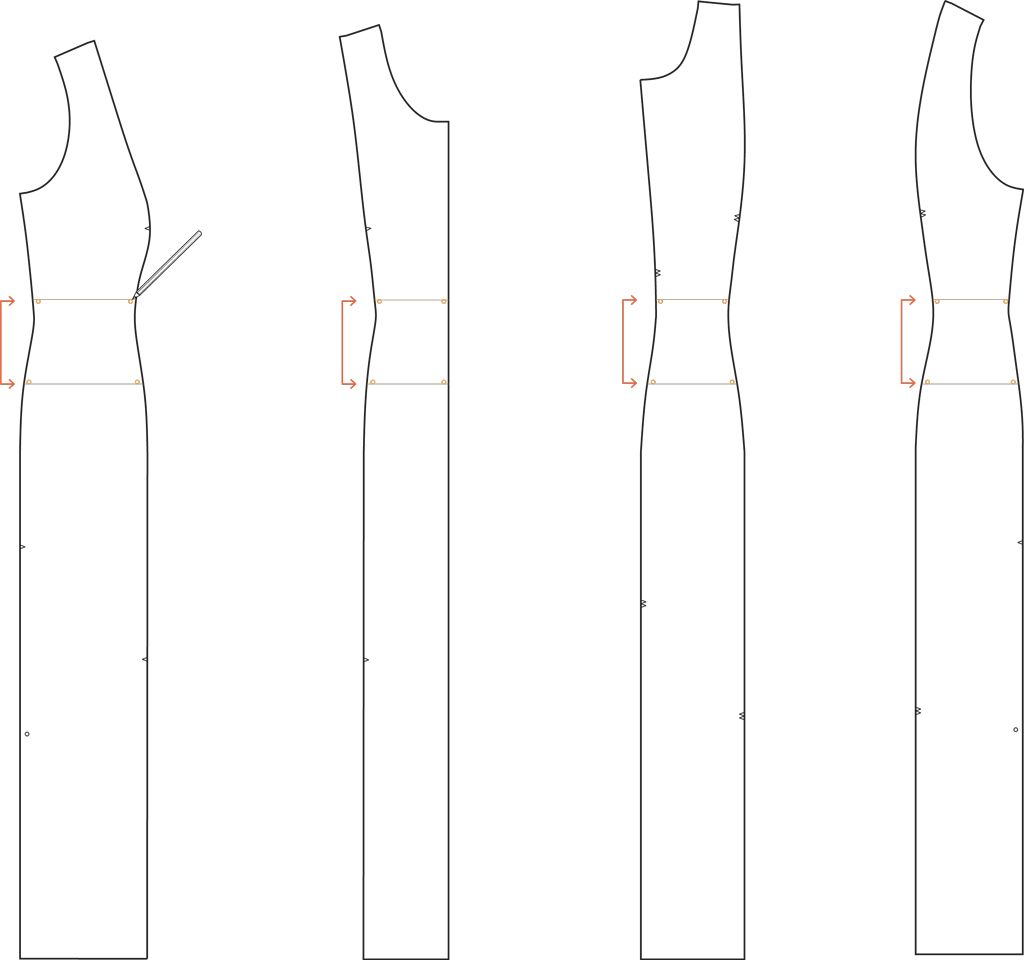
02 | On the center front (A), side front (B), center back (C), and side back (D) pattern pieces, mark lines where you would like your waist ties to be. We recommend starting 1-2” above the waist and ending 1-2” below the waist.
03 | Mark circles along the seam allowances at the lines, on all pattern pieces.
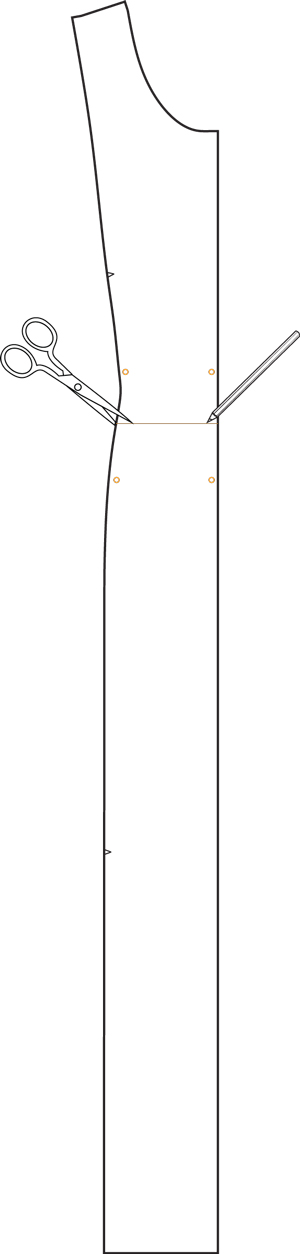
04 | On the center front (A) pattern piece, create a line between the circle markings that is perpendicular to the grainline. Cut.
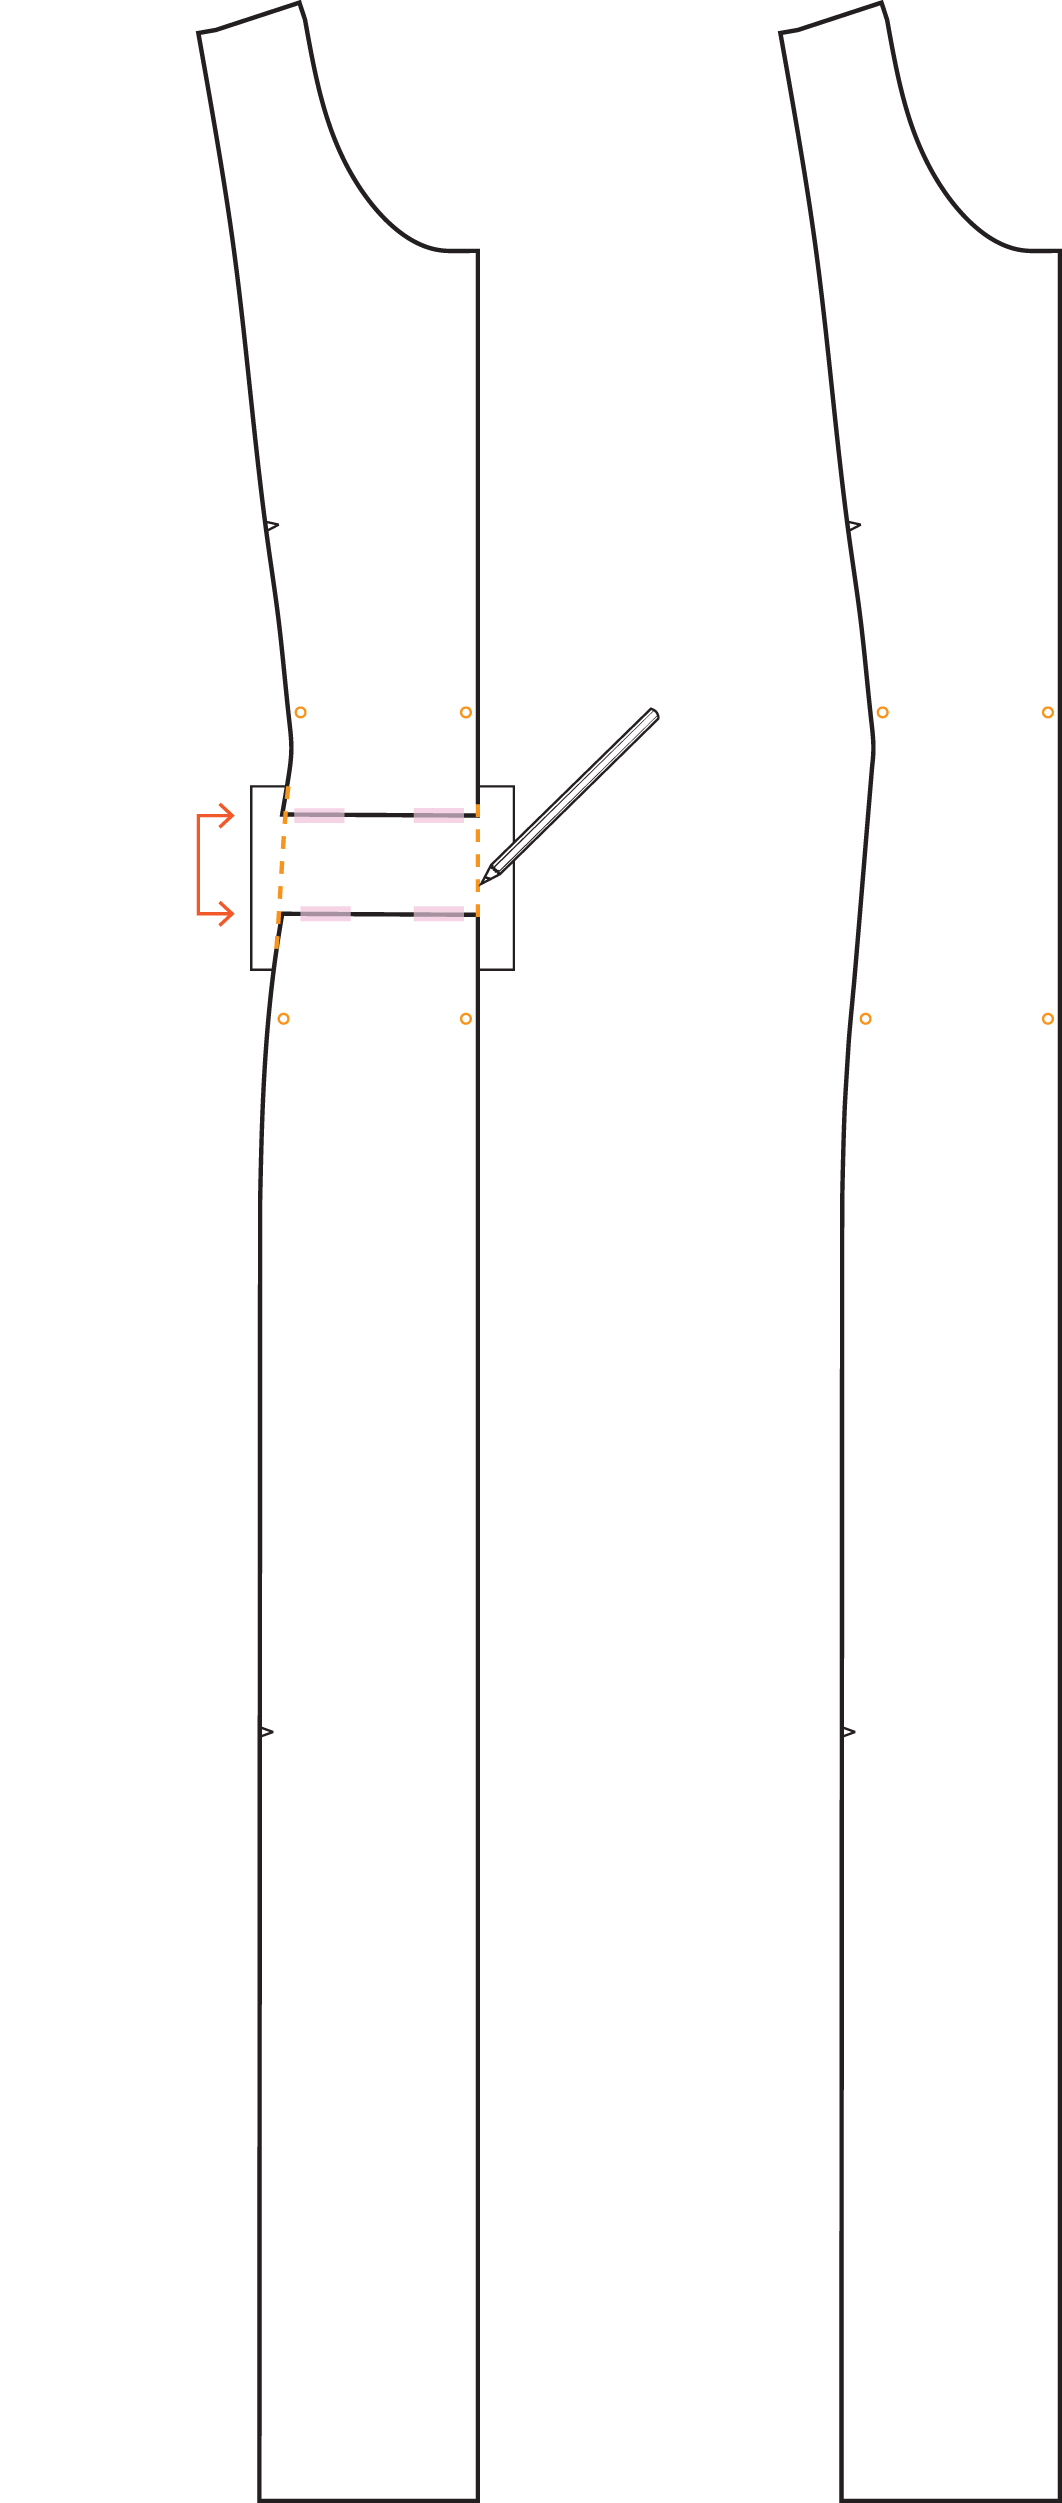
05 | Add approximately 3-4” inches between the top and bottom of the side front panel. This helps create room for your fabric to twist and not disturb the shape and fit of the original pattern.
06 | Trace off a new center front pattern piece.
07 | Repeat steps 4-6 for the side front (B), side back (D), and center back (C) pattern pieces.

08 | After cutting out the pieces out of fabric, cut through the seam allowances to the circles on one center front piece.

09 | Using a coverstitch machine (or the twin needle technique on your sewing machine) finish the waist seam allowances at 3/8” between the two circles at both the center front and princess line.

10 | Twist the fabric around one time.
11 | Repeat steps 8-10 for the second center front (A) piece.

12 | Match the two center front pieces together along the center front seams, above and below the twists. Pin. Stitch.
13 | Finish the seam allowances together and press to one side.
14 | Repeat steps 8-13 for the side front (B), side back (D), and center back (C) pattern pieces.

About the Author
As pattern designer, Anna works hard to make sure our sewing patterns boast both great style and instructions. She believes in the power of chocolate and coffee to cure just about anything.
 Related Articles
 Best Articles