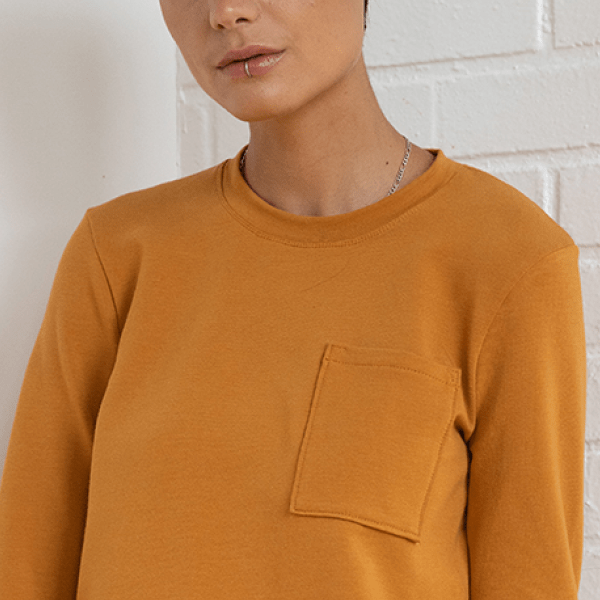
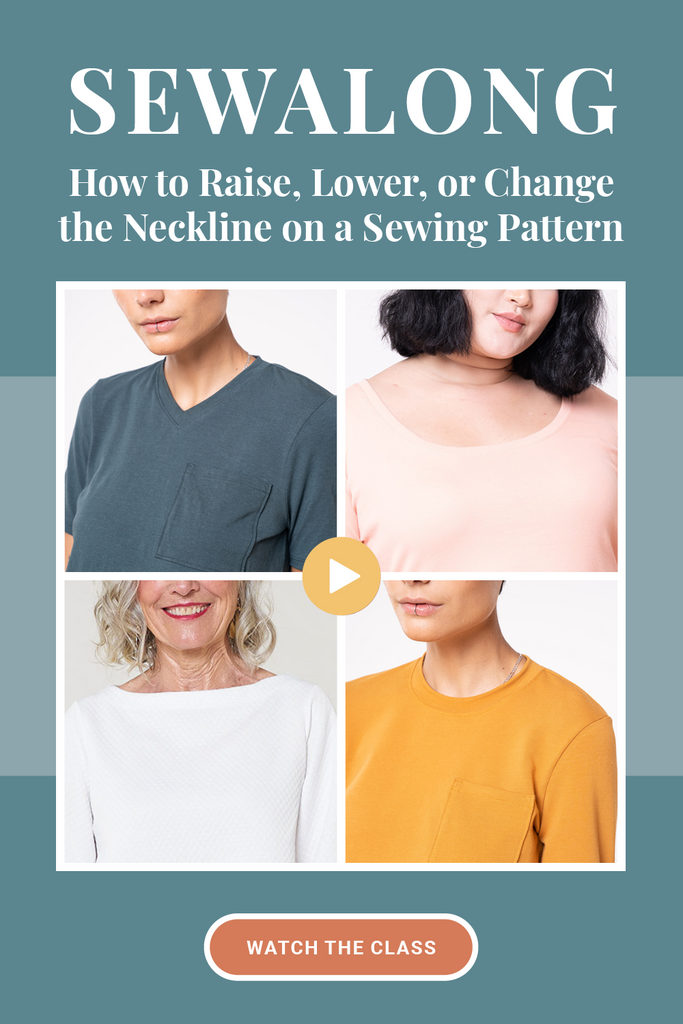
Start your sewing adventure with us.

Join Seamwork Now
 

How to Raise, Lower, or Change the Neckline on a Pattern

Have you ever found a pattern you love, but you're just not into the neckline? Change it! This class will give you all the tools to draft your dream neckline.

Join Seamwork to get full access to this class.
Join Seamwork Now

1,049 Seamwork members have watched this class.

V-necks

Step 01: Remove the seam allowance at the shoulder seam and neckline.

Step 02: Then, determine the desired width and depth of your neckline. The easiest way to do this is to hold the cut pattern piece against your body. Align the center front of the pattern piece with the centerline of your body and align the shoulder seams along your shoulders. Use a pencil to mark the desired width and depth. You can even use your pencil to draw in the rough shape you want.

If you are using a neckband on your pattern, note that your neckband will affect the depth. For example, if you have a 1/2-inch neckband, draw your neckline 1/2” lower to allow for it.

While you have your pattern on your body, also mark the bust point if you are working on a garment that doesn’t have darts.

Step 03: Lay your pattern piece on your working surface and use a curved ruler to draw the neckline. Note that even if you want a super severe straight line, you’ll still want to use a very slight curve. A straight line on the body can often end up looking convex on your body’s curves.

Next, draw a line from your bust apex to the existing neckline. And a second line from your apex to the hem. Mark 1/4” to either side of this line where the new neckline intersects it. Connect these two points with the bust apex.

Step 04: Cut along the new neckline. Cut along the upper two slash lines from neckline to apex. Then, cut along the lower slash line from hem to apex, leaving a small paper hinge at the apex. Rotate the extra fullness at the neckline to the hem. Tape to secure.

Step 05: Then use a curved ruler to gently reshape the neckline and hemline. If you want to remove the fullness added to the front hem, take that off the side seam.

Step 06: Mark 1/4” down from the shoulder at the new neckline, then connect this point to the outer shoulder point. This is your new shoulder seam.

Step 07: Take off the seam allowance on the shoulder and neckline on the back pattern piece. Align the front bodice with the back at the shoulder seam and redraw the back neckline to match at the shoulder seam. Redraw the shoulder seam of the back bodice reducing at the neckline by 1/4”.Be sure that your neckline is squared up at the shoulder and center back.

Step 08: Add seam allowance to the neckline and shoulder seam.

Note: if you do not have a significant hollow between your full bust and neckline, your adjustment will be slightly easier. Just drop the inner neckline 1/4” at the shoulder to account for your shoulder contours and skip the slashing and spreading.

If you need any help, be sure to share in the Community.

How to Raise, Lower, or Change the Neckline on a Pattern

In addition to your regular sewing kit, here’s what you’ll need for this class:


  • Rulers: A clear ruler and curved rulers of your choice

  • Flexible tape measure

  • Pattern paper (a roll or large sheets)

  • A sharp pencil and an eraser

  • Clear tape

Have questions? Ask over in the Community.

Work alongside other sewists by participating in the Seamwork community. Ask and answer questions, share your progress, get inspired by real-life sewists, and post your finished projects.

Join the Conversation