

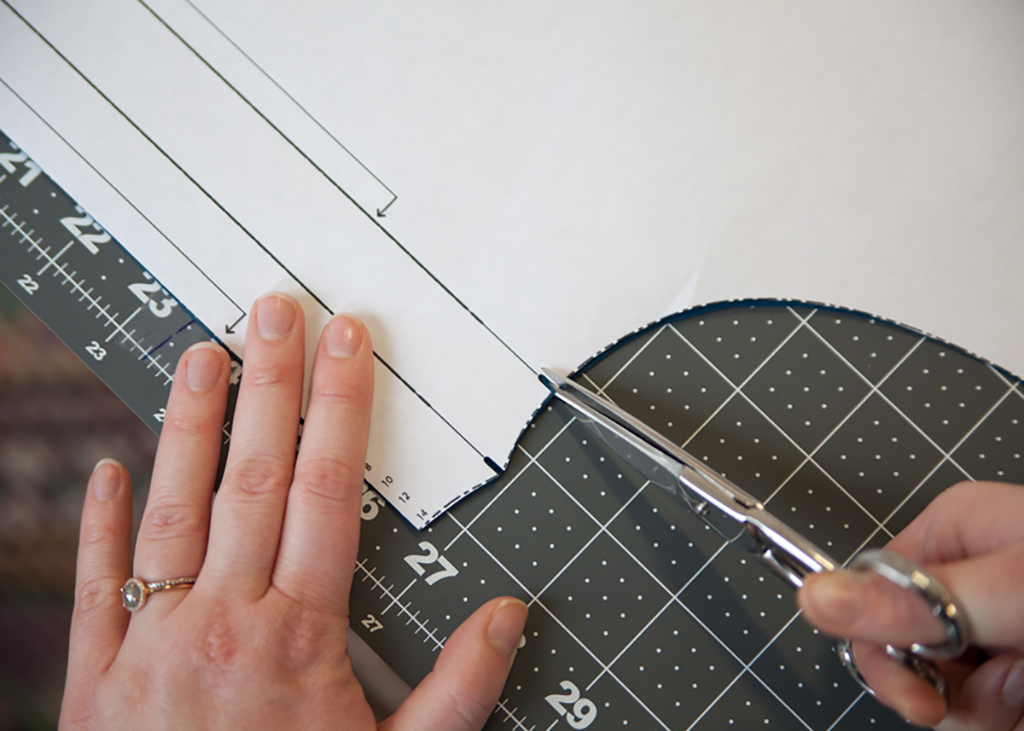
Learn how to cut and mark accurately for easier construction and better fit.
Preparing the Fabric and Pattern
Pre-treating fabric is an essential step in creating a garment that retains its quality through wash after wash. Fabric care changes significantly from fiber to fiber, but as a rule of thumb, pre-wash fabric using the same method that you intend to wash the finished garment. Of course, this rule has its limitations. For delicate fabrics or fibers prone to shrinking (such as wool, rayon, cotton, and linen) consider washing cold and hanging to dry. Once your fabric has been washed and is thoroughly dry, give it a final press to remove any wrinkles.
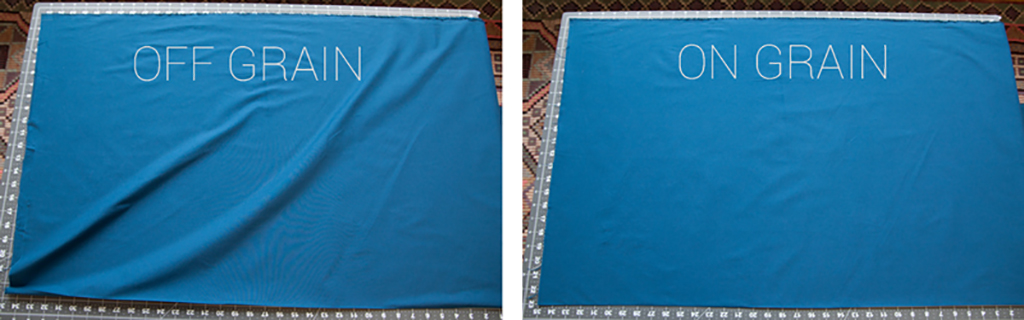
The cutting layout (included in the pattern instructions) will tell you whether fabric should be folded in half or whether you should cut it on a single layer. If your pattern is cut on the fold, you can fold your fabric selvage to selvage, alining the grainline as illustrated above.
Just like your fabric, your pattern should be wrinkle-free. Give it a light press with a dry iron to smooth out any wrinkles. Cut your paper pattern carefully, cutting just on the inside of the cutting lines for your size.
Layout and Cutting
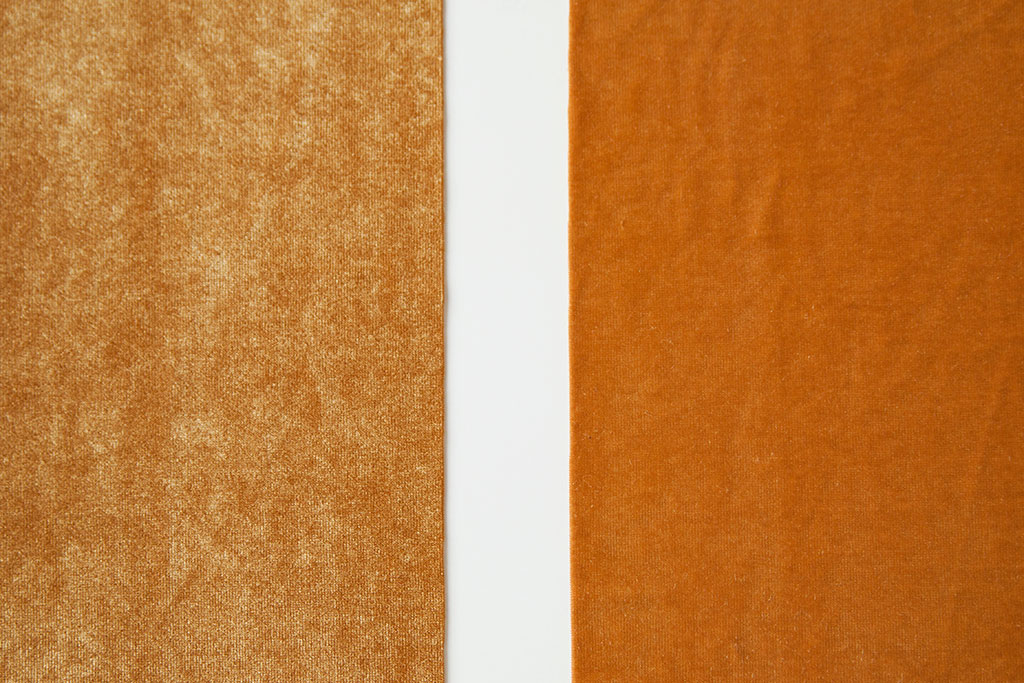
The type of fabric you use may require a layout other than what’s shown in the pattern instructions. Take a look to see if your fabric appears different when it’s held upside down or crossways. Solid fabrics with a nap or pile (like velvet) will look different at these angles, and so will one-way printed designs. If this is the case, you will have to use a one-way layout, in which all the pattern pieces have their top end facing the same direction.
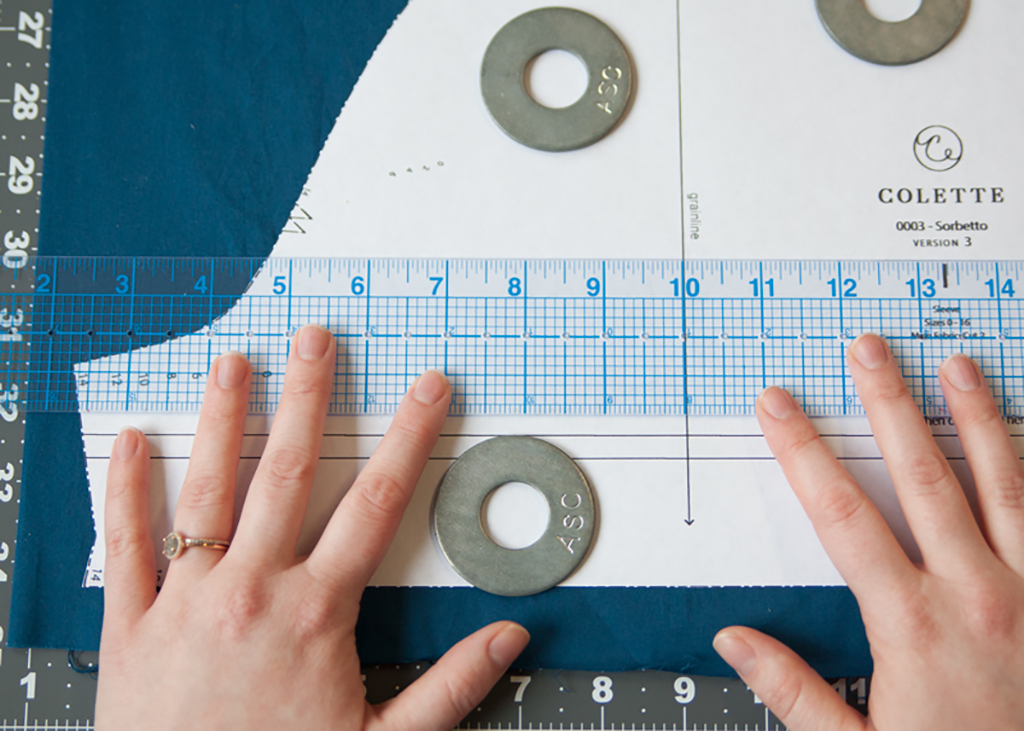
Arrange all pattern pieces according to the pattern layout. Measure the grainlines. Check that the arrow on the pattern indicating the grainline is aligned with the grain of your fabric. To do this, measure from each end of the arrow to the fold or the selvage. If the measurement is the same at both ends of the arrow, then your pattern piece is parallel and aligned correctly. You can use a clear ruler or a measuring tape for longer measurements.
Hold your pattern down with weights. While many people use pins to hold their pattern in place, using too many pins can pinch and distort your fabric, and significantly affect the final shape and fit. Pattern weights are a great alternative. They have the added benefit of making your pieces easy to position and reposition. You can use just about anything small and heavy as a pattern weight, such as large metal washers.
Next, use fabric shears or a rotary cutter to cut around all pattern pieces. Be careful not to trim away any of the paper pattern as you cut.
Transfer Marks
Before removing your paper pattern from your cut fabric, you will want to transfer all construction marks. Transferring all of the construction marks from your pattern will help you sew your garment more accurately. The pattern instructions will refer to these marks frequently, providing a vital link between the instructions you read and what you see in front of you when sewing.
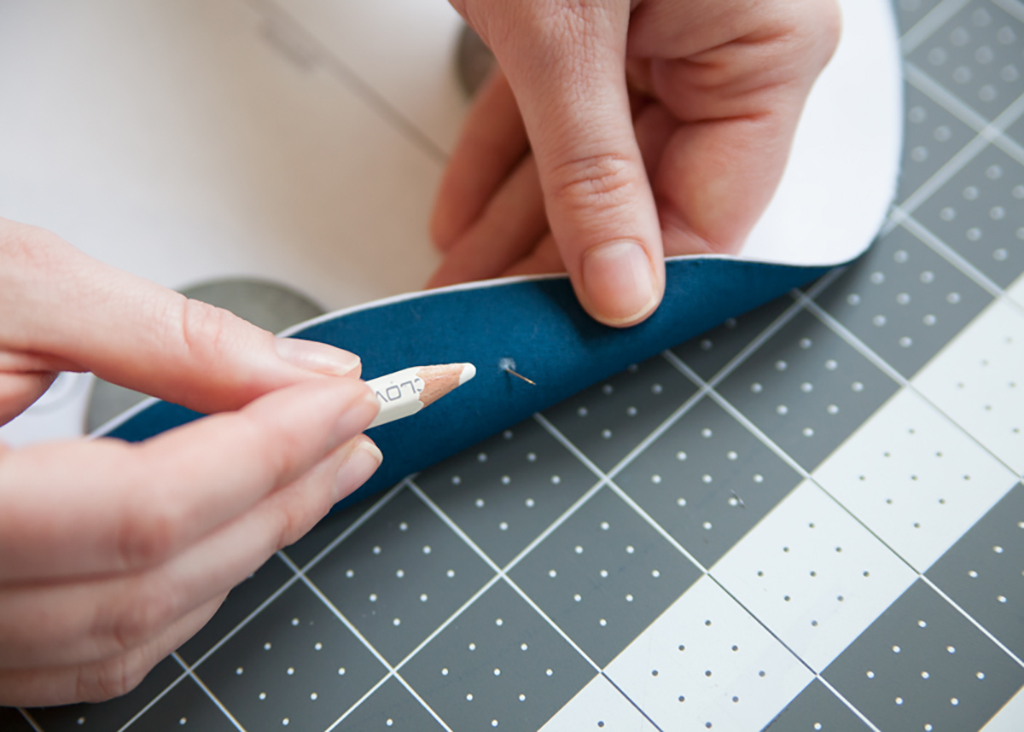
To transfer the markings, push a pin through your pattern and fabric at the point you want to mark. Then just lift the paper pattern and mark the fabric at the exact point the pin is stuck through. Lift the fabric slightly and mark the other side of the fabric before pulling out your pin.
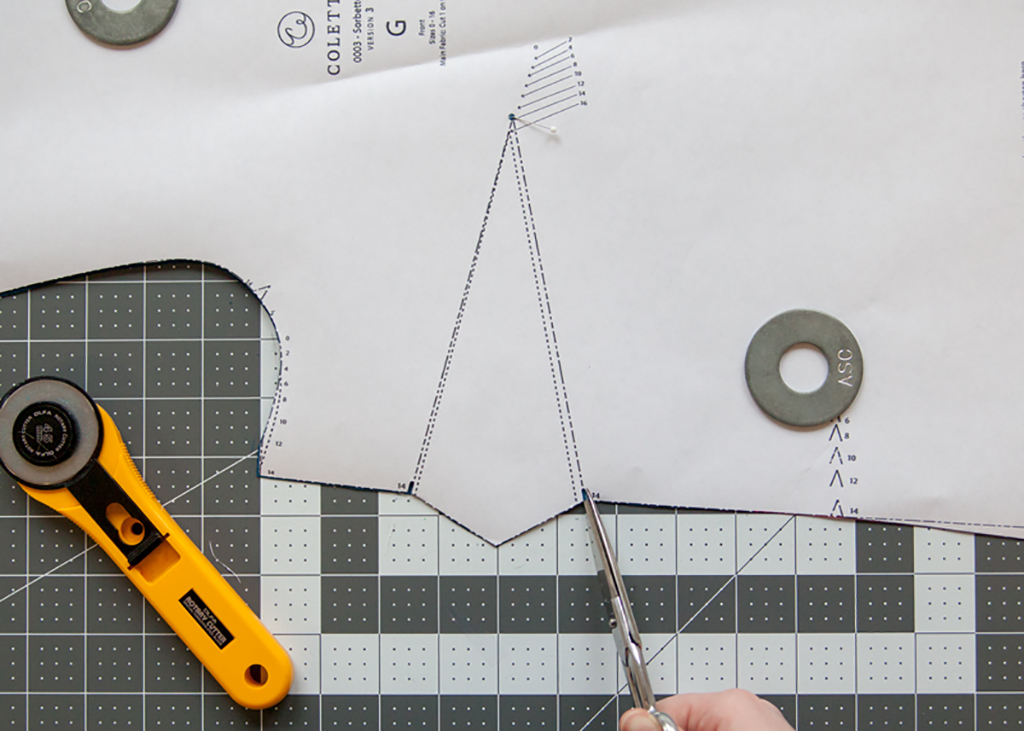
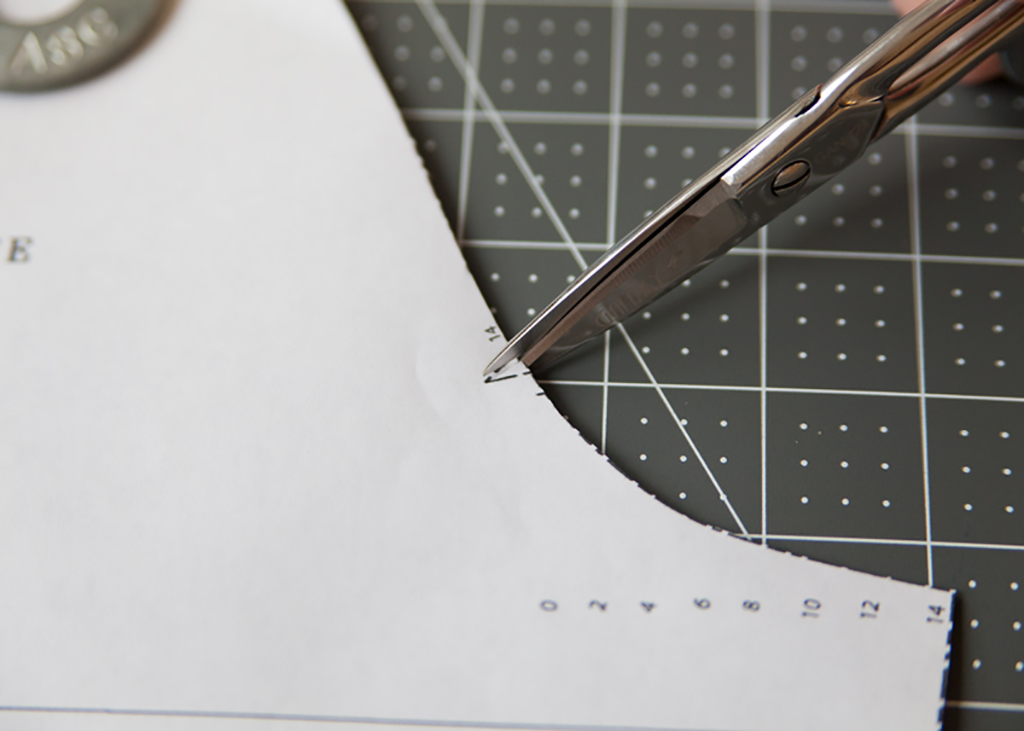
You can use your scissors to mark points that occur along the edges of your pattern pieces, such as notches or the edges of darts. Just make a small snip in the seam allowance at these points.


 Related Articles
 Best Articles

