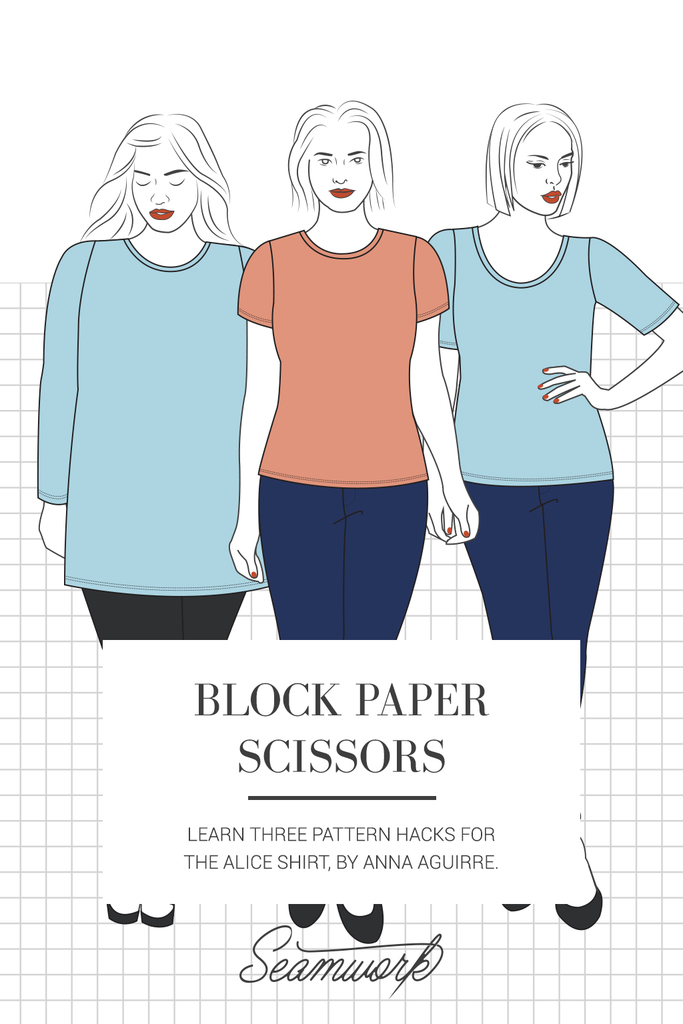
Block Paper Scissors is a monthly column that teaches three pattern hacks. These hacks help you give your Seamwork patterns a custom spin—all you need is paper, a ruler, and a pencil!
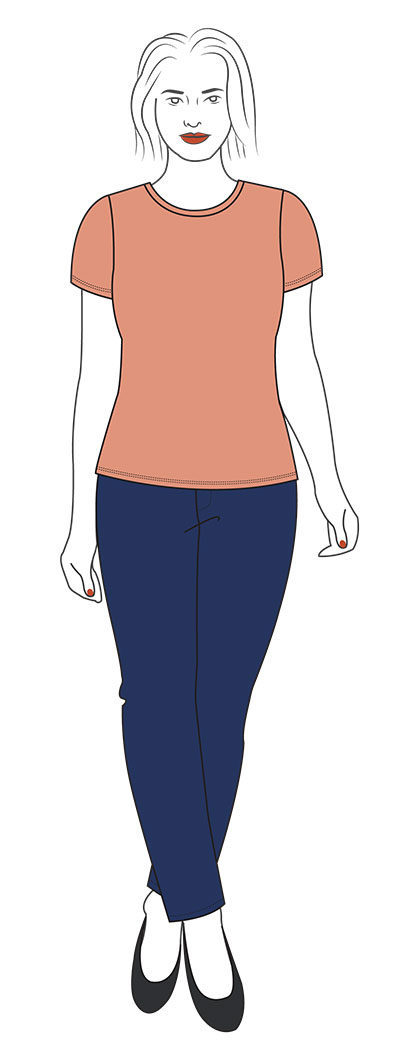
This month, we walk you through three different pattern hacks for the Alice shirt. Learn how to create a tunic version, shorten the sleeves, and change the neckline.
Note: For best results, be sure to make any necessary fit adjustments before hacking your pattern.
You'll Need:
- Alice
- Paper
- Pencil
- Scissors
- Clear ruler
- French curve
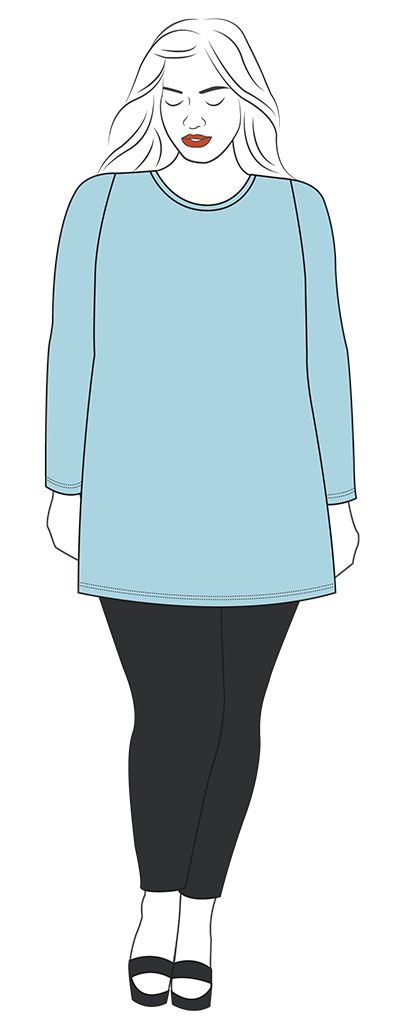
Create a Tunic
Step | 01
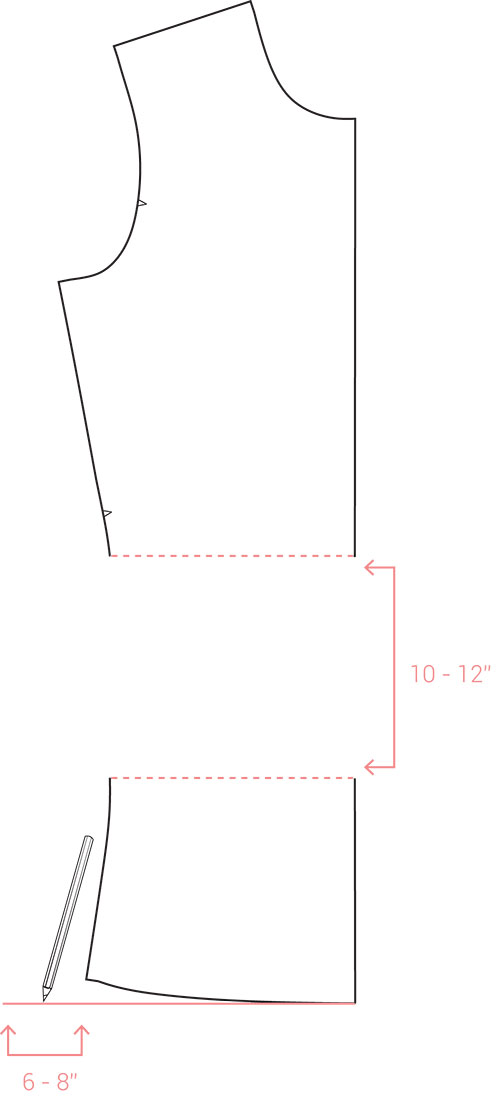
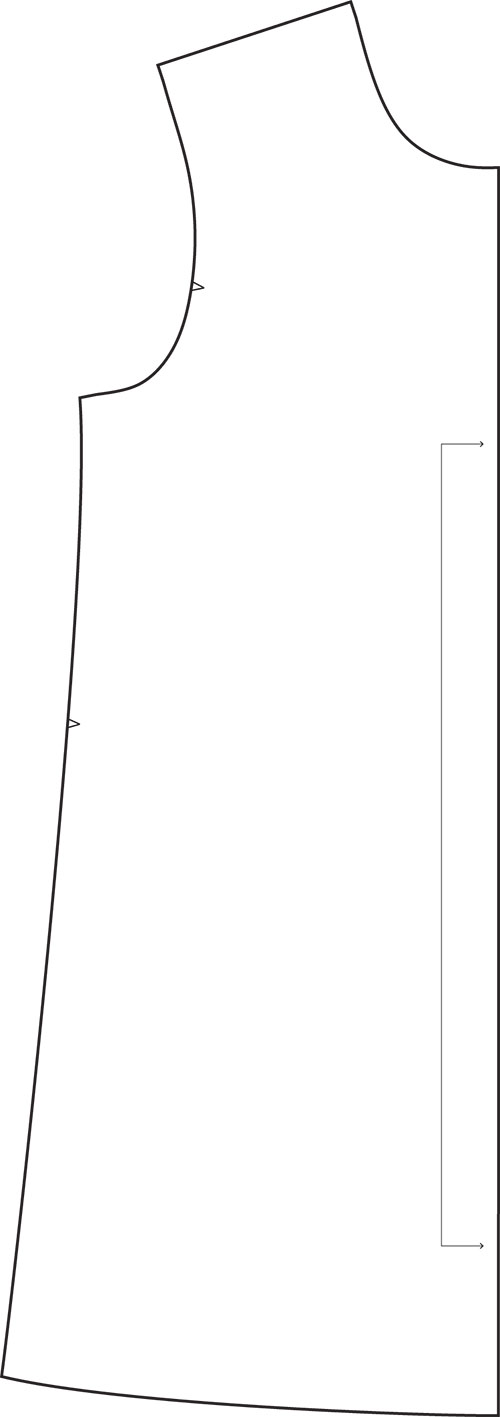
Cut along the lengthen and shorten line on the front (A).
Step | 02
Add 10 - 12” of space between the top and bottom portion of the front (A). You can add more or less length depending on your style preference.
Step | 03
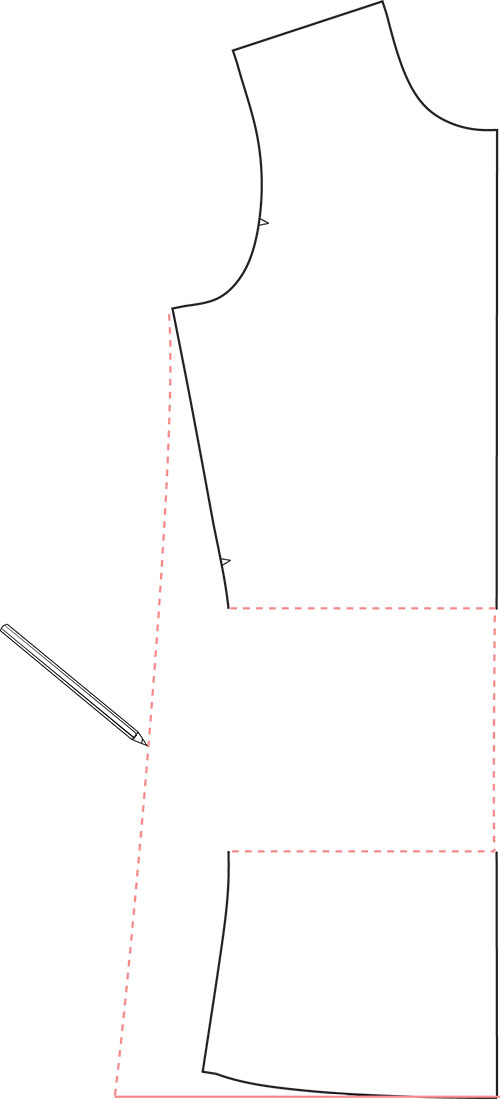
Draw a perpendicular line out from the center front. Extend the line 6 - 8” away from the side seam at the hem.
Step | 4
Re-draw the side seam from the armhole to the hem line. Add a slight curve near the waist area. Re-draw the center front line.
Step | 05
Trace off the new pattern piece and label cut on fold.
Step | 06
Repeat steps 1-5 for the back (B).
Step | 07
Sew the garment according to the pattern instructions.
Shorten the Sleeves
Step | 1
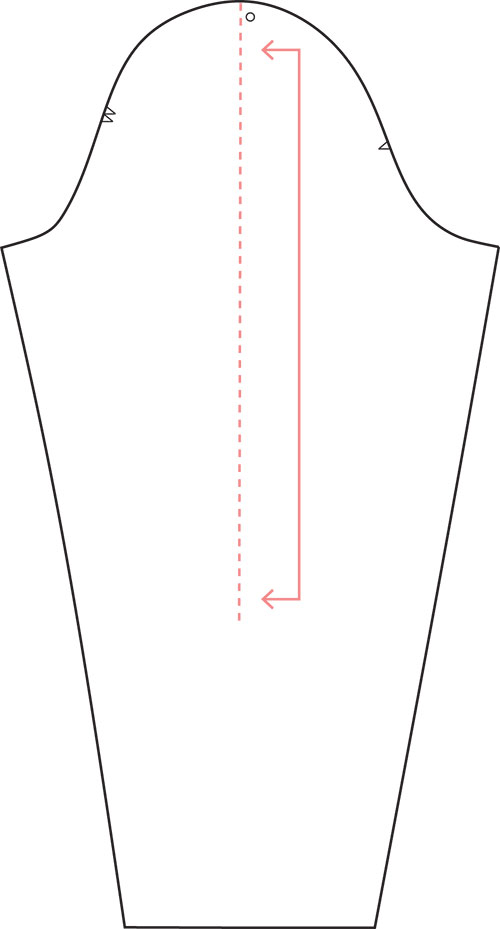
Measure from your shoulder cap down your bicep to the desired length of your sleeve.
Step | 2
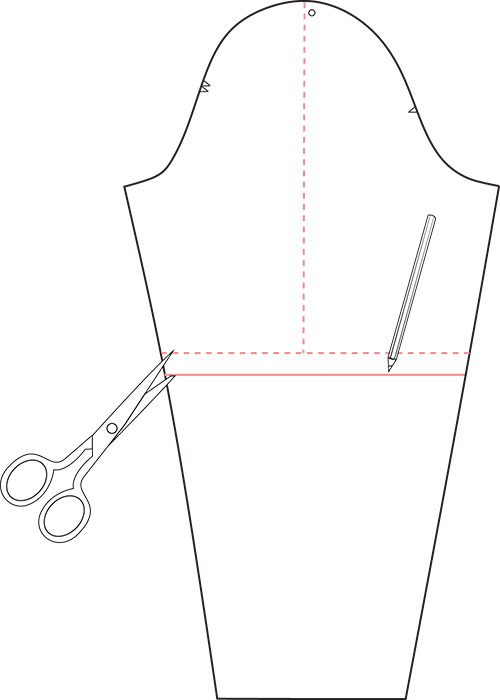
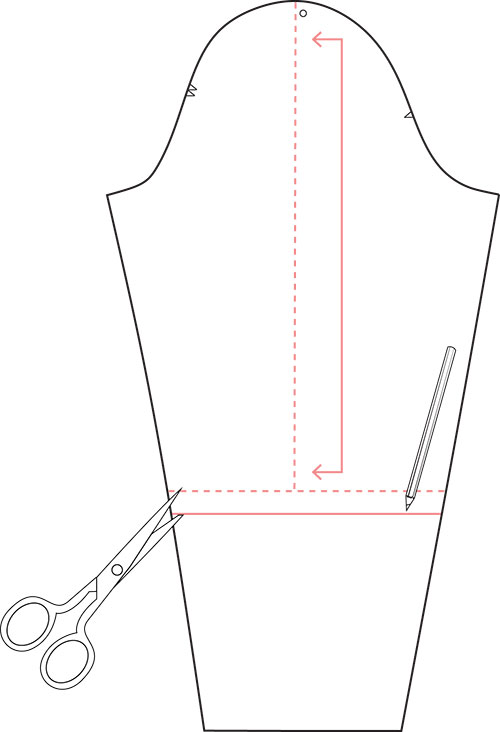
On the sleeve (C) pattern piece, draw a line parallel to the grainline from the circle at the sleeve (C) cap down as long as the desired length.
Step | 3
Draw a line perpendicular to the previous line. This will be your hem line.
Step | 4
Draw another line 1” below the line in step 3. This will be your cut line and hem allowance.
Step | 5
Cut along this line.
Step | 6
Sew the garment according to the pattern instructions.
Change the Neckline
Step | 1
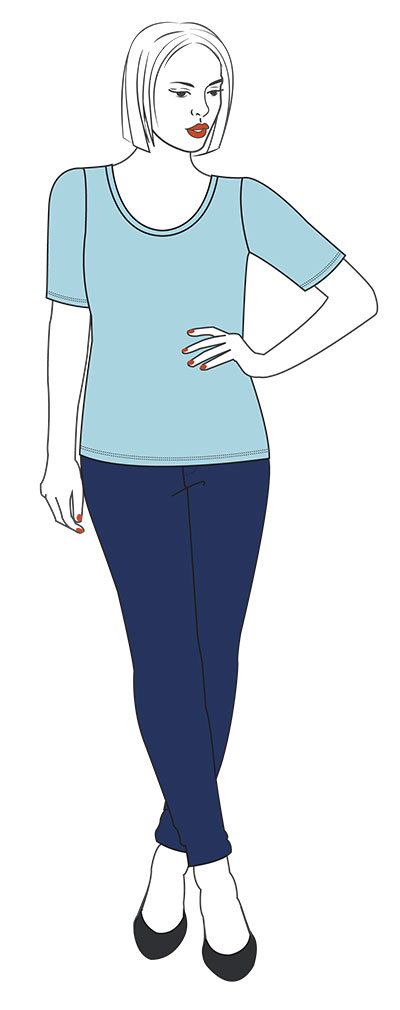
Repeat all steps in the previous section to create a 3/4-length sleeve. A 3/4-length sleeve should sit just above or below your elbow.
Step | 2
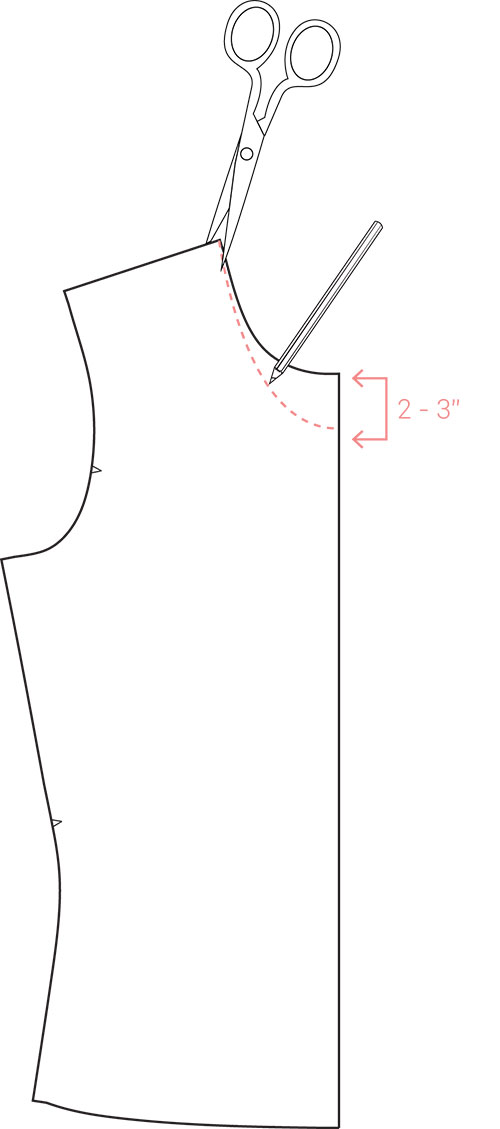
Measure down about 2 - 3” (or desired length) from the center front (A) neckline. Make a mark.
Step | 3
Draw a curved line from the shoulder to the mark, to create a new neckline shape.
Step | 4
Cut along this line.
Step | 5
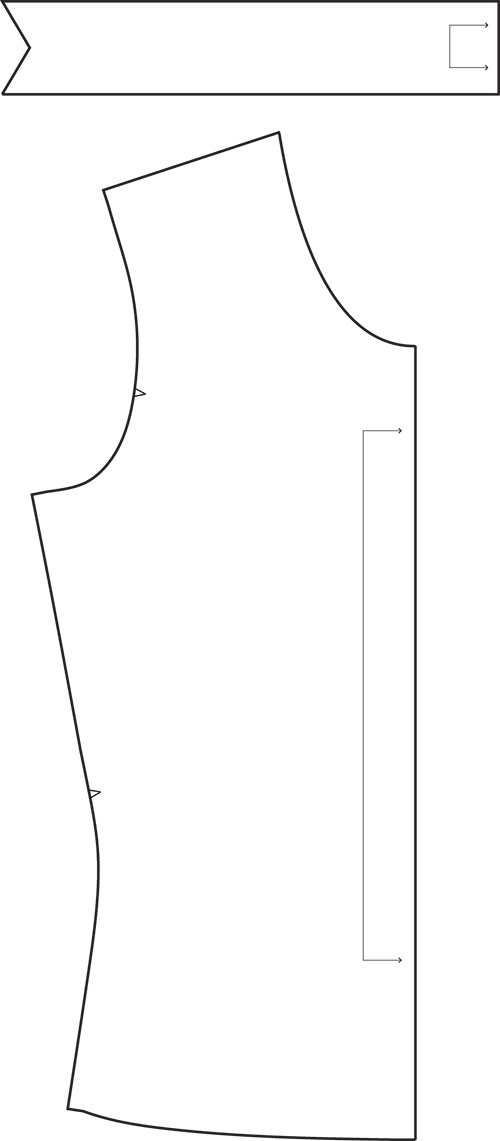
Measure the length of the new front (A) and back (B) neckline. Draw a new neckband that is 2 1/2” shorter than this measurement.
Step | 6
Sew the garment according to the pattern instructions.

About the Author
As pattern designer, Anna works hard to make sure our sewing patterns boast both great style and instructions. She believes in the power of chocolate and coffee to cure just about anything.
 Related Articles
 Best Articles