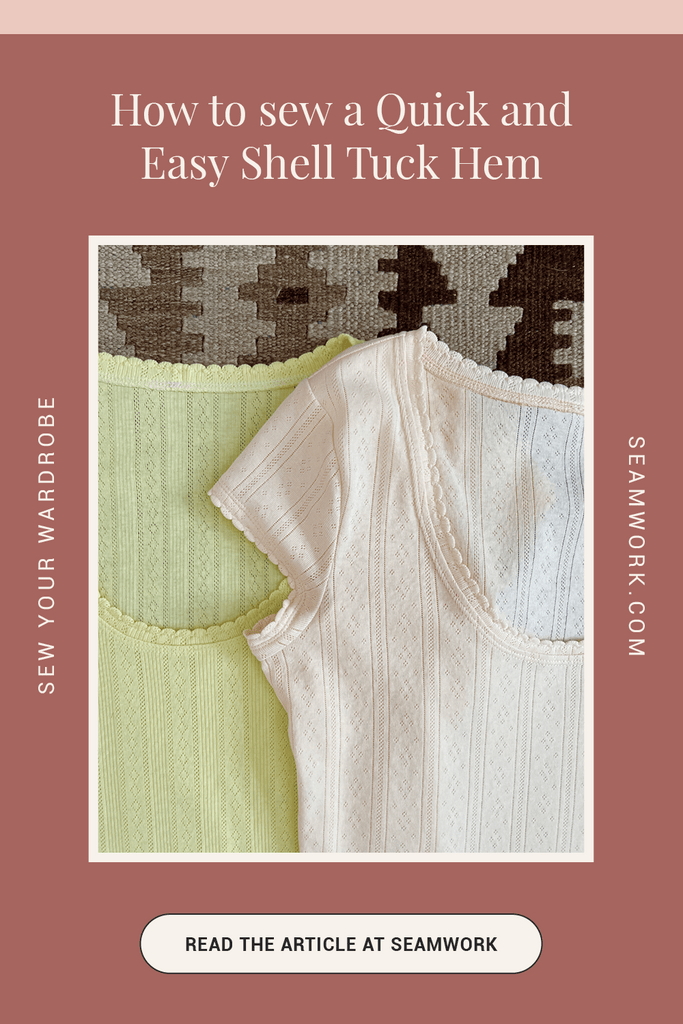
The littlest detail can make the biggest difference in your sewing. Adding a decorative hem seems simple enough, but the impact really makes your garment stand out. A shell tuck hem is the kind of detail that transforms the neckline and hems of your sewing projects, and it’s effortless to sew. A classic vintage detail that doesn’t add a lot of extra work? Sounds perfect.
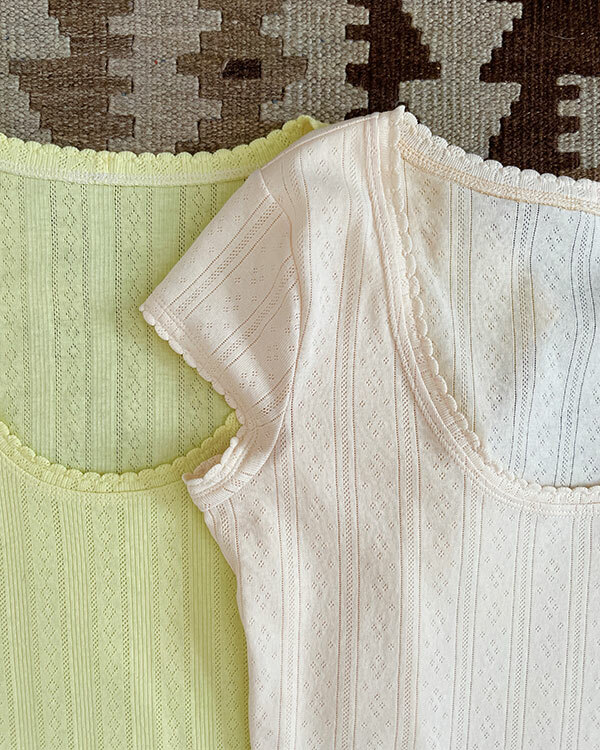
So what is a shell tuck hem? It’s a decorative hem with a bit of a vintage touch, also called a scallop or picot hem, because you’re creating little scallops by stitching on and off the edge of your fabric. This means you can create it with a simple sewing machine stitch.
This little detail works well on delicate, sheer fabrics, but it's also great on knits. You’ll often see it on childrenswear, but its vintage vibe makes it great for a bunch of different styles.
In this video on our YouTube channel, Sarai will show you how to sew a shell tucked hem using the Orlando shirt as an example.
The Pointelle fabric from these samples is from Lyrical fabrics. They also have a very detailed shell tuck tutorial on their website if you want to check it out. This fabric is absolutely perfect for shell-tucked hems. It makes the dreamiest T-shirts!

How to Sew a Shell Tuck Hem
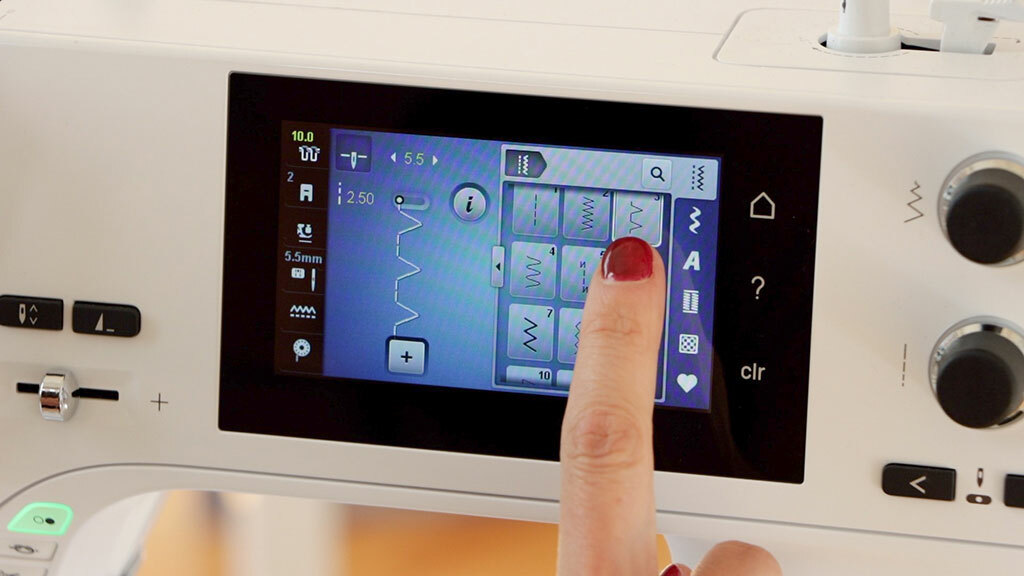
- Select your stitch. This might vary between different sewing machines. If your machine has a vari-overlock stitch, that’s ideal. It looks like a little heartbeat with some straight stitches and a zigzag in between. You can also use a blind stitch if don’t have the vari-overlock stitch. Your machine might have a similar stitch that looks kind of like a blanket stitch.
- Adjust your machine settings. Set the width of your stitch to the widest setting possible. Here we have it set at five and a half. Then set the length to somewhere between two and three. Finally, set your upper thread tension to the highest setting.
- Do a quick test on scrap fabric. Fold a piece of scrap fabric in half to mimic the hem or neckline, and do a quick test sew.
- Assemble your garment as instructed and then add shell tucks to the neckline or hem. When you are satisfied with your test sew, you can add the detail to your final garment. Shell tuck details are added when the garment is completed, so go ahead and sew the whole thing before adding this really sweet detail.
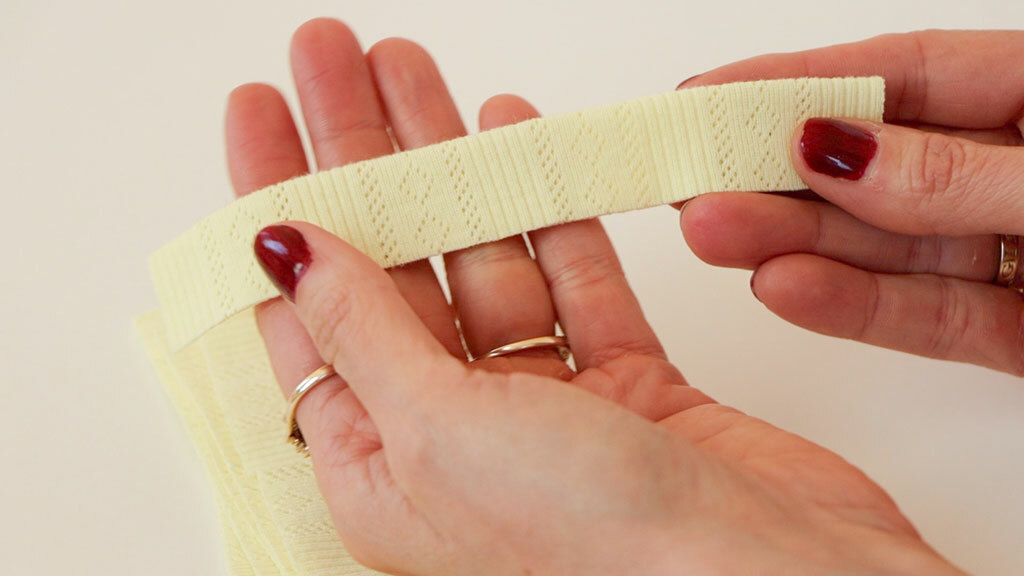
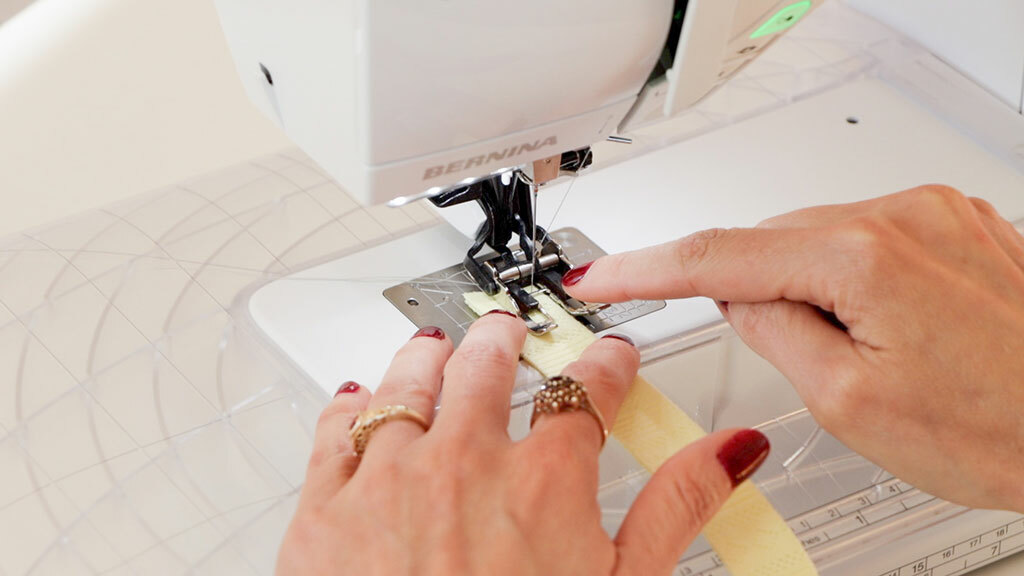
Position the fabric so that the folded edge is right up against the little window in your foot. That way, when the arm swings over, it'll be right on the edge of the fabric.
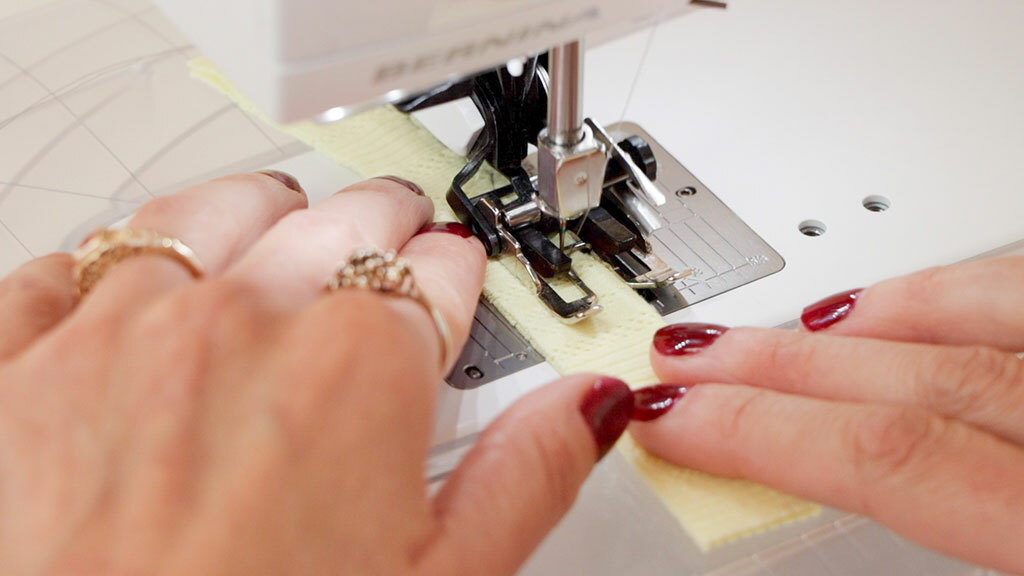
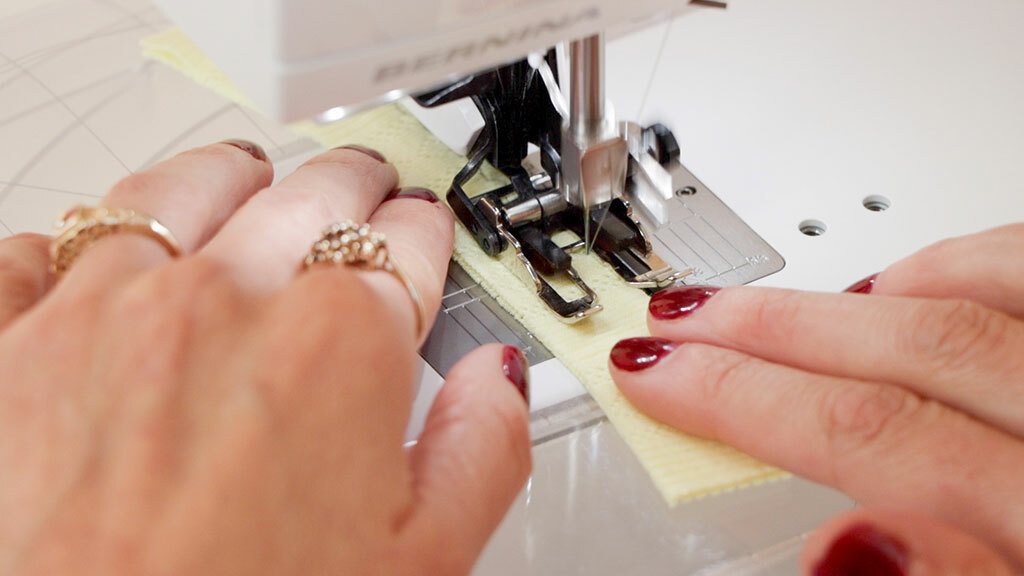
Lower the needle before you start sewing to check the position. Then stitch. Adjust the stitch width and tension until you get the scalloped look you want. It can help to note the differences in stitch width and tension. Tip: A walking foot can make this stitch easier!
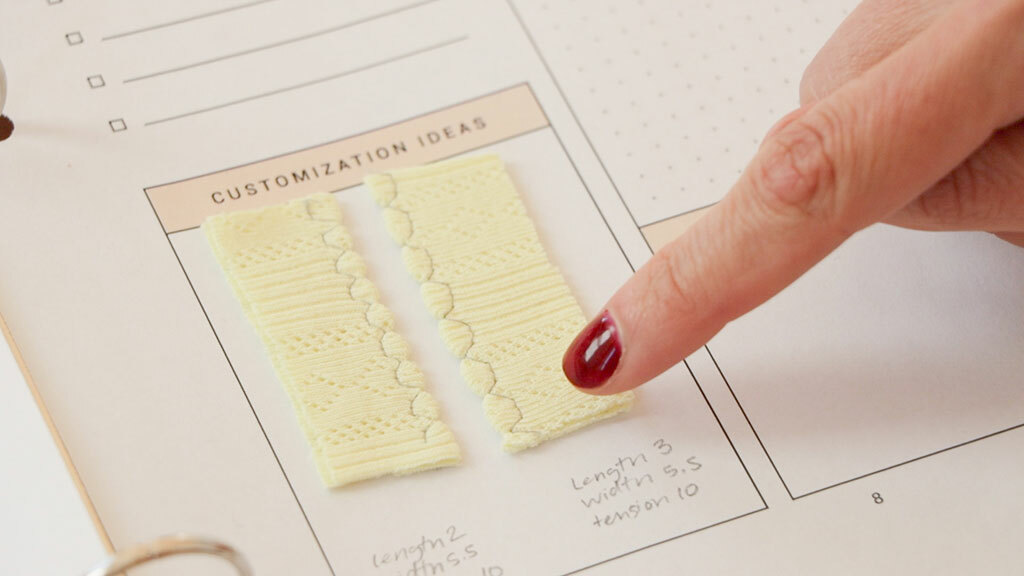
Just a note, this stitch is easily unpicked, so don’t stress if you make a mistake or it doesn’t turn out perfect. Use a steamy iron to reshape, or throw in the wash after unpicking.
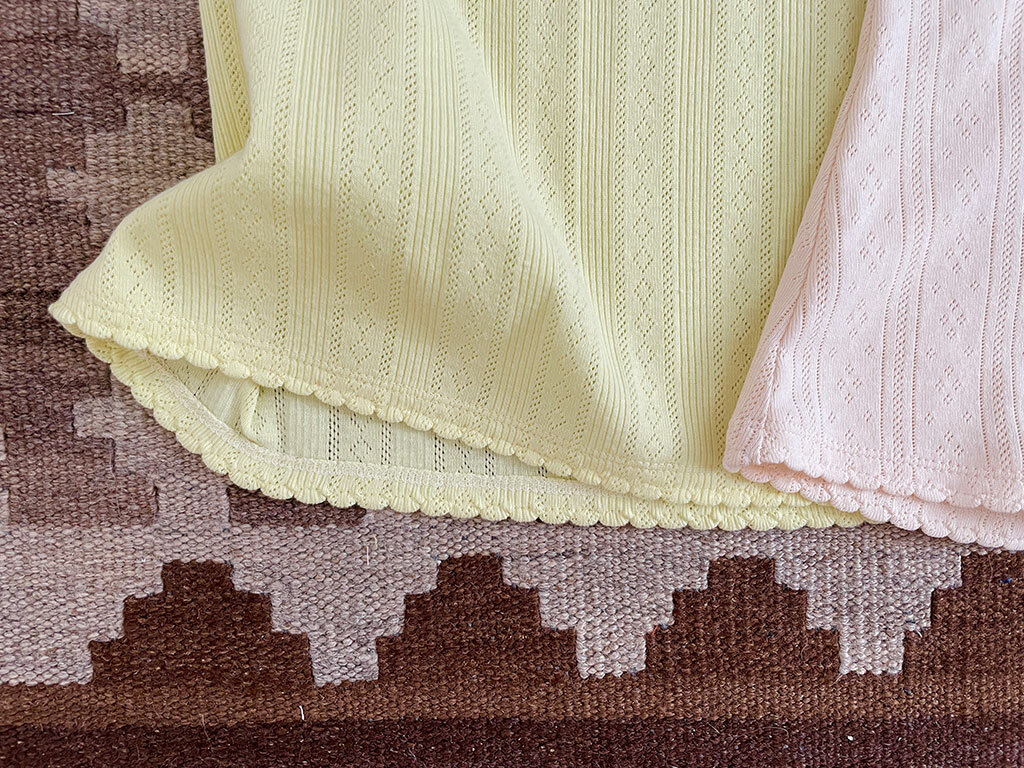
And that’s how you sew a shell tuck hem. This pretty detail will make your handmade tees, tops, and dresses look extra special.
Do you like these kinds of tutorials? Comment on our YouTube video to let us know if this is the kind of stuff you like to see!
Love the article? Pin it for later.
 Related Articles
 Best Articles