

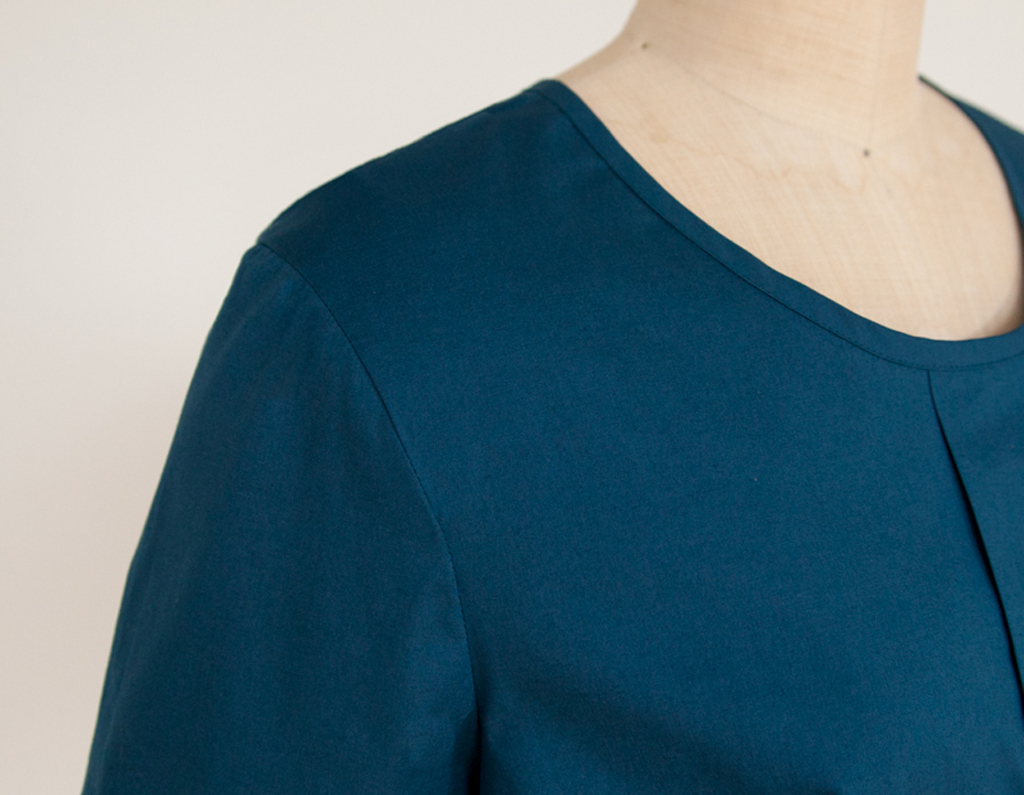
Sleeves for patterns that use woven fabrics are drafted with extra ease to allow your arms to move while you are wearing a garment. This tutorial will show you how to ease your sleeve into your woven garment.
Note: Sleeves on knit garments do not always include as much extra ease, so they are usually sewn flat.
Installing a set-in sleeve seems tricky at first because you begin with two curved seams that don't match up exactly. The sleeve seam will usually be a little longer than the armhole seam, so you will need to ease the sleeve to fit. Easing is similar to gathering, but less fabric is drawn up by the stitches before you sew. The easing gives a soft roundness to the top of the sleeve.
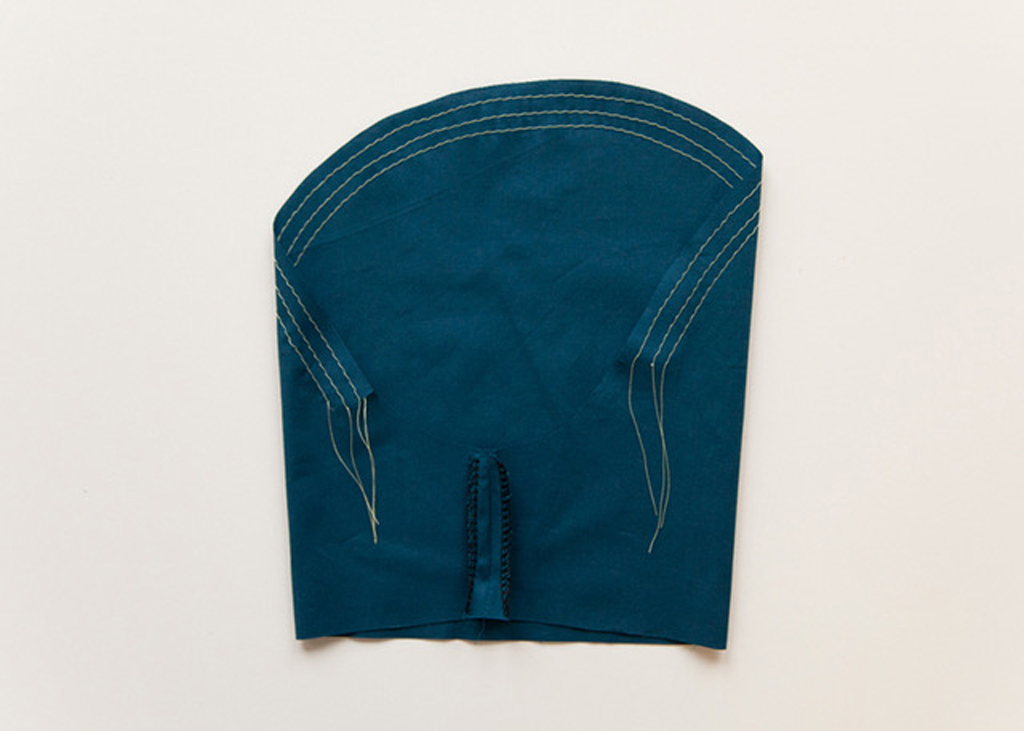
With right sides together, match the underarms of each sleeve. Pin and stitch. Press the seam allowances open. Finish the seam allowances separately.
On your sleeve, using the longest stitch length on your machine, sew three rows of basting stitches along the sleeve cap, between the notches. They should be 1/8" (30mm) apart. These will be used for easing the sleeve cap.
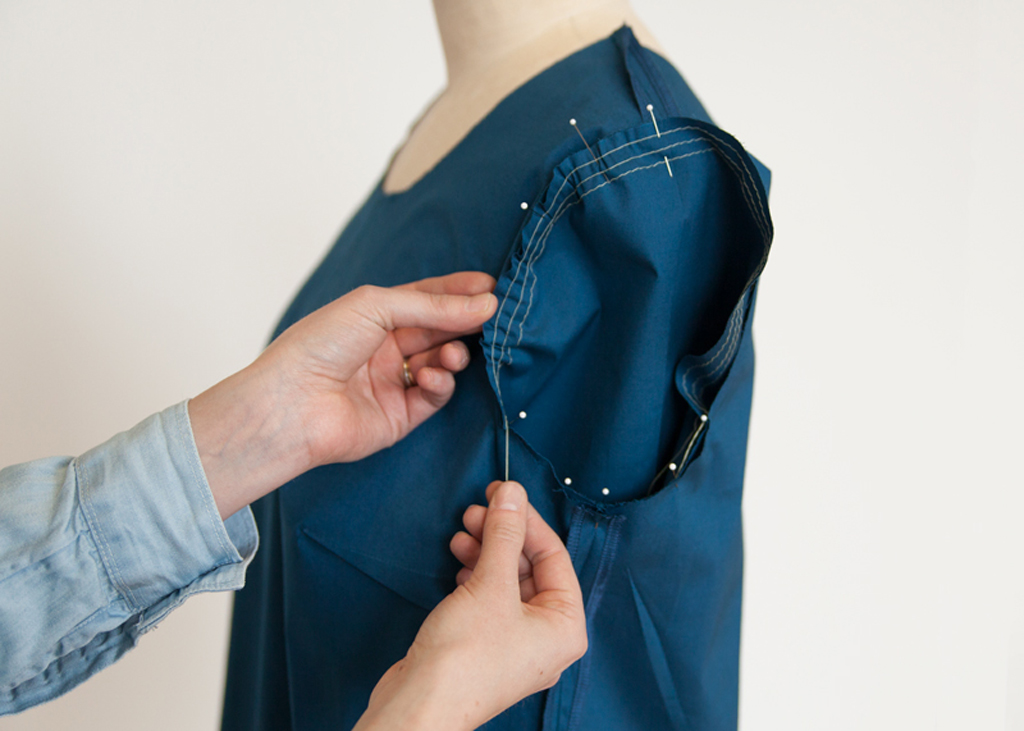
With right sides together, pin the sleeve into the armhole. To do this, you will turn your garment wrong side out, then insert the sleeve into the armhole, with right sides together. Align any notches and seams, and insert the pins from the sleeve side.
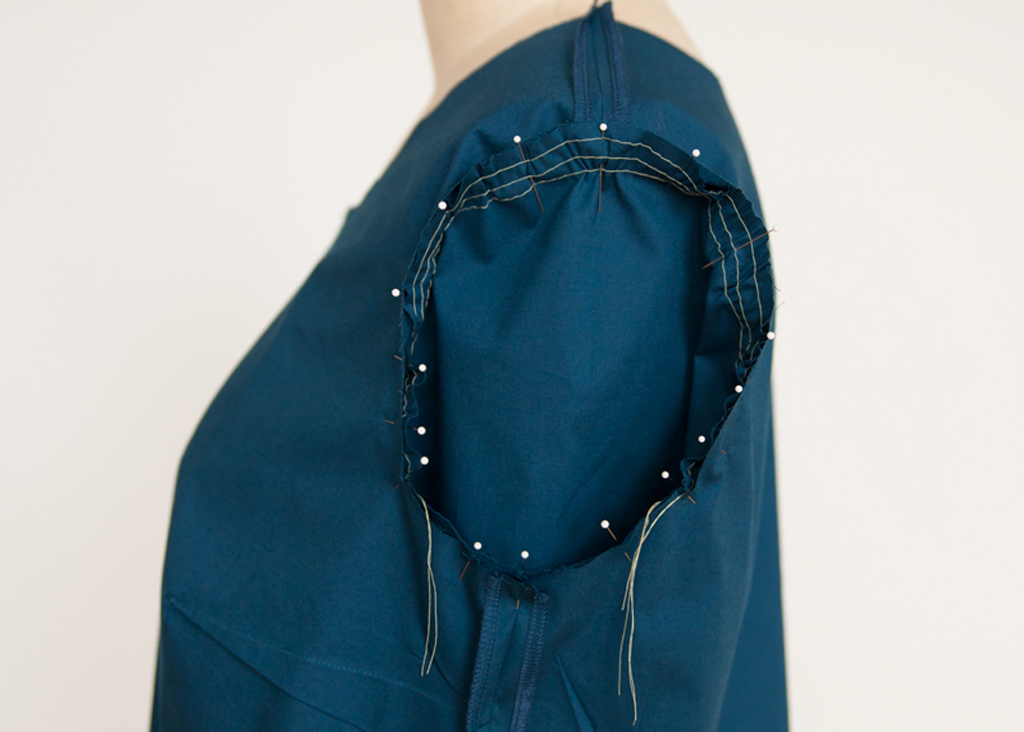
Adjust the sleeve cap by pulling on the thread tails to draw up the fabric, making the sleeve the same length as the armhole. Adjust the easing so that it is even, and pin in place using plenty of pins. Again, pin from the sleeve side.
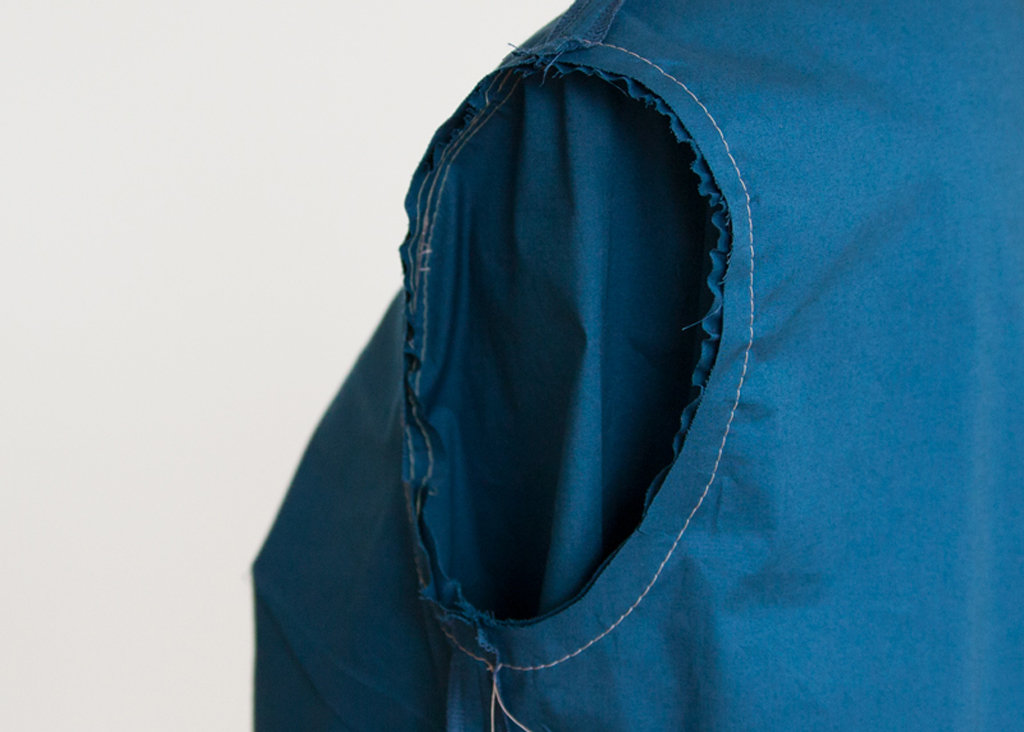
Stitch the sleeve into the armhole, stitching from the sleeve side. This way you'll be able to see the easing and make sure no fabric gets tucked or folded as it's stitched.
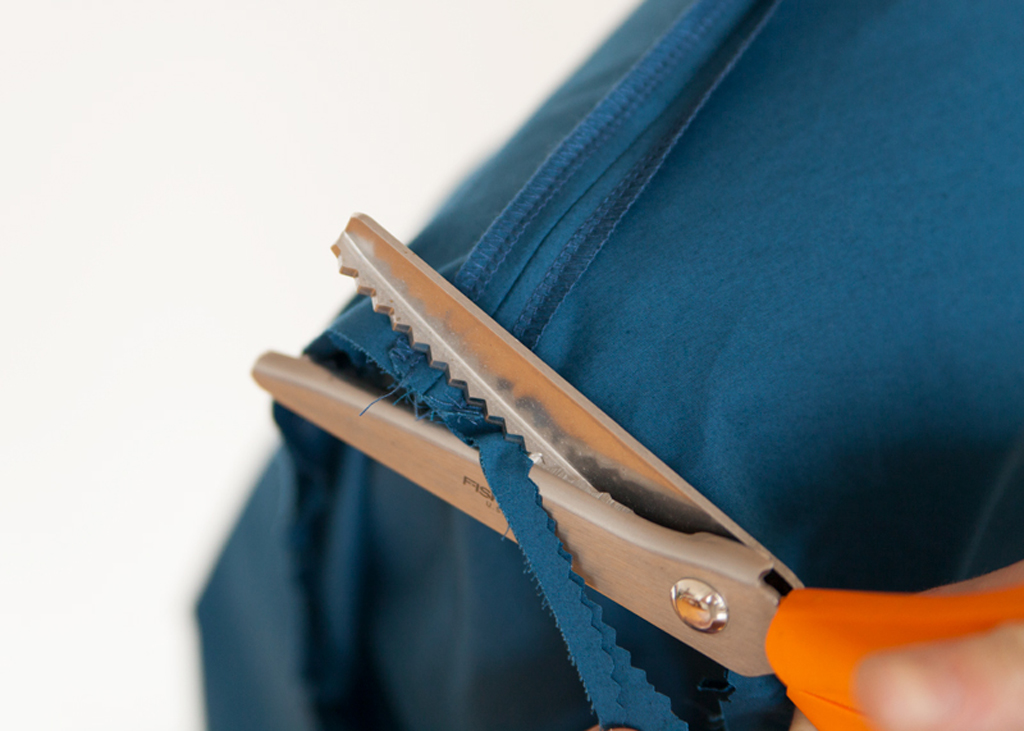
Remove the basting stitches and finish the seams as desired. When you press the seam toward the sleeve, you should have a slight fullness at the top of the sleeve. Hem the sleeve as directed for your pattern.
 Related Articles
 Best Articles

