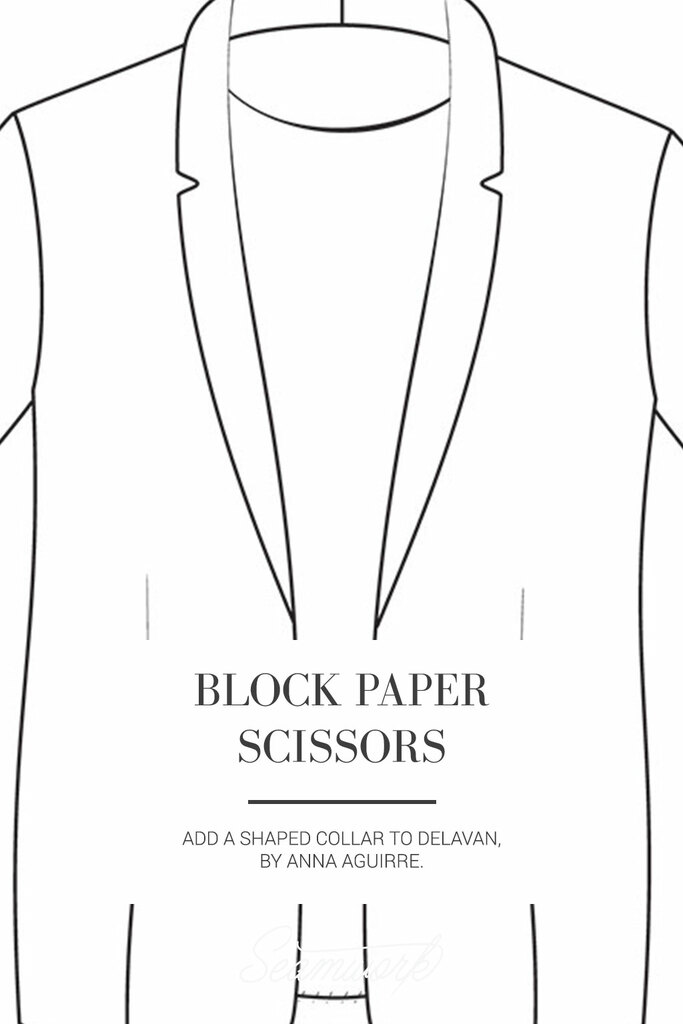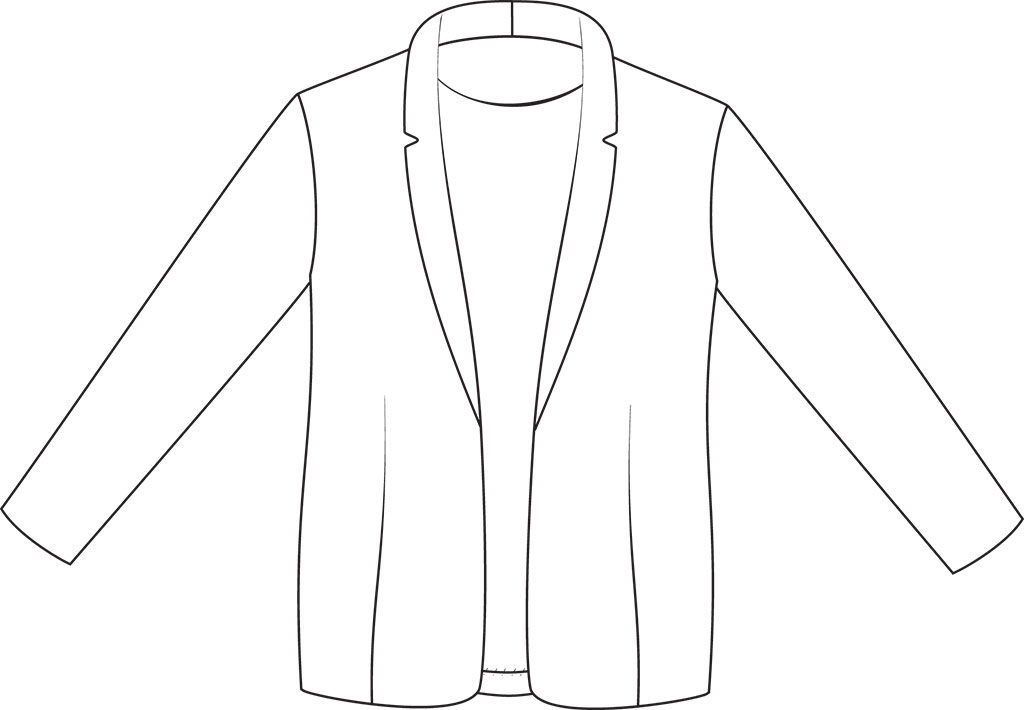
Block Paper Scissors is a monthly column featuring patternmaking hacks that will help you give your Seamwork patterns a custom spin—all you need is paper, a ruler, and a pencil!
This month's patterns are all about clean and simple lines. This hack will walk you through creating a triangular notch on Delavan's collar. Try emphasizing this detail with contrast topstitching for an understated detail that suits the classic style of this lightweight jacket.
Note: Be sure to make any fit adjustments before doing the pattern hack.
You'll Need:
- Delavan
- Paper
- Pencil
- Ruler
- Tape
How to:
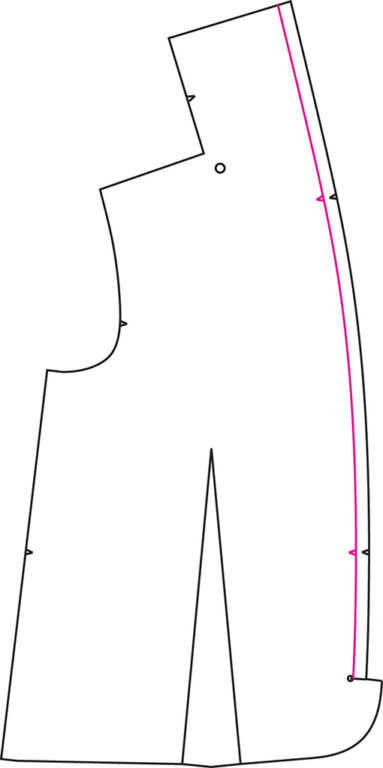
Step | 01
Remove the 5/8” seam allowance from the front (A) pattern piece, just along the center front and collar line. Copy the notch placements so you know where to redraw them when you add the seam allowance back in.
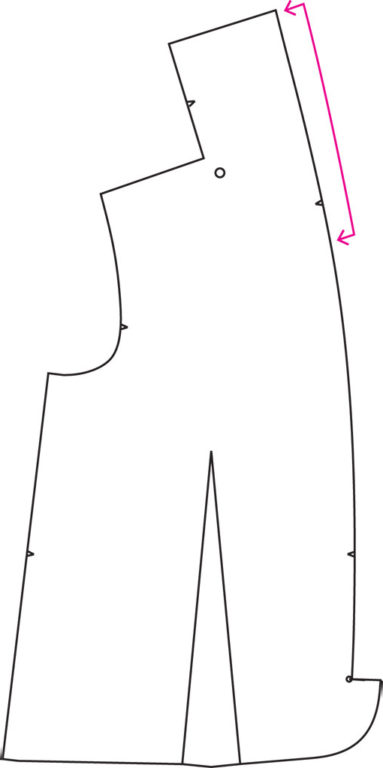
Step | 02
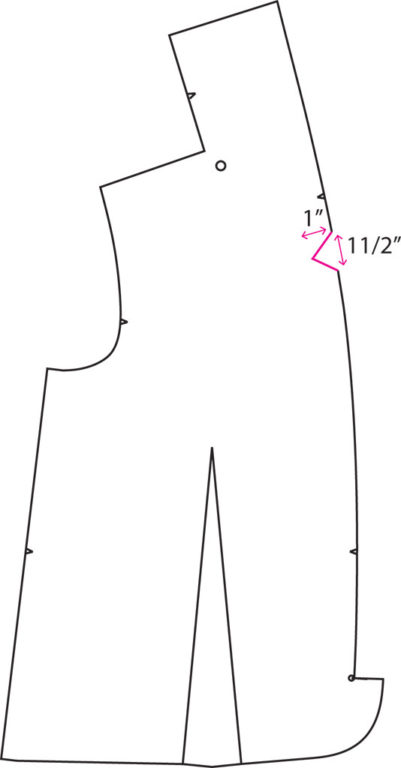
Measure down from the center back neckline approximately 9 – 10”. This is where you will make your collar notch. A fairly standard position for a notch on a lapel collar is just below the neckline, however you can always experiment with the placement and size of your notch.
Step | 03
Draw in your notch. As mentioned in the last step, you can experiment with the width and length of your notch. This notch is 1 1/2” wide by 1” long.
Step | 04
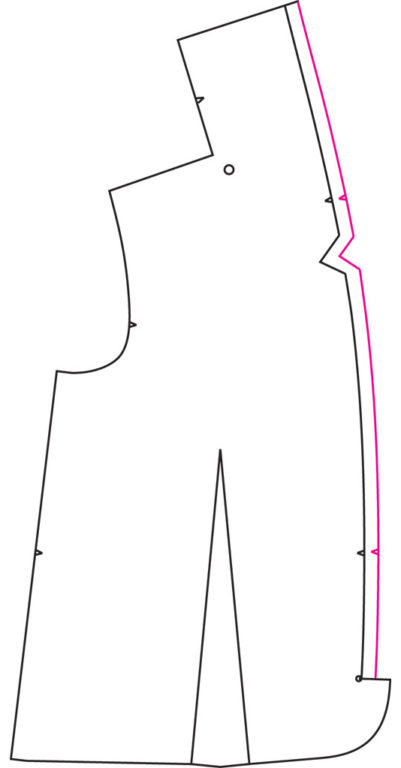
Add a 5/8” seam allowance back to the center front and collar line.
Step | 05
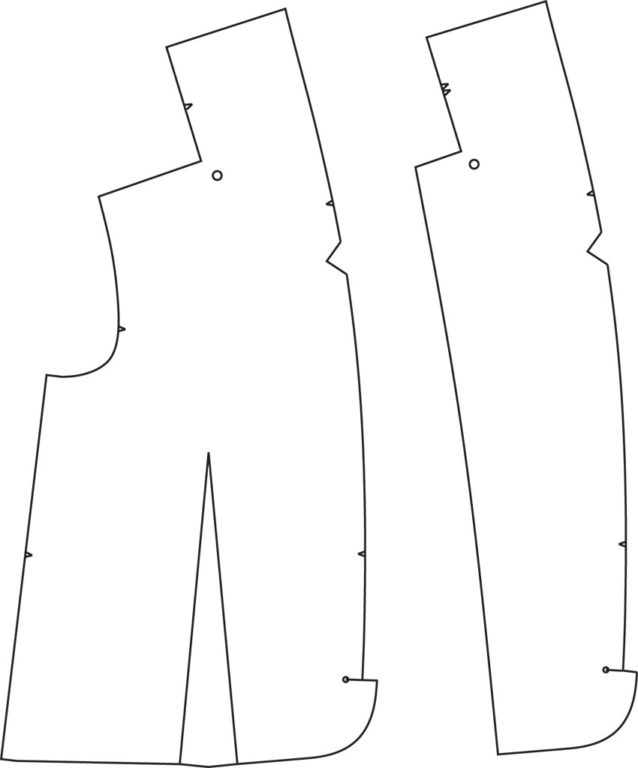
Repeat steps 1 – 4 for the front facing (D).
Step | 06
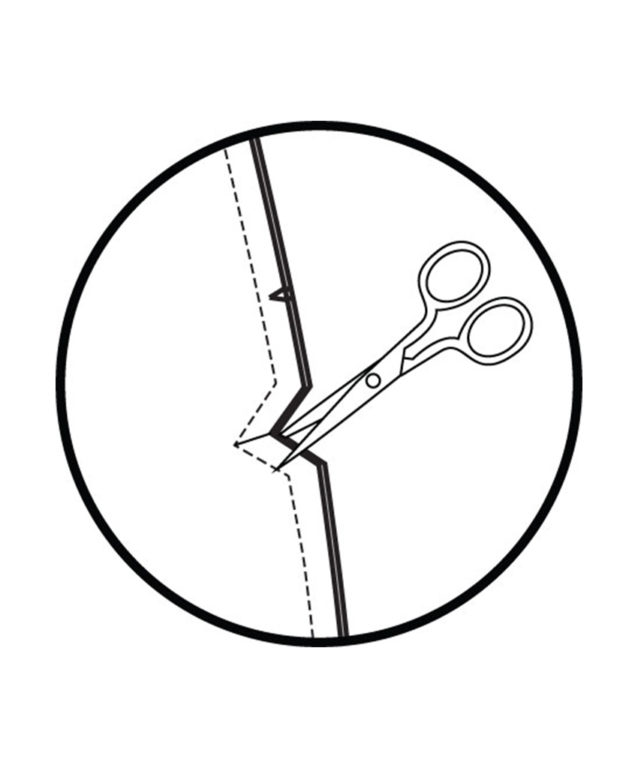
Follow the instructions to complete the garment. When you get to the step where you attach the facing, clip the seam allowances at the lapel notch and trim the corners before turning the facing right sides out. Note that when understitching, you will not be able to stitch all the way up to the lapel notch. Instead, stitch as close as your presser foot will allow and backstitch. Then start understitching on the other side of notch, securing with a backstitch.

About the Author
As pattern designer, Anna works hard to make sure our sewing patterns boast both great style and instructions. She believes in the power of chocolate and coffee to cure just about anything.
 Related Articles
 Best Articles