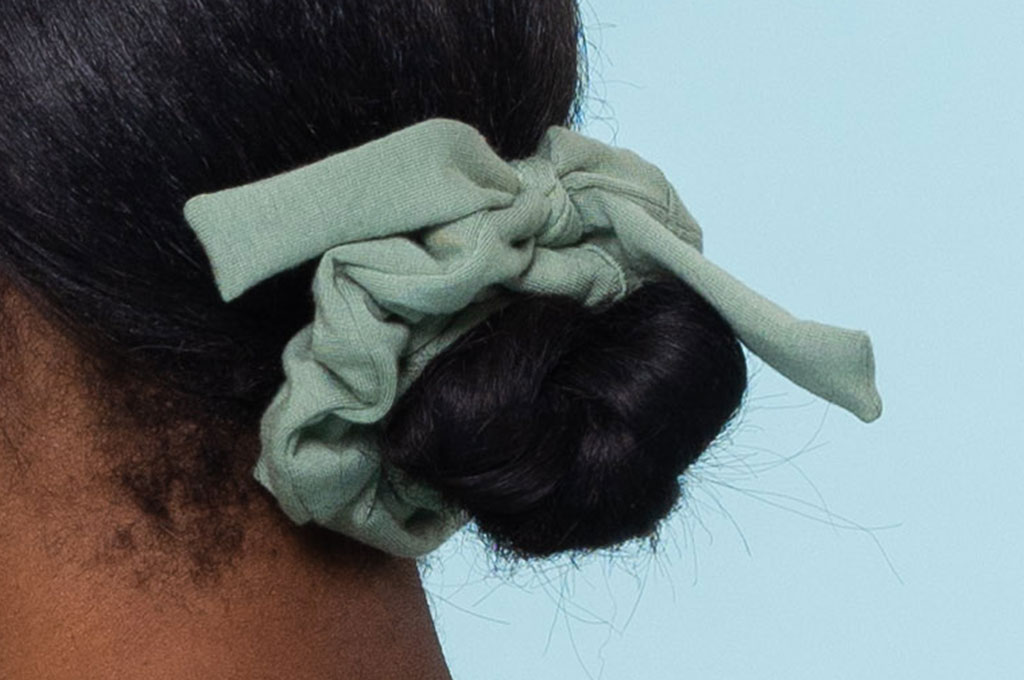
Have you noticed the infamous scrunchie has been popping back up in fashion lately? I sure have! Not only are scrunchies great for your hair, they're a great project for all your fabric scraps.
DRAFTING INSTRUCTIONS
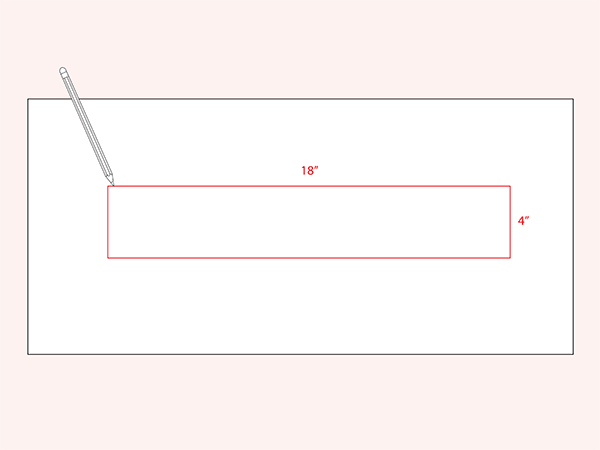
On some paper, draw out a rectangle that's 18" long by 4" tall. This will be your scrunchie pattern piece.
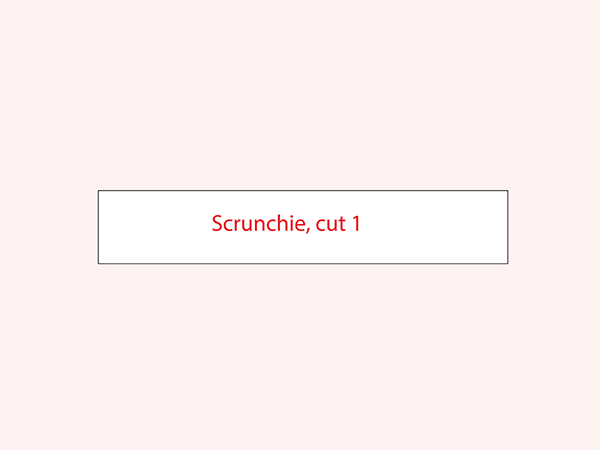
Cut out this pattern piece and label it "Scrunchie, cut 1". Use this pattern piece to cut out your scrunchie in either woven or knit fabric.
SEWING INSTRUCTIONS
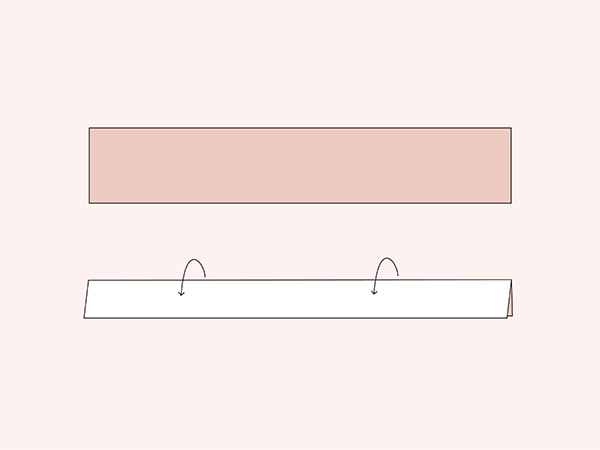
With right sides together, fold the scrunchie in half lengthwise. Press.
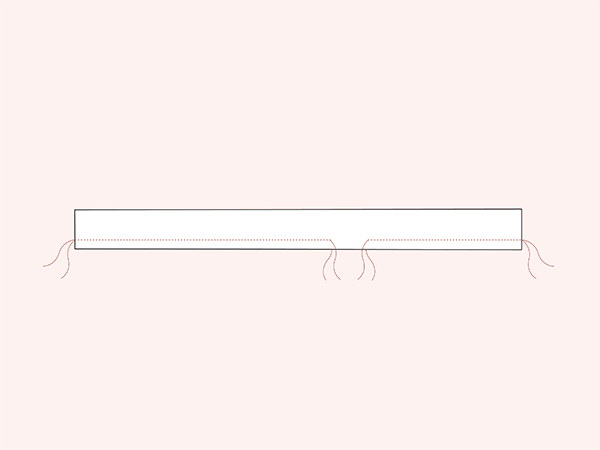
Using a 3/8" seam allowance, stitch along the long, raw edge, leaving a 1 1/2" gap near one of the short ends.
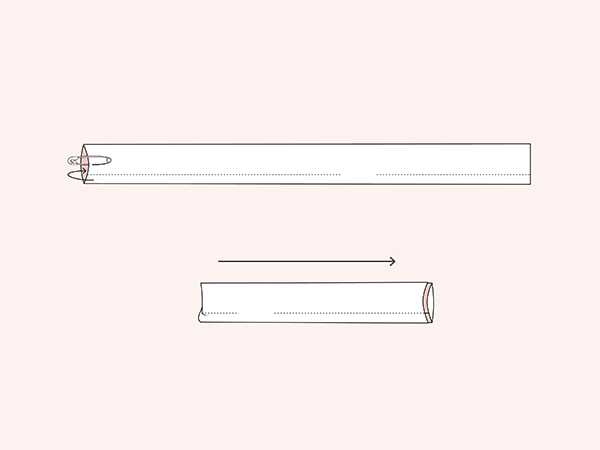
Attach a safety pin to the short end of the scrunchie that's not near the gap. Turn that end of the scrunchie to the inside, feeding the safety pin through to the other end. You could also use a tube turner for this step if you have one. Align the short ends and pin, matching the seams. Make sure the gap remains on the outside of the scrunchie.
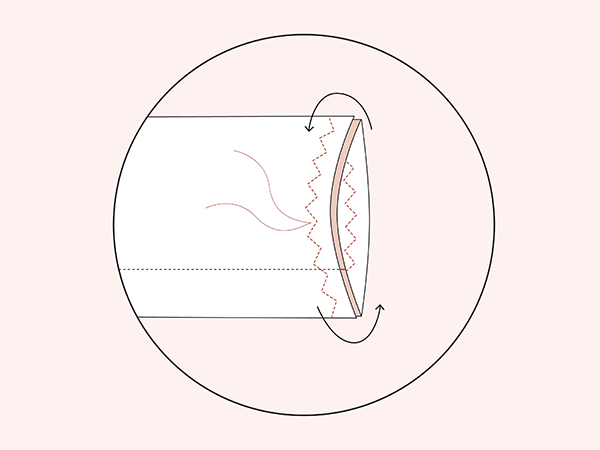
Stitch in the round of the short ends. If you're using woven fabric, hand sewing will be easiest. If you're using knit fabric, you may be able to stitch on the round on your sewing machine, while stretching the scrunchie, using a zigzag stitch.
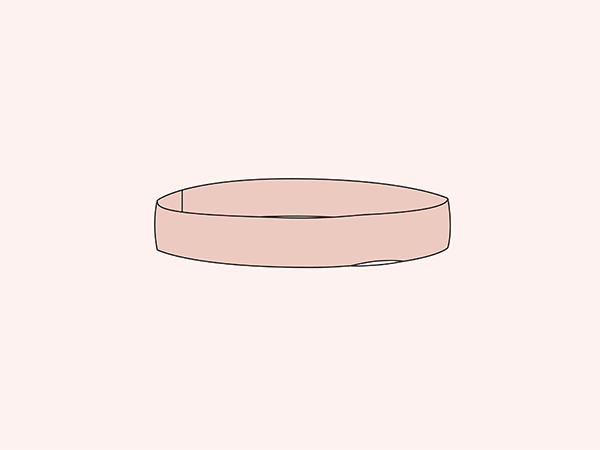
Turn the scrunchie right side out from the gap. Press.
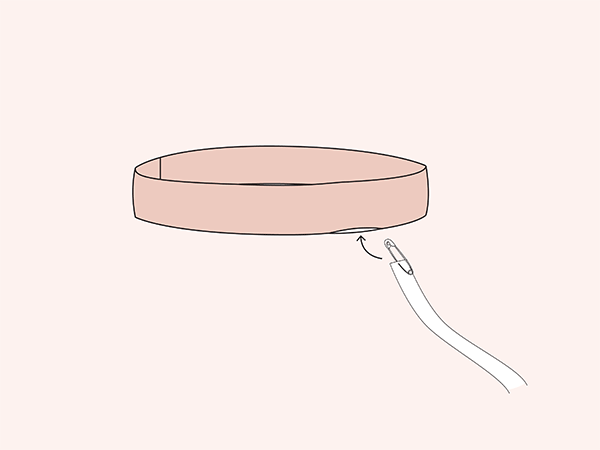
Cut a length of 1/4" braided elastic. We recommend starting with 8", but if you have very thick hair, 9" of elastic will work. Attach a safety pin to one short end of the elastic and feed it through the gap of the scrunchie. Pull the other short end of the elastic out of the gap.
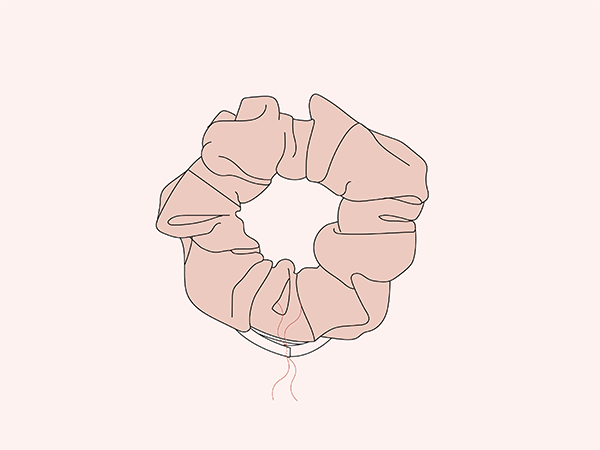
Align the short edges of the elastic and use a zigzag stitch. Backstitch several times to secure.
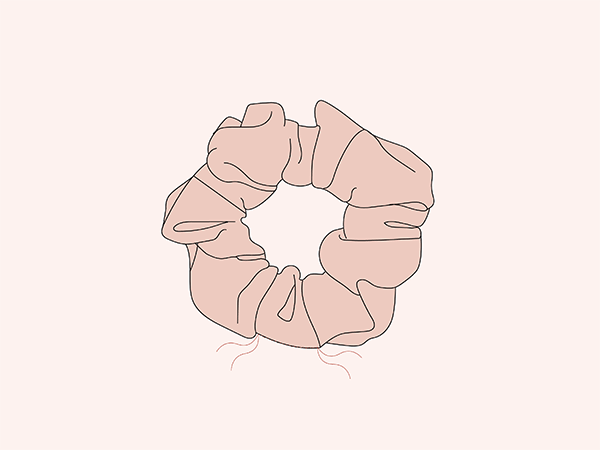
Hand-sew or edgestitch the gap closed.
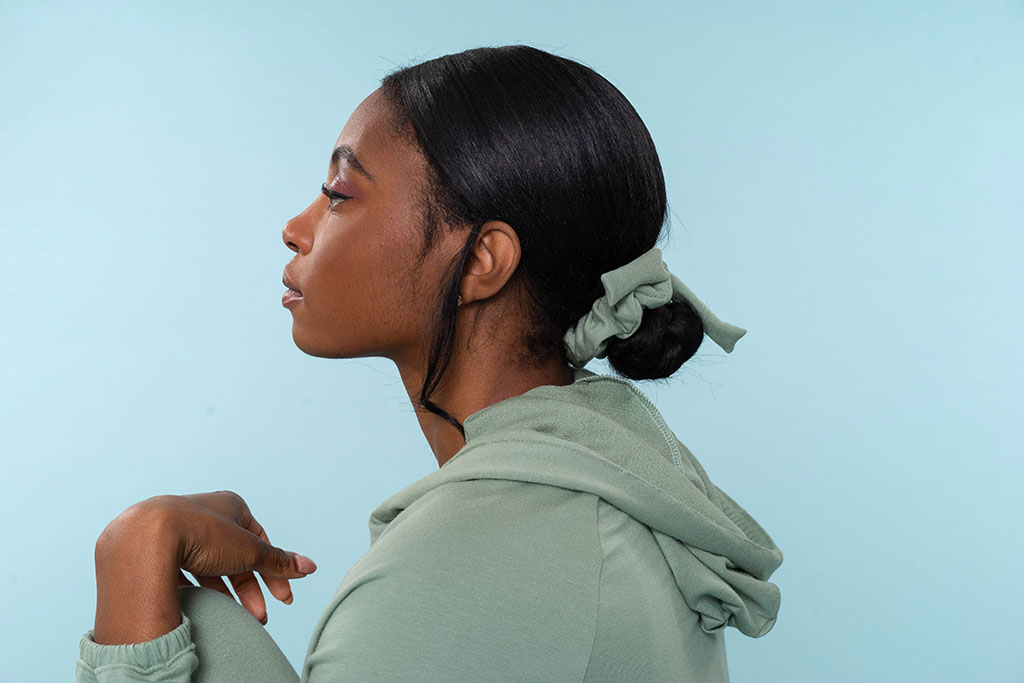
And there you have it—you have made your very own scrunchie!
Since sewing is magic, as we like to say, you can play around with the height and length of your scrunchie pattern piece to get all sorts of results.
- Lengthen it for extra scrunch
- Shorten the height for a more subtle look
- Tie a scrap around it for a bow
- Color-block with extra fabric scraps
Have fun and get creative with your scrunchie style. Make 1, 2, or fifty of these and gift them to your friends.
It's always time to rock a scrunchie.

Chelsea Miller
Technical Illustrator
When she isn't pattern hacking, Chelsea is drawing step-by-step pattern instructions in Illustrator. As the Technical Illustrator here at Seamwork, she loves to make our instructions easy to follow and fun to read.
 Related Articles
 Best Articles